
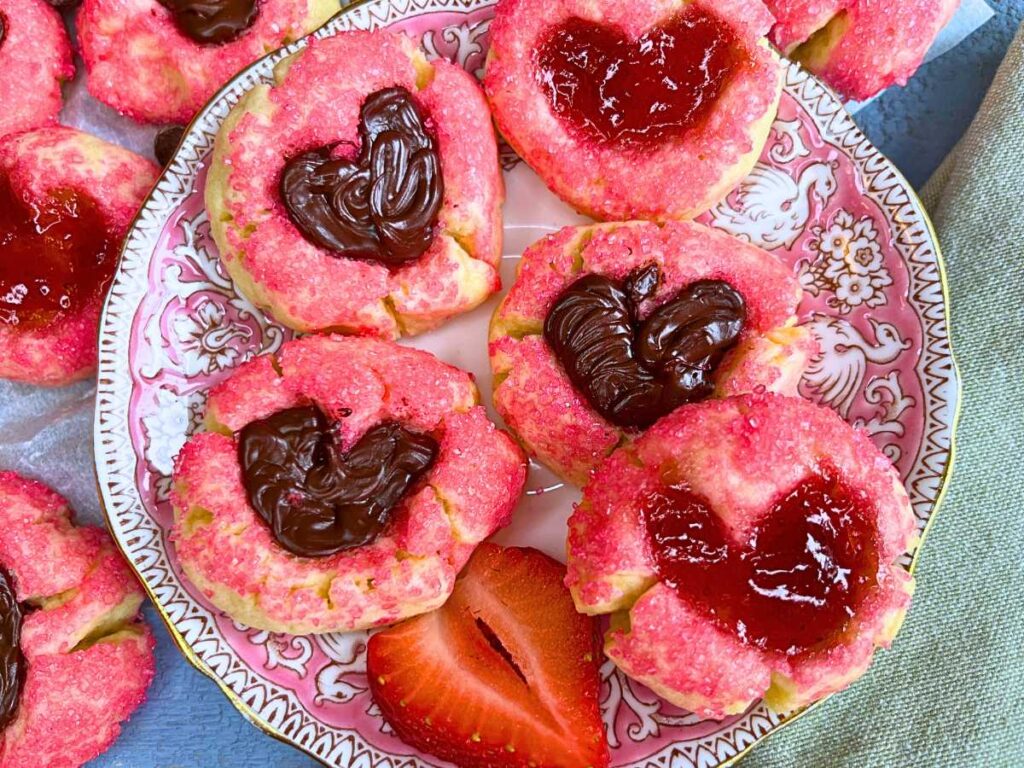
Easy Valentine’s Day Thumbprint Cookies
By Rebecca St.Clair
These Valentine’s Day thumbprint cookies are buttery and melt-in-your-mouth. The perfect nostalgic treat that never goes out of style. A soft, golden, vanilla cookie base filled with a vibrant dollop of fruity jam or rich chocolate in the centre, creating the perfect balance of sweet and tart.

These sweet Valentine’s Cookies are made with a heart depression and coated with pink sugar for the perfect heart shaped cookie that will bring a touch of whimsy and charm to any Valentine’s day dessert tray or to pack inside of school lunches.
How to store Valentine’s Day thumbprint cookies
After the cookies are baked they can be stored at room temperature, in an air-tight container, for up to 5 days. If you wish to store them for longer, keep them in an air-tight container in the refrigerator for up to 2 weeks, or in the freezer for for up to 3 months.

Freezing Valentine’s Day Thumbprint cookies
Freezing baked thumbprint cookies
This might seem a little bit tricky, if you’ve filled the cookies with jam, but totally doable. To freeze these cookies,
- After the cookies are baked, cool them to room temperature.
- Freeze in a single layer, on a cookie sheet, for 2 hours.
- In layers, place them into a freezer bag, or airtight container. Place plastic wrap in between each layer. This will stop the ones filled with jam from sticking to the bottom of the next layer of cookies.
- Store in the freezer for 3 months. Freeze them separately first is so they do not stick together and freeze into a big clump. It also helps to solidify the filling, before packaging the cookies.
- When you are ready to serve them, remove the cookies frozen, then let them come back to room temperature in a single layer. If you let them defrost in the freezer bag, or container, the jam will soften and will stick to everything. The frozen jam will stay together and will cleanly peel off the plastic wrap.
Freezing Valentine’s Day thumbprint cookie dough
You can also make the dough in advance and freeze to bake later.
- Roll into balls, coat in egg white and coloured sugar, and make the depressions in the middle.
- Freeze in a single layer, on a baking sheet, for 2 hours. Then, pop the unbaked cookies into a freezer bag, or an airtight container.
- Store in the freezer for up to 3 months.
- When you are ready to bake the cookies, continue on with the recipe the same way you would if you were making them fresh.

Why You’ll Love This Recipe
Simple Ingredients – This recipe is made with only a handful of simple ingredients.
Quick and Easy – These cookies come together in no time
Fun and Festive – The cutest colourful heart cookie to bring a smile to your sweethearts’ faces.

Common Problems
My Valentine’s Day thumbprint cookies are spreading
This is a common problem bakers face when making cookies, not just thumbprint cookies.
The best way to fix this problem is to chill the dough first before baking. Placing the shaped and filled cookies in the freezer for 15 minutes before baking.
My Valentine’s Day thumbprint cookies are cracking
This problem often occurs when you are making the depression in the centre of the dough ball.
If this happens, leave whatever you are using to make the depression in the centre of the cookie. With your fingers, squish and shape the dough back together.

Filling options for Valentine’s Day thumbprint cookies
The classic filling for thumbprint cookies is jam or jellies. I am using strawberry jam and semi-sweet chocolate for mine. A few amazing substitutions for these cookies are:
- Hershey’s kisses– This is such a cute variation of thumbprint cookies! After the cookies are baked, and slightly cooled, unwrap some Hershey’s kisses and place one in the centre of each cookie.
- Nutella – Bake the cookies as in the recipe but instead of jam swap out a dollop of Nutella.
- Caramel or dulce de leche – Add either of these options to the cookies, the same way you would the jam.
- Other preserves – Any of your favourite sweet preserves, fruit jams, jellies, or marmalade would be a suitable filling for this little cookie!
- Rolled in nuts– Not really a filling variation, but a cookie variation. Roll the cookie dough in finely chopped nuts instead of coloured sugar.
Ingredients
Butter – Adds richness and is needed to cream with the sugar for a light and fluffy batter.
Sugar – Adds sweetness and flavour and is used to cream together with the butter to create bulk and fluffiness in the cookies.
Vanilla – Adds flavour.
Baking powder – For rise.
Salt – Adds flavour and balances out the sugar.
Flour – Basic all-purpose flour is used to make this recipe.
Egg – Adds richness and helps hold the dough together.
Coloured sugar – Adds sweetness, crunch, and festive colour to the cookies.
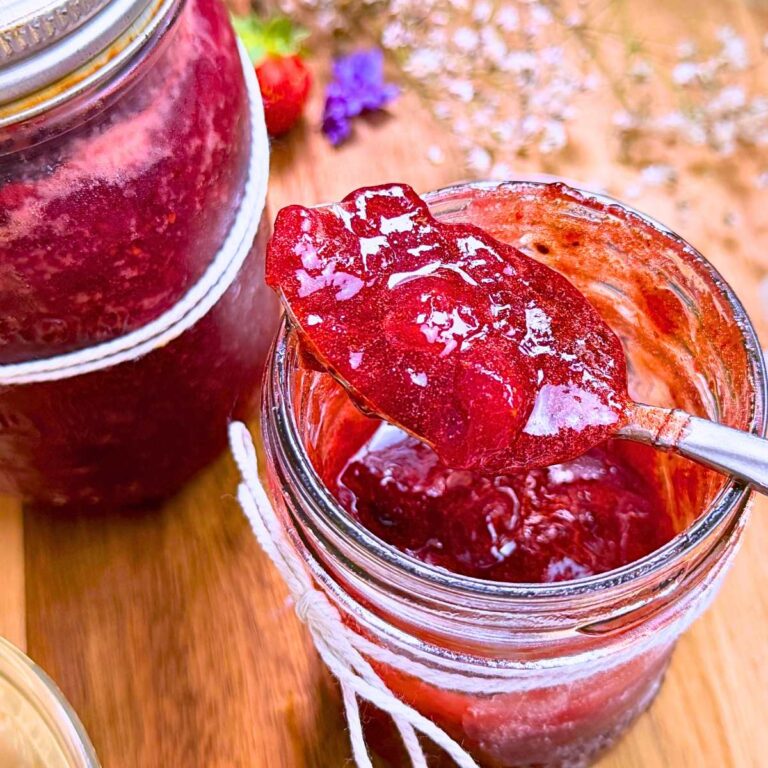
Jam – For flavour and a pop of colour.
Chocolate – A rich decedent filling.

How to Make Valentine’s Day Thumbprint Cookies
Method
- In the bowl of a stand mixer or in a large bowl with beaters, add in the room temperature butter and beat until soft and light.
- Add in 1/2 cup sugar and 1/2 cup powdered sugar. Beat for a few minutes until soft, light, and creamy. Make sure to scrape down the bottom and sides of the bowl a few times as you go.
- Beat in the egg, vanilla, 1/2 teaspoon salt, and 2 1/2 cups flour.


4. Mix until the dough just comes together.
5. Pinch off 1-2 Tablespoons worth of dough and roll into a ball.

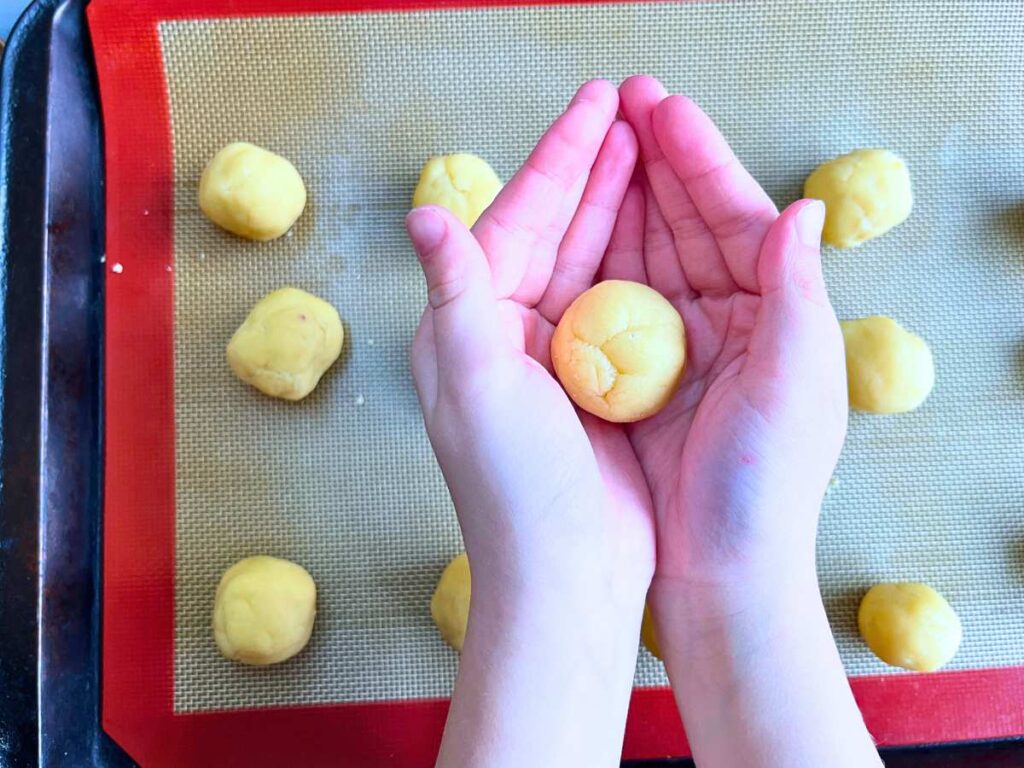
6. Dip each dough ball into into the coloured sugar.
7. Using your finger, press a heart shape into each dough ball.


8. Fill each depression with either fruity jam or melted chocolate.
9. To melt the chocolate either use a double boiler or in short bursts in the microwave until melted.
10. Use a piping bag or a small spoon to fill each cookie.
11. Preheat the oven to 350 °F (180 °C).
12. Place the cookies in the freezer 15 minutes, to ensure they hold their shape while baking.
13. Bake in the preheated oven for 15 minutes. Allow to set and cool 5 minutes before removing to a wire rack to cool and set completely.


Valentine's Day Thumbprint Cookies
Valentine's Day cookies with a soft, golden, vanilla cookie base filled with a vibrant dollop of fruity jam or rich chocolate in the centre, creating the perfect balance of sweetness and tartness.
Ingredients
- 1 cup softened butter 225 g
- 1/2 cup white sugar 100 g
- 1/2 cup powdered sugar 65 g
- 1/2 teaspoon salt 1 g
- 1/2 teaspoon baking powder 1 g
- 1 teaspoon vanilla extract 5 ml
- 1 egg
- 2 1/2 cups all-purpose flour 375 g
- 1/2 cup jam 125 ml
- 1 cup semi-sweet chocolate chips 175 g
- 1/2 cup coloured sugar 80 g
Instructions
- In the bowl of a stand mixer or in a large bowl with beaters, add in 1 cup of softened butter and beat until soft and light.
- Add in 1/2 cup sugar and 1/2 cup powdered sugar and beat for a few minutes until soft, light, and creamy. Make sure to scrape down the bottom and sides of the bowl a few times as you go so everything is mixed in evenly.
- Beat in the egg, vanilla, 1/2 teaspoon baking powder, 1/2 teaspoon salt, and 2 1/2 teaspoons flour. Mix in the flour, until the dough just comes together.
- Pinch off 1-2 Tablespoons worth of dough and roll into a ball.
- Dip each dough ball into the coloured sugar.
- Using your finger, press a heart shape into each dough ball.
- Fill each depression with either fruity jam or melted chocolate.
- To melt the chocolate either use a double boiler, or in short bursts in the microwave.
- Use a piping bag or a small spoon to fill each cookie.
- Preheat the oven to 350 °F (180 °C).
- Place the cookies in the freezer 15 minutes to ensure they hold their shape while baking.
- Bake in the preheated oven for 15 minutes. Allow to set and cool 5 minutes before removing to a wire rack to cool and set completely.
Notes
Swap out the jam and chocolate for you favourite fillings like caramel or Nutella. The coloured sugar can also be substituted for finely chpped nuts.
Nutrition Information
Yield
30Serving Size
1Amount Per Serving Calories 238Total Fat 9gSaturated Fat 6gUnsaturated Fat 4gCholesterol 24mgSodium 105mgCarbohydrates 37gFiber 1gSugar 19gProtein 3g
Nutrition information isn’t always accurate.
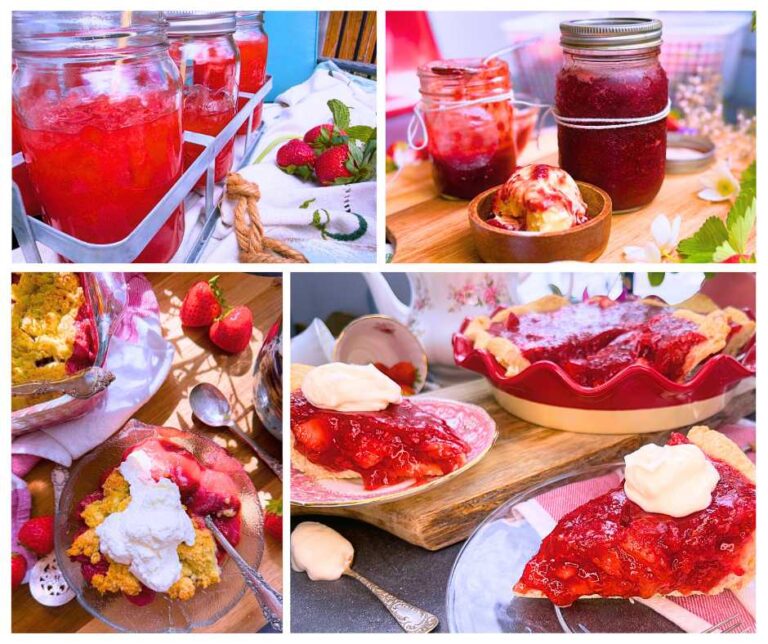
Hungry for some more Valentine’s day treats? hop over here!

Join the vintage living community and gain access to the free printables library! Receive emails that you’ll love and recipes straight to your inbox!