

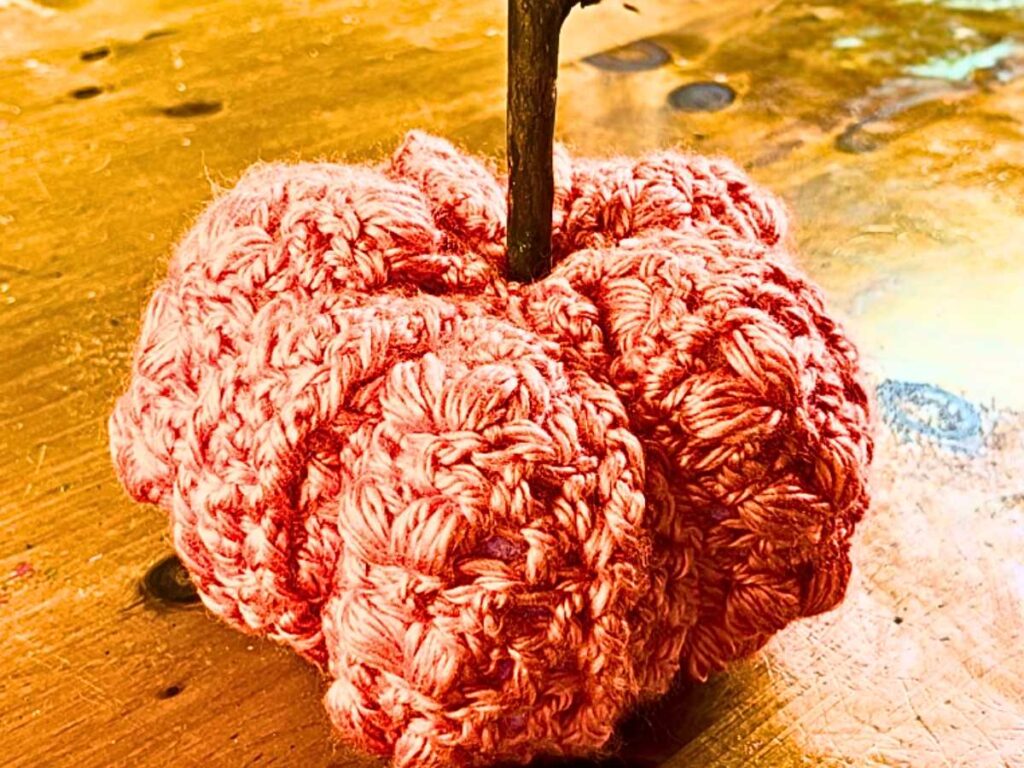
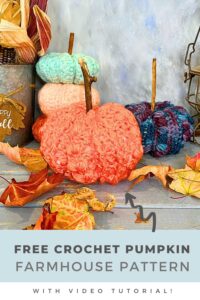
Creamsicle Dream Crochet Pumpkin Pattern
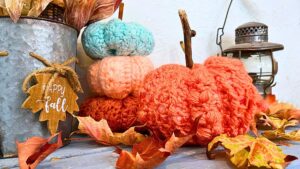
I love the look, and feel, the Creamsicle Dream Crochet Pumpkin pattern brings to the fall display in our home. So soft and cozy! It is like a warm chunky fall sweater, but in pumpkin form! They store indefinitely, (a problem real pumpkins seem to have). Your pumpkins will not have that unfortunate rotting problem that can sometimes happen to real pumpkins. Just kidding around, I love decorating with both kinds of pumpkins.
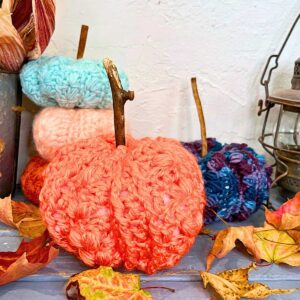
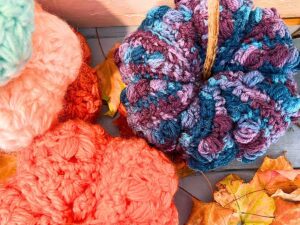
You can make different sizes, textures, and colours. Which makes this pattern a great way to use up scrap yarn!
I have been decorating with yarn pumpkins for a few years now. They hold up really well, considering my children think they are tiny pumpkin stuffed toys and steal them out of my fall mantle display.
Something about this time of year, that just makes you want to sit down in a comfortable chair, relax, look out the window at the changing leaves, and crochet something beautiful. (Or dose this just happen to me?) Creamsicle Dream Crochet Pumpkin pattern is perfect for when you want a comfortable fall evening to just relax and crochet something that you can get done in one night, and you can get lost in the art, and not have to pay to strict attention to an intricate pattern.
Materials needed for this crochet pumpkin pattern
- 5.5 mm hook (this is flexible as size and fit are not important)
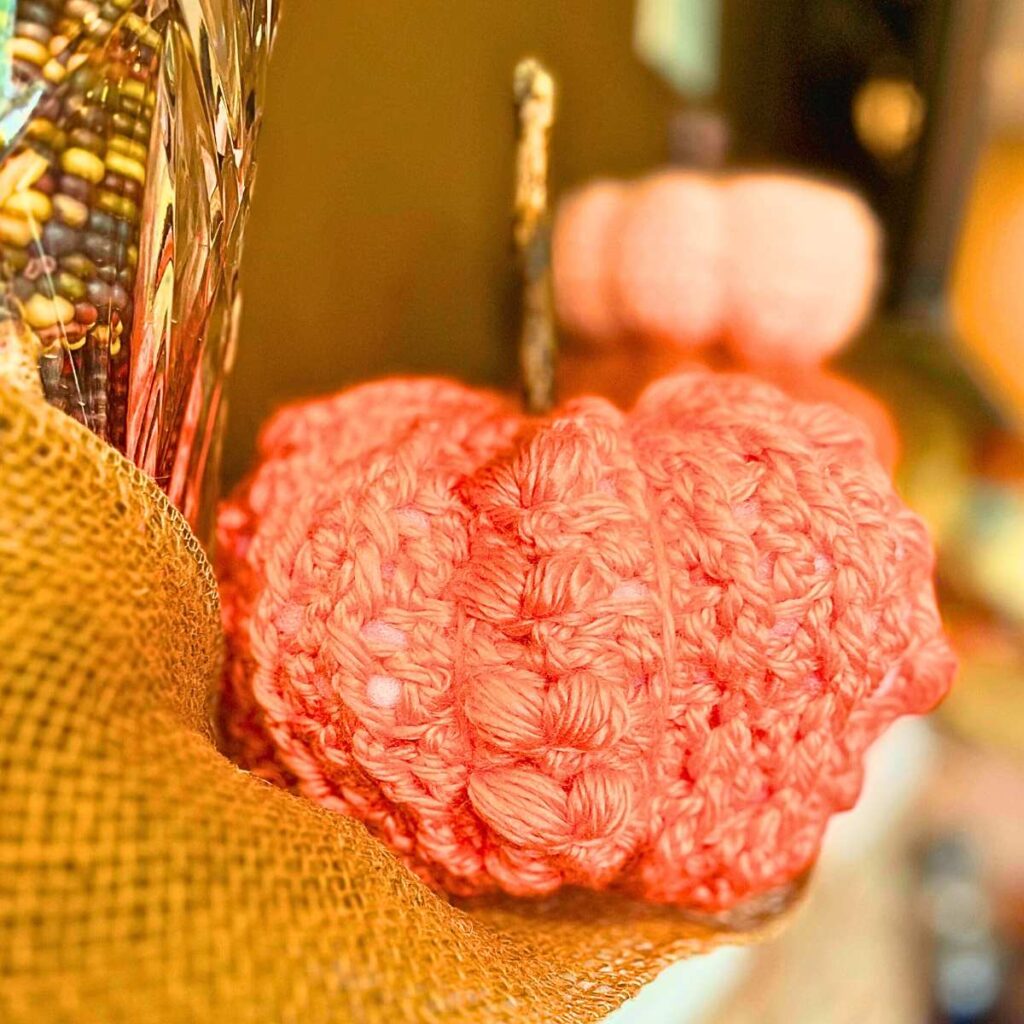
- Bulky 5 weight yarn. (I used Bernat Softee Baby Chunky in the colour creamsicle)
- Tapestry needle
- Stuffing (I used Loops and Threads Classic Fiber Fill)
- A cinnamon stick or a short tree stick. (this is for the stem of the pumpkin)
Stitches and Terms Used
ch/chs – chain/chains
sl st – slip stitch
st/sts- stitch/stitches
sc- single crochet
dc- double crochet
fpdc- front post double crochet
bpdc- back post double crochet
rep- repeat
Sk st- Skip stitch
PS – puff stitch
Pattern Notes
- This pattern is worked flat, back and forth, and then stitched together.
- Size is not important for this pattern. You can add or remove stitches and rows to make it as big or little as you would like your pumpkin.
Special Stitches for the crochet pumpkin pattern
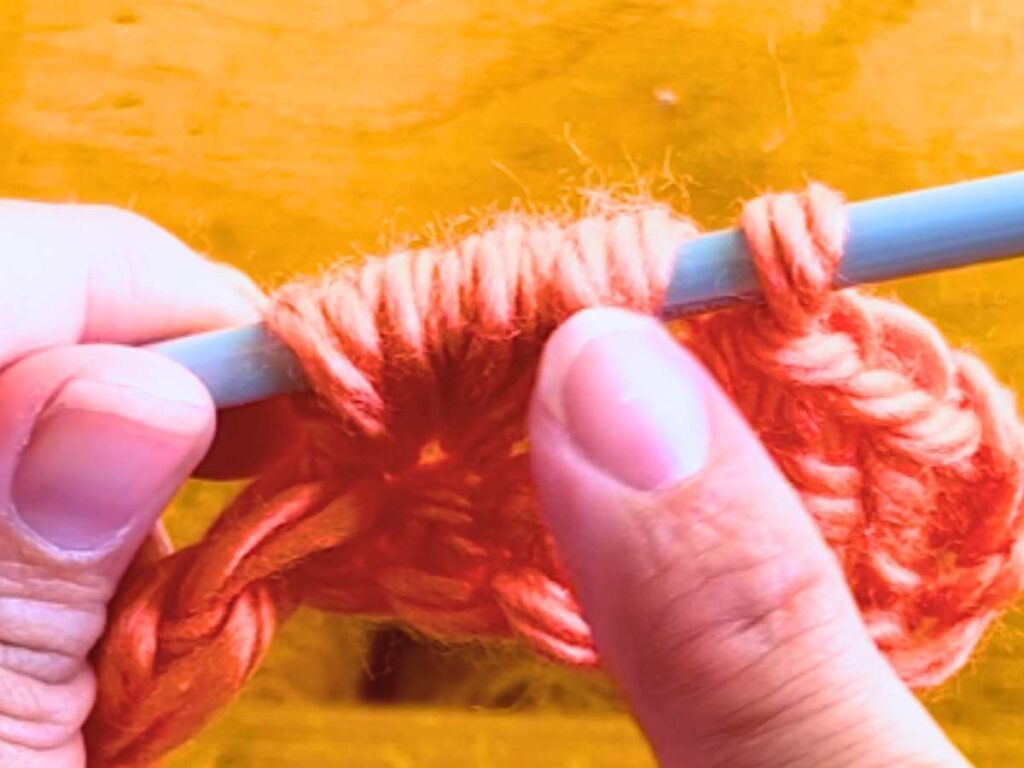
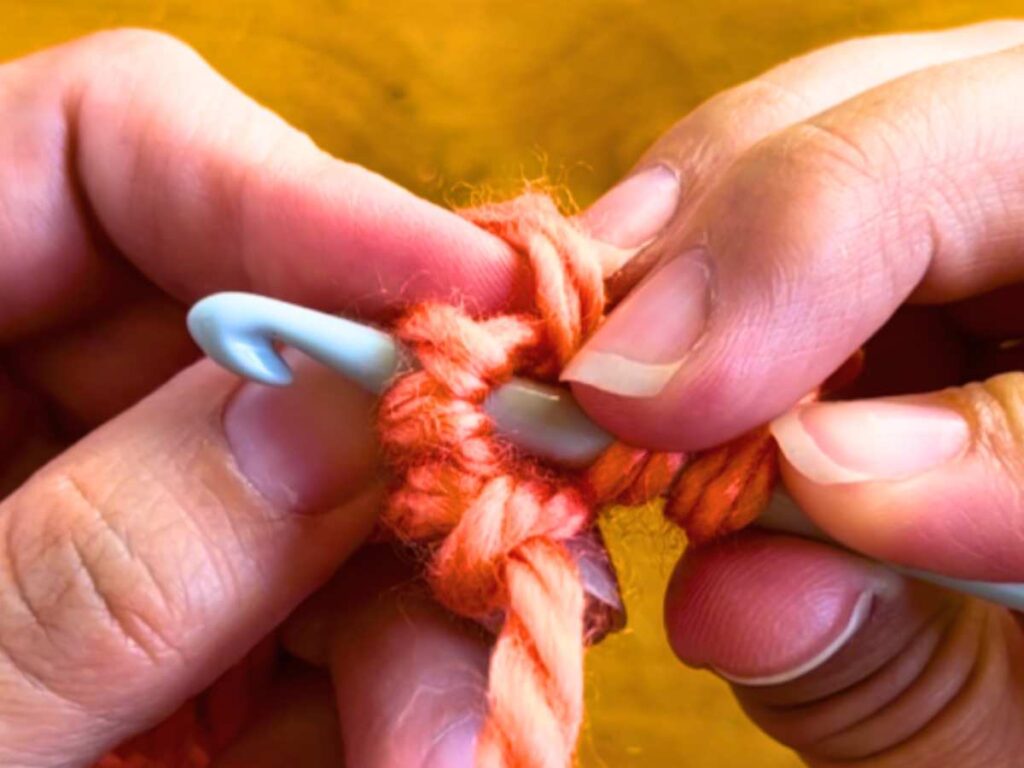
Puff stitch
For this stitch yarn over, insert your hook into the specified space, yarn over, pull up a long loop. Yarn over again, insert your hook into the same space, pull up a long loop. Yarn over and pull up loops 2 more times. To create the Puff, yarn over and pull through the ‘puff loops’ on the hook. (This should leave you with two loops left on your hook.) Yarn over and pull through the last two loops, closing the stitch.
Front post double crochet
Yarn over, insert your hook from front to back, around the post part of the indicated stitch. Yarn over, pull up at loop. Now, complete your double crochet as normal. (This will pull your stitch to the front of the fabric.)
Back post double crochet
Yarn over, insert your hook from back to front, around the post part of the indicated stitch. Yarn over, pull up a loop. Now, complete your double crochet as normal. (This will push your stitch to the back of the fabric.)
Creamsicle Dream Crochet Pumpkin Pattern
With a 5.5 mm hook chain chain 49.
Row 1 In the second ch from the hook single crochet. Sc in each ch space. (48 sc)
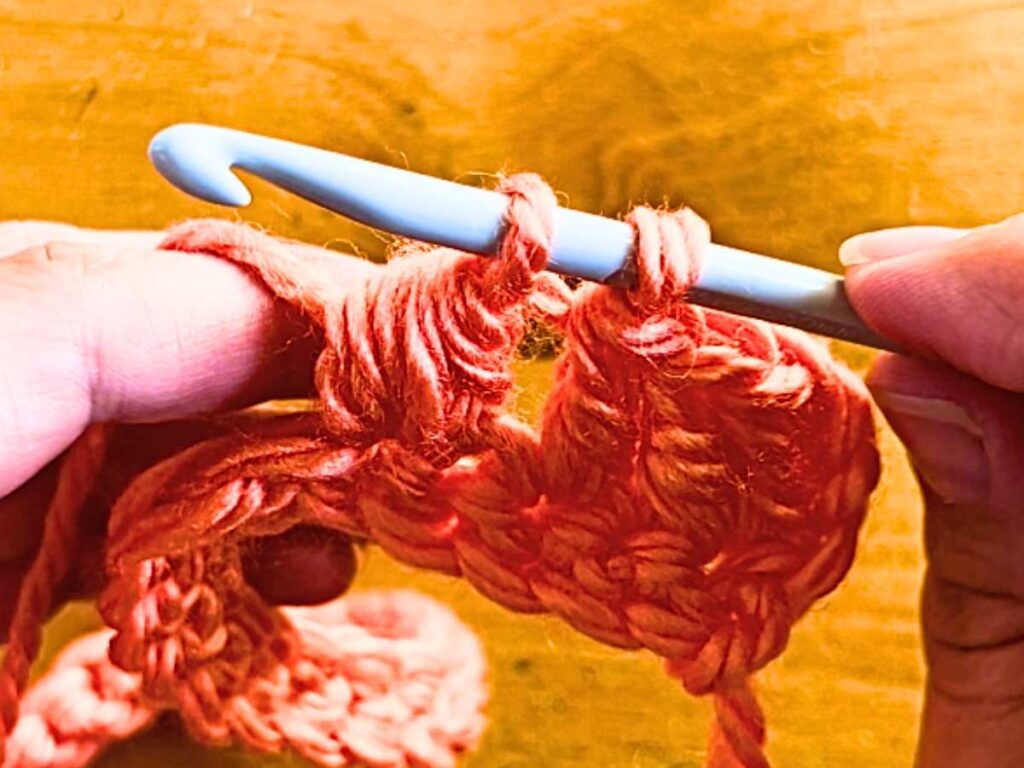
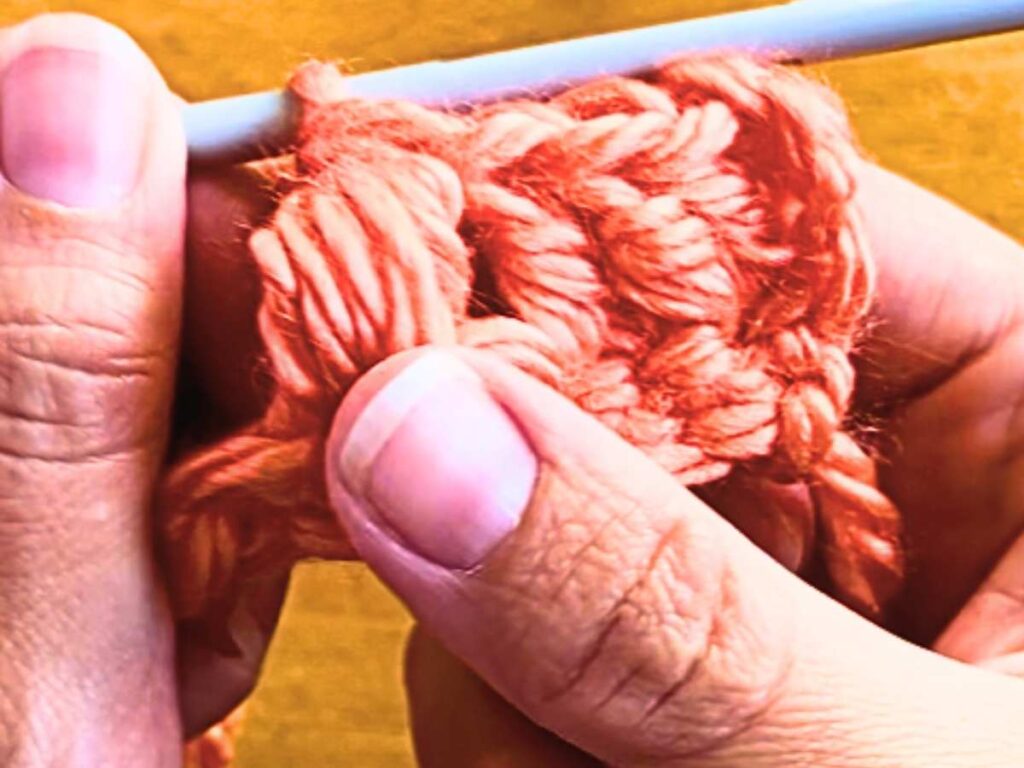
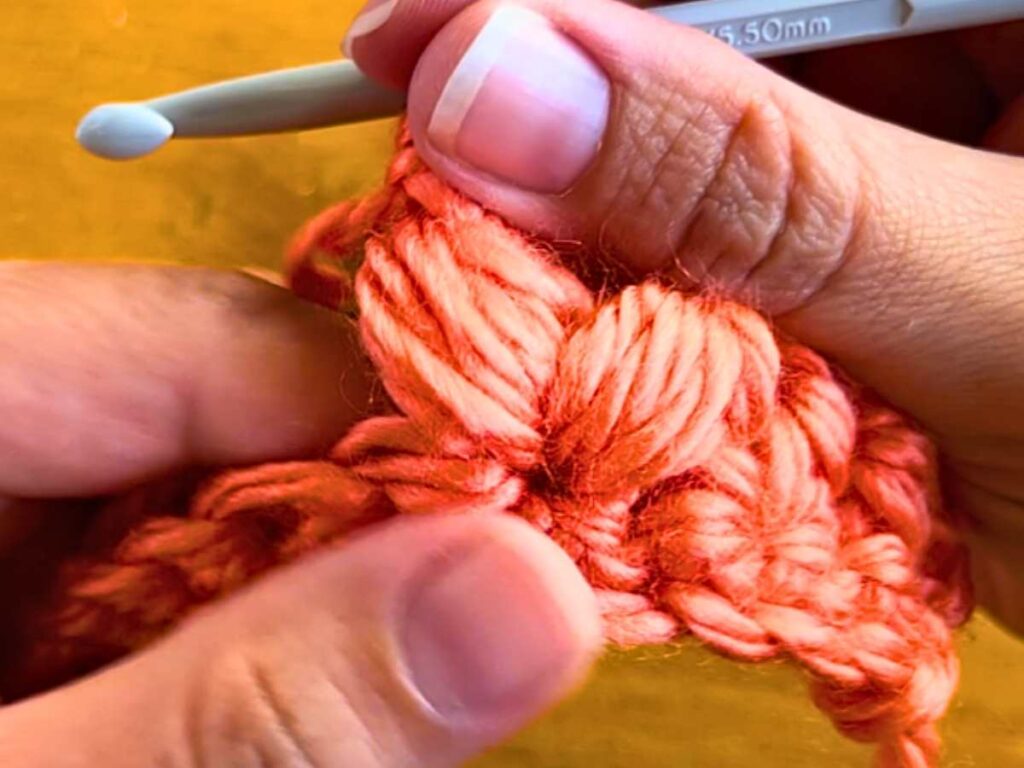
Row 2 Ch 3. Double crochet in the next st. Front post double crochet in the next stitch. Dc in the next st. Skip the next st. *Do a puff stitch in the next stitch, ch 2, make another PS in the same space. Sk st, make a dc in the next stitch, fpdc in the next stitch, dc in the next stitch, fpdc in the next stitch, dc in the next stitch. Sk st.* rep 3 more times. Do a PS in the next stitch, ch 2, make another PS in the same space. Sk st, make a dc in the next stitch and a dc in the top of the ch space.

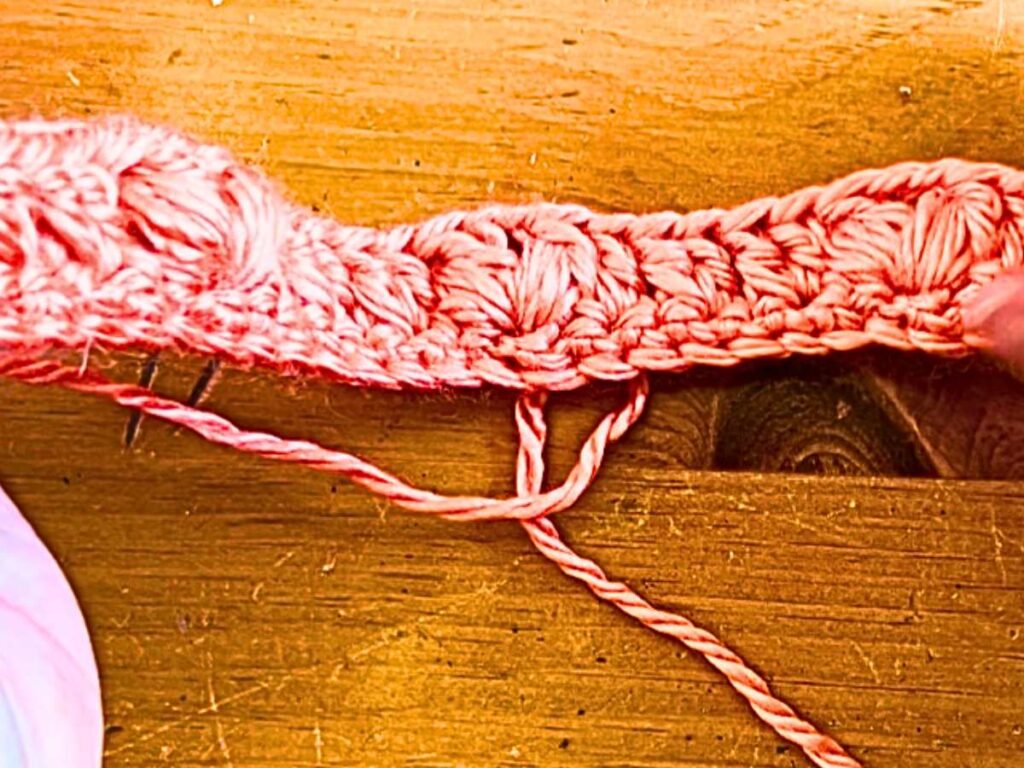
Row 3 Ch 3. Do a dc in the next st. *Dc through the space on top of the PS. Make a dc in the chain 2 space. Dc through the top of the PS. Do a dc in the next st. Bpdc through the next stitch. Dc in the next st. Bpdc in the next. Dc in the next stitch.* Repeat 3 more times Do a dc through the top of the PS, dc through the ch 2 space, dc in the top of the PS, dc in the next stich, dc in the top of the ch space.
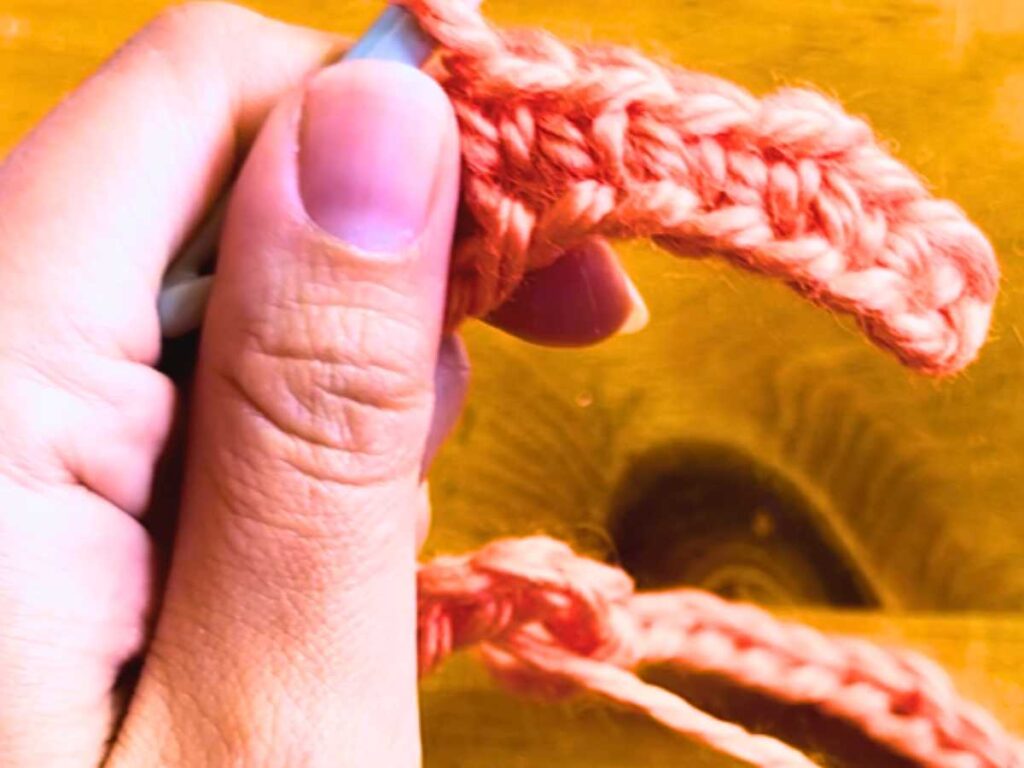
*Repeat Row 2 and Row 3 until you reach your desired size for your pumpkin. (I finished with 7 Row 2‘s and 7 Row 3‘s.
To Finish the Creamsicle Dream Crochet Pumpkin Pattern
Fold your pumpkin in half with the shorter sides coming together. Sl st both sides together to form a seam.
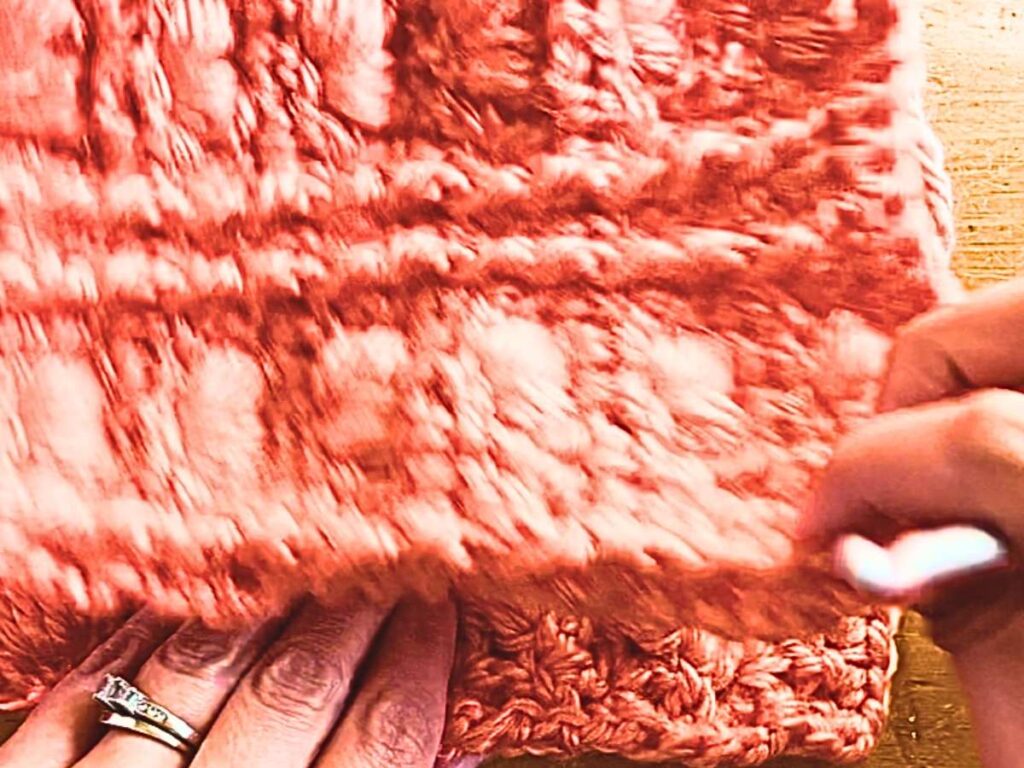
Cut your yarn, leaving a long tail. (you will be sewing up the top and bottom, as well as wrapping it around the pumpkin several times). Secure your yarn.
Sew the opening of the tube on the one side shut with a running stitch around the circumference. Pull it tight to cinch it closed. Secure the yarn so it doesn’t open again.
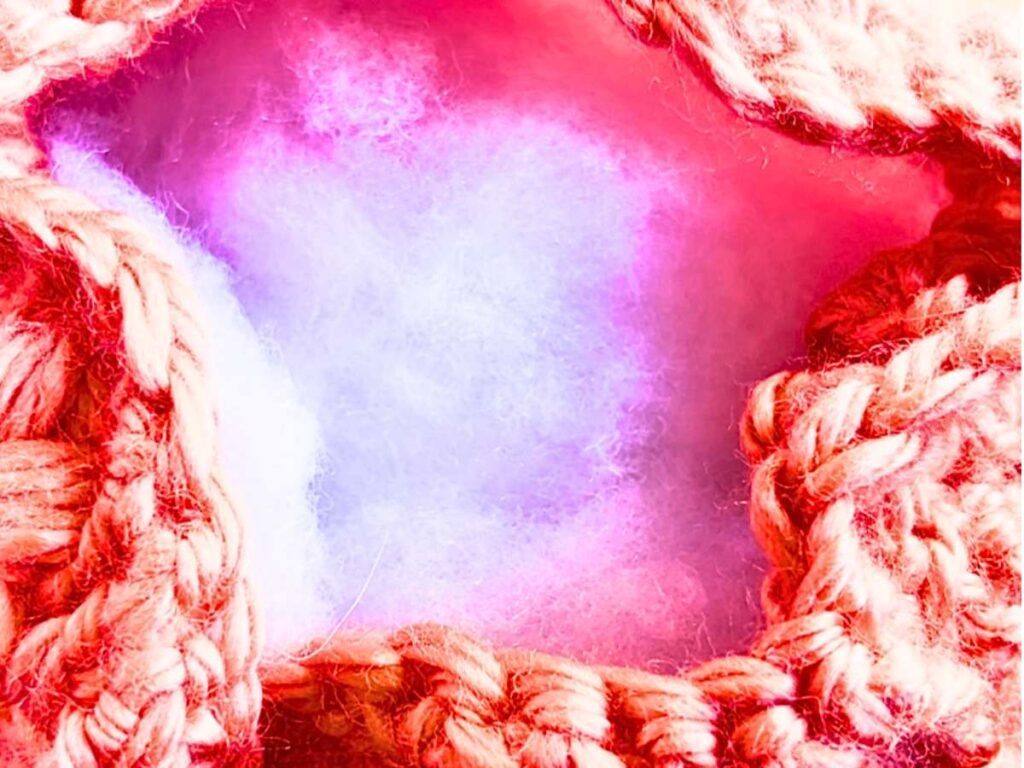
Fill your pumpkin with Fiber Fill.
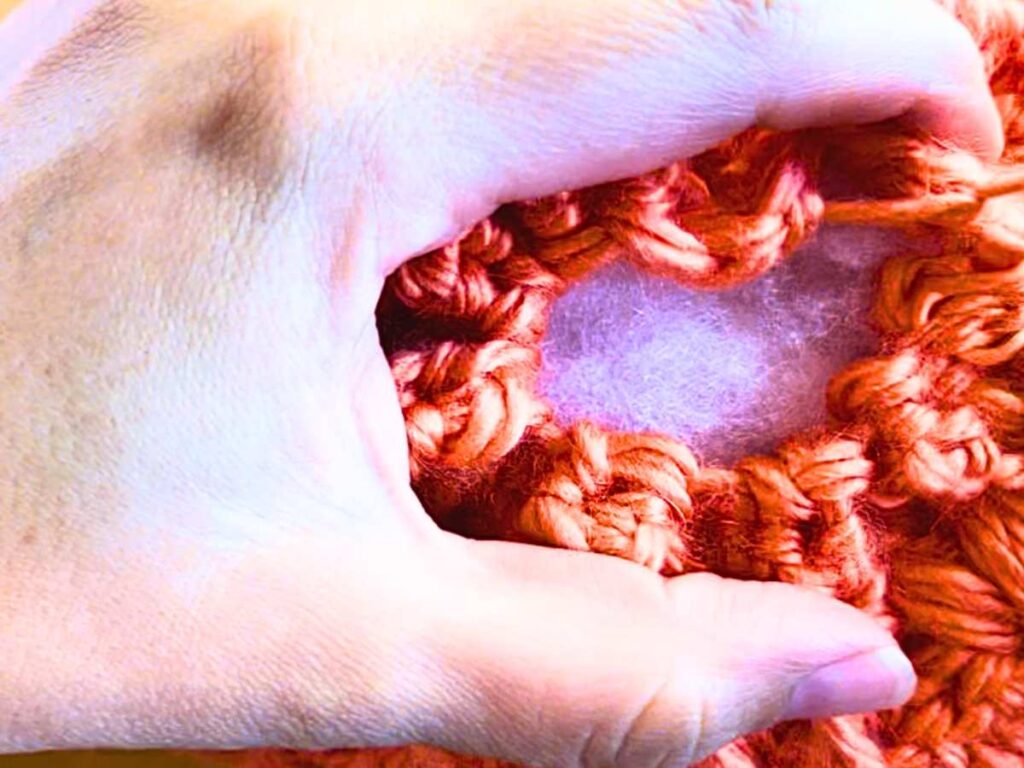
Thread your yarn up to the opposite opening. Sew the opening with a running stitch around the circumference. Pull it tight to cinch it closed. Secure the yarn so it doesn’t open again.
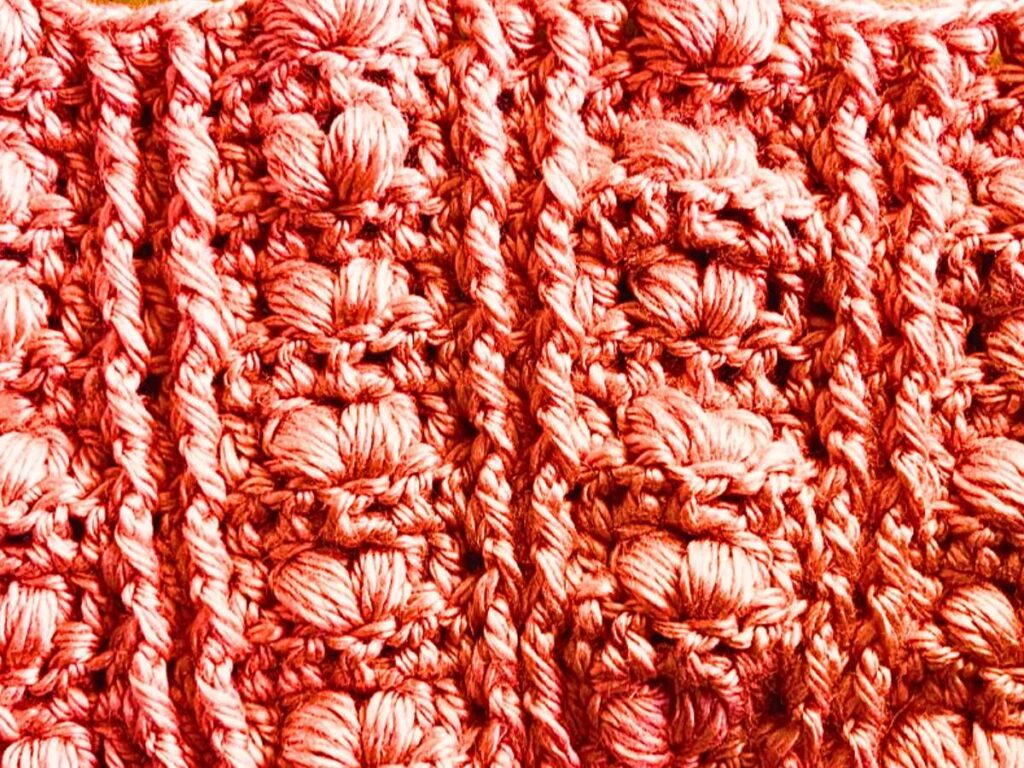
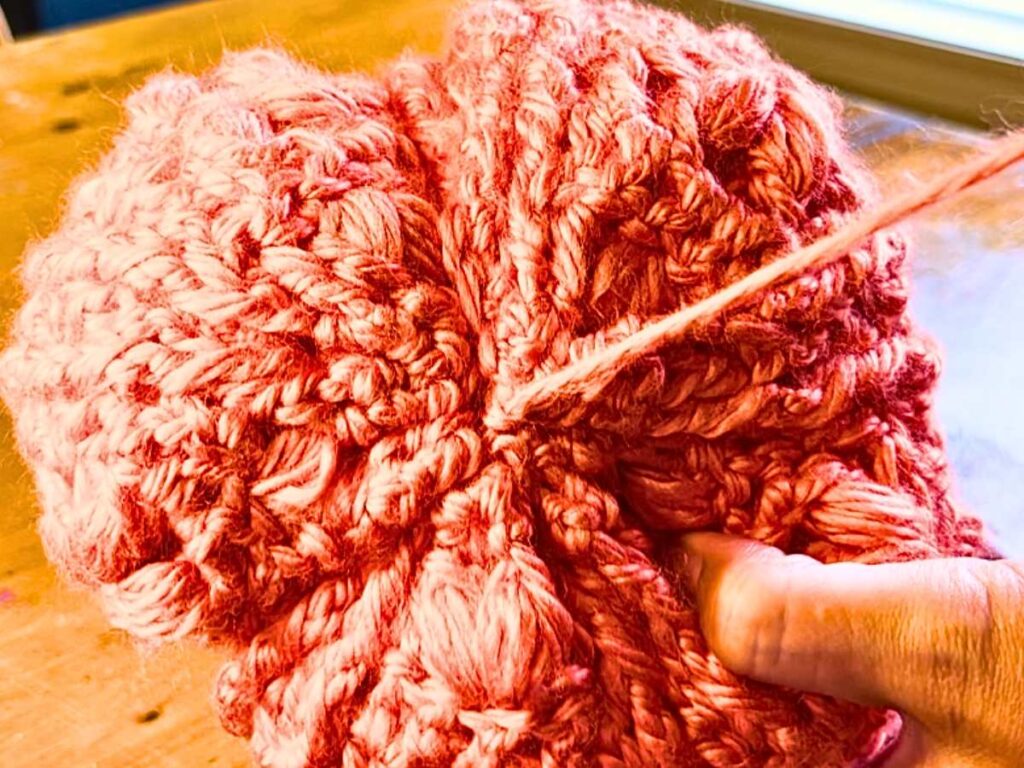
Take the yarn and wrap it from top to bottom. Sew it through the bottom and pull it tight. This will form a long indent in the side of the pumpkin. Continue to wrap from top to bottom, with the yarn. Pulling it tight and securing it, until you have the amount of indents around the pumpkin you desire. ( I ended with 7)
Through small opening in the top of your pumpkin, push through the cinnamon stick or the tree stick. This will be the stem of your pumpkin.
I would love to see how your pumpkins turned out! Want more FREE crochet patterns? Hop over here!
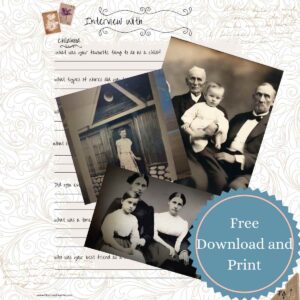
DON’T FORGET TO SIGN UP FOR TO GAIN ACCESS TO THE FREE SUBSCRIBERS LIBRARY! GET FUN AND USEFUL EMAILS FROM ME! ENJOY TONS OF FREE PRINTABLES, LIKE THIS ONE. START YOUR OWN FAMILY HISTORY BOOK!
One Comment