

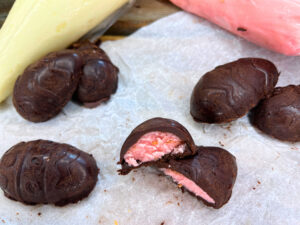
The Easiest Homemade Chocolate Truffle Candies
This vintage recipe for chocolate truffle candies are insanely simple to make! I know candy is usually a little tricky, you need a candy thermometer, have to deal with super hot boiling sugar, it’s all a bit daunting! Well not with these. You, in fact, don’t need to cook them at all! I know amazing!
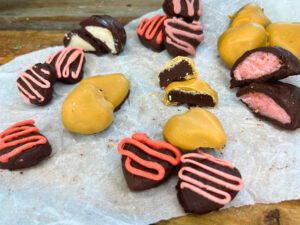
Easy homemade chocolate truffle candies only require 3 ingredients, plus whatever you want to decorate them with, so technically 4 ingredients, but the decorations are totally up to you!
They are, soft and moldable when you mix them. After formed into candies, they go into the refrigerator for about an hour and then are set and ready to decorate and eat!
Storage
Homemade Chocolate Truffle Candies in the freezer
Homemade chocolate truffle candies must be stored in an airtight container. They can be stored in the freezer for up to 3 months.
When you are ready to use them, remove from the freezer and allow to defrost on the countertop 1 hour, or until softened.
Homemade Chocolate Truffle Candies in the refrigerator
Store homemade chocolate truffle candies, in an airtight container, in the refrigerator for 1 week.
The candies should be ready to eat straight from the refrigerator. If you prefer your candies softer, allow them to soften at room temperature for 30 minutes.
Homemade Chocolate truffle Candies at room temperature
You can store homemade chocolate truffle candies on the countertop, in an airtight container, for 1 week, (depending if, and what, you have filled the candies). If left uncovered, the candies will dry out and will not taste as fresh.
How to form homemade chocolate truffle candies
The candies can be made in a few different ways, depending on the look you are going for.
Cut
The quickest and easiest way to make them, is to place the soft chocolate into a small square lined cake pan. Then, once it is set, remove the large chocolate square and cut it into bite sized pieces.
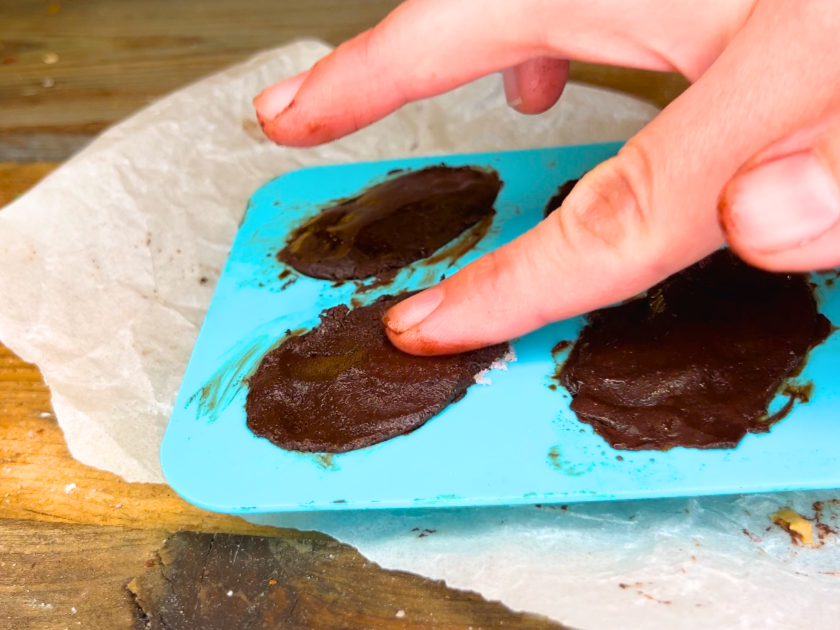
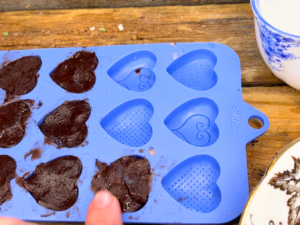
Silicone molds
Silicone molds come in a variety of shapes. To make homemade chocolate truffle candies using silicone molds:
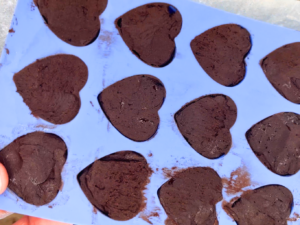

- Wet your fingers with cold water.
- Press enough soft chocolate into the mold to fill it.
- Remove any excess by running a knife over the top.
- Continue to dip your finger in water, as needed, to stop the chocolate from sticking.
- Place the filled mold in the refrigerator for 1 hour.
- Once set, remove the chocolates from the molds.
- Decorated if desired.
Free Form
If you don’t have a silicone mold, you can still make formed candies out of the chocolate! One of the easiest is to form it into a sphere by rolling a small amount between your hands. Make sure to wet your hands with cold water first.
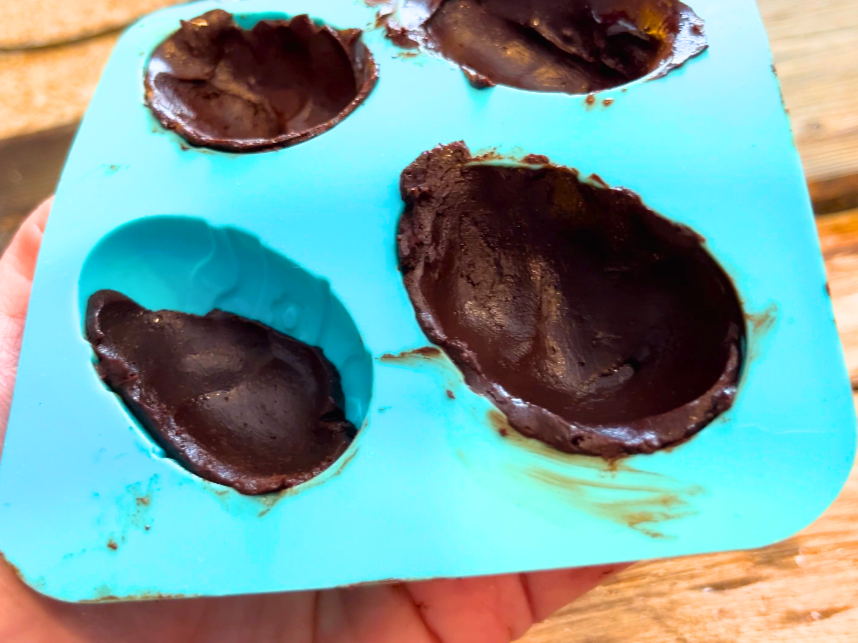
You can easily make simple shapes like hearts, eggs, and nests using just your hands!
Decorating Ideas for Homemade Chocolate Truffle Candies
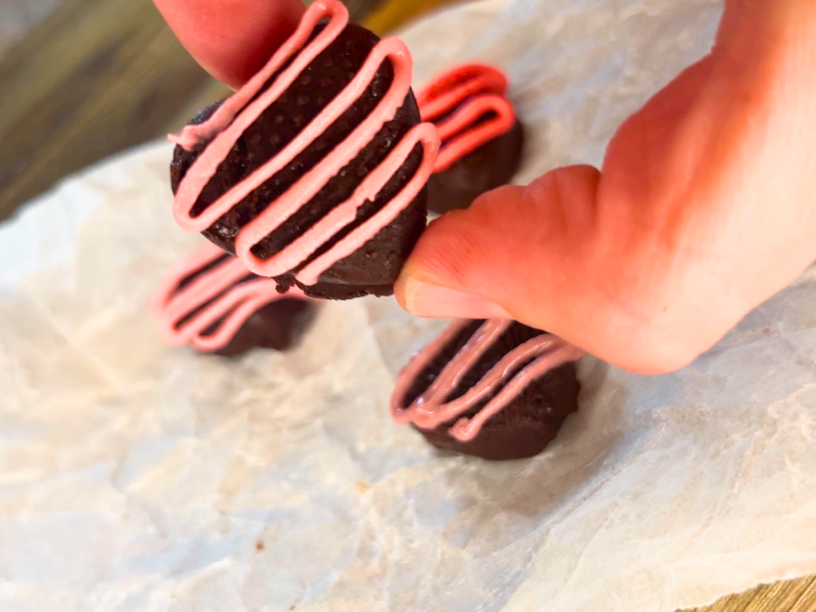
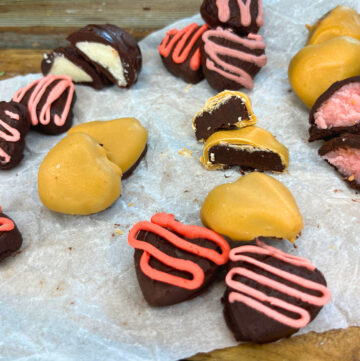
Drizzle
My favourite way to decorate homemade chocolate truffle candies is a little drizzle of colour.
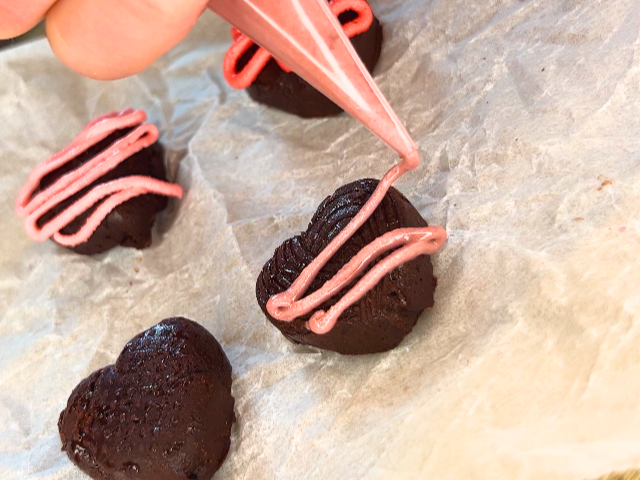
- Royal icing – This icing is thin enough to drizzle and it will dry hard on your candies!
- Melting candies – These easy to melt little wafers come in different flavours and colours. To drizzle, pop a few in a piping bag. Dip the bag in hot tea water until melted. Then decorate your candies!
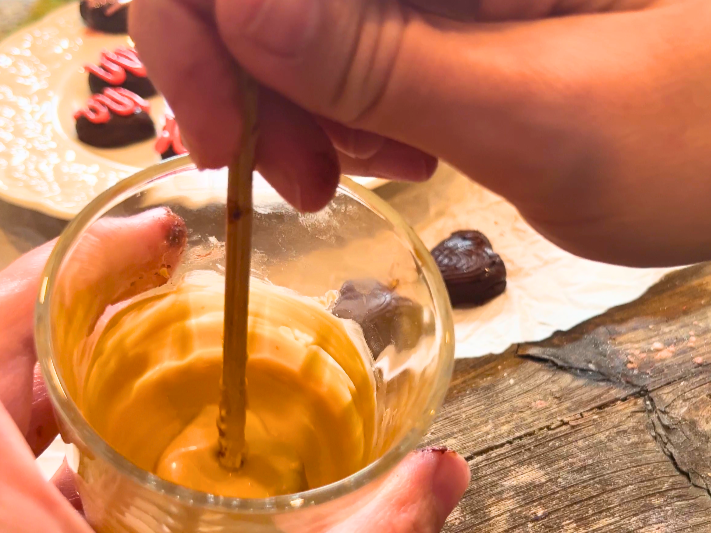
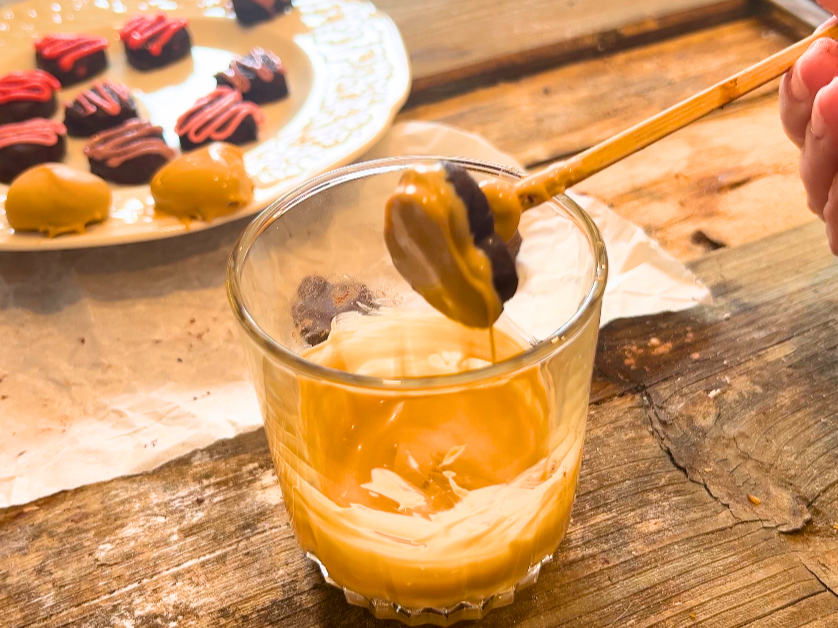
Dip
You can dip all, or part, of your homemade chocolate truffle candies, depending on the look you want to achieve.
- Tempered chocolate – This is a slightly finicky process, but the gorgeous shine from dipping your candies in tempered chocolate will make your homemade chocolate truffle candies look clean and professional!
- Sprinkles – While the candies are still soft dip all, or part, in some festive sprinkles.
- Melting candies – Melt these in a small dish or cup. Dip all or part of the candies. These will dry hard and look beautiful on the chocolates!
- Cocoa powder – Dust the outside of the candies in this rich powder while the chocolate is still soft.
- Coconut- Shredded coconut can be rolled on the outside of your candies while the chocolate is still soft.
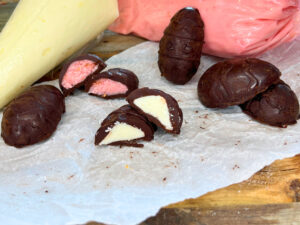
Filling
Although, not technically a decoration, this is a great option to add some interest and flavour to your homemade chocolate truffle candies!
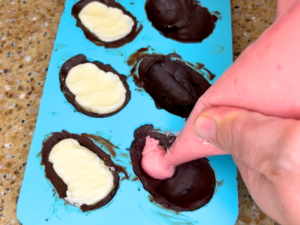
- Buttercream – Using buttercream is a great filling for chocolates! Using a mold, press the chocolate covering just the bottom and sides of the mold. Into the centre cavity, pipe the buttercream. Allow to chill 15 mins. Cover the buttercream over with more of the chocolate and smooth. Chill for 1 hour and pop out of the mold. Try classic vanilla or a flavoured buttercream.
- Caramel – Chocolate and caramel is a match made in heaven. Try this recipe for a great caramel perfect for filling chocolates!
- Nut butters – After filling your candies make sure to chill the nut butter. If the butter is quite soft, you could freeze the filled chocolates. This will make layering on the chocolate much easier afterwards.
Ingredients for Homemade Chocolate truffle Candies
¼ cup cocoa powder 50 ml
⅔ cup icing sugar 150 ml
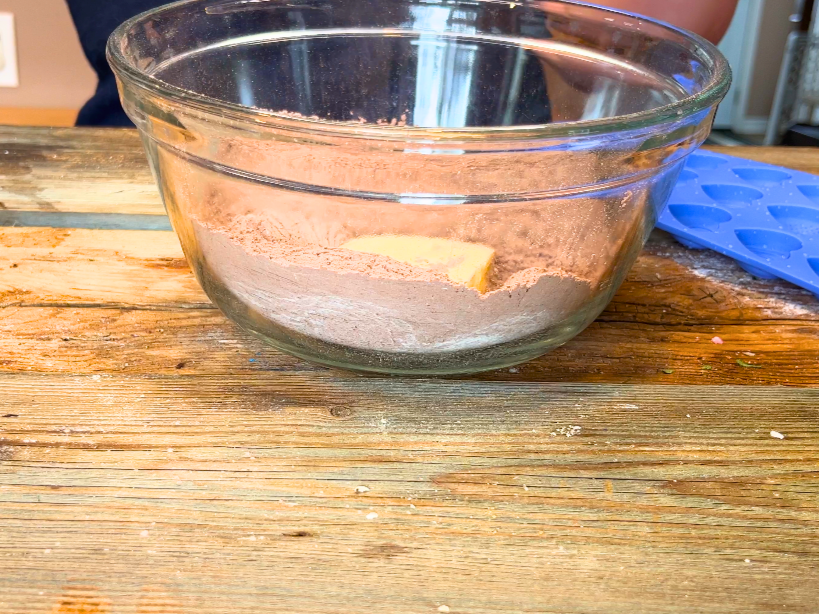
¼ butter, softened 60 ml
decorations or fillings of choice

Method
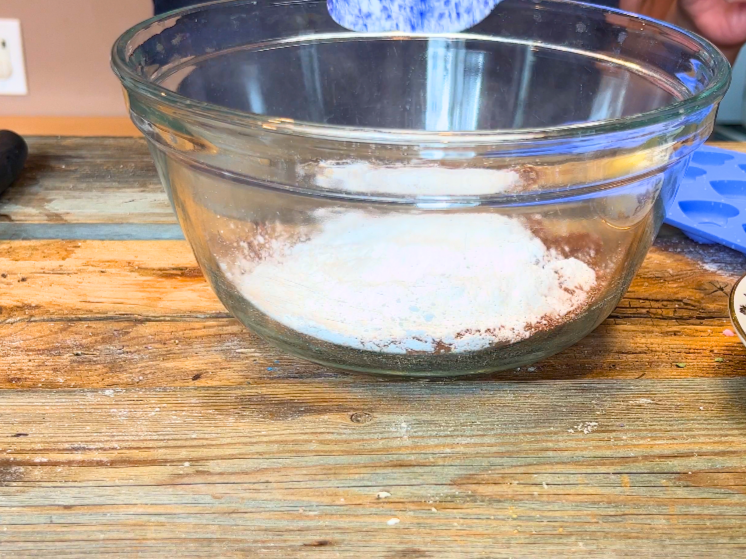
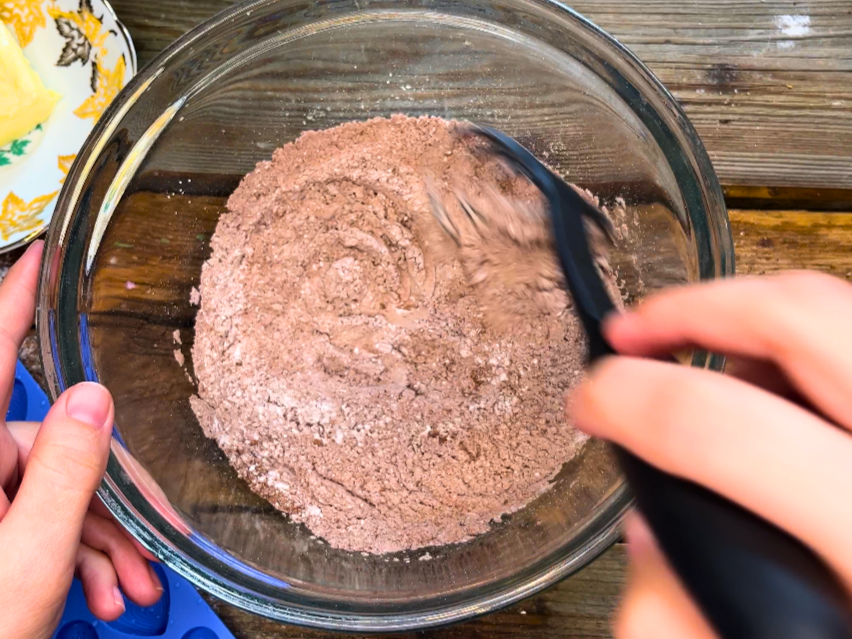
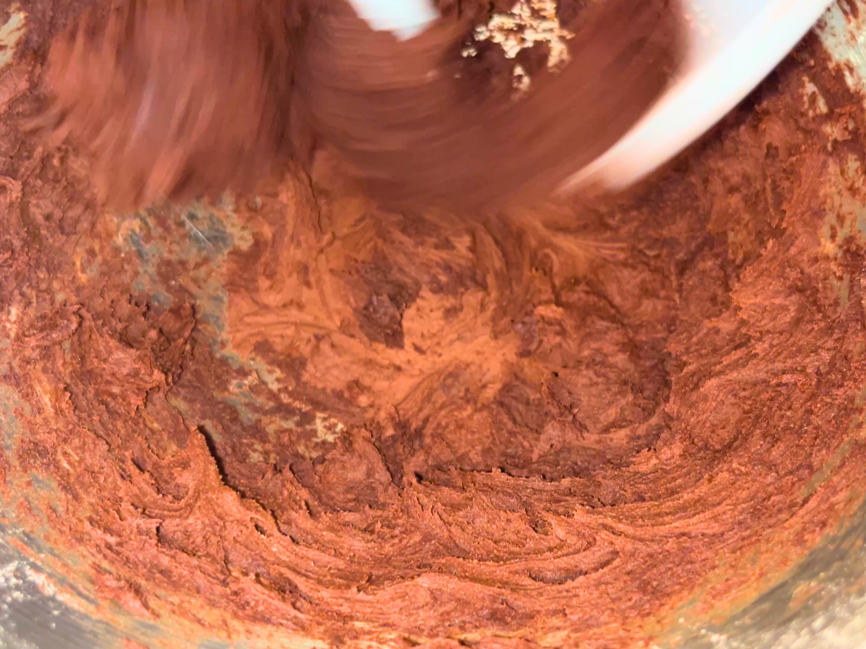
- In the bowl of a stand mixer, or a large bowl with beaters, cream the butter, cocoa powder, and icing sugar together. Make sure to start on low until the powder is incorporated. Then, increase the speed to cream the mixture together.
- If you are going to place the chocolate in molds, form the chocolate into each section of the mold. Wet your finger in cold water to stop the chocolate from sticking. Smooth off the top with a sharp knife. Refrigerate 1 hour to set.
- If you are going to cut them into candies afterwards. Press the chocolate into a lined square pan. Chill 1 hour. Remove and cut into bite-sized pieces.
- If you are going to make these into free-form shapes. While the chocolate is still soft, form the chocolates into shapes. Wet your hands as needed to stop the chocolate from sticking. Chill 1 hour.
- If decorating with sprinkles, cocoa, or coconut, do this before you chill the chocolate.
- If dipping or decorating with drizzle, do this after you chill the chocolates.

Homemade chocolate truffle candies
Ingredients
- ¼ cup cocoa powder 50 ml
- ⅔ cup icing sugar 150 ml
- 4 tablespoons butter, softened 60 ml
- decorations or fillings of choice
Instructions
- In the bowl of a stand mixer, or a large bowl with beaters, cream the butter, cocoa powder, and icing sugar together. Make sure to start on low until the powder is incorporated. Then increase the speed to cream the mixture together.
- If you are going to place the chocolate in molds, form the chocolate into each section of the mold. Wet your finger in cold water to stop the chocolate from sticking. Smooth off the top with a sharp knife. Then refrigerate 1 hour to set.
- If you are going to cut them into candies afterwards. Press the chocolate into a lined square pan. Chill 1 hour. Remove and cut into bite-sized pieces.
- If you are going to make these into free-form shapes. While the chocolate is still soft, form the chocolates into shapes. Wet your hands as needed to stop the chocolate from sticking. Chill 1 hour.
- If decorating with sprinkles, cocoa, or coconut, do this before you chill the chocolate.
- If dipping or decorating with drizzle, do this after you chill the chocolate.
Looking for some more bite-sized snacks? Try one of these! How to make Profiteroles, How to make puff pastry appetizers, No-bake Rich Chocolate mint bars