How To Make an Easy Croquembouche
By Rebecca St.Clair
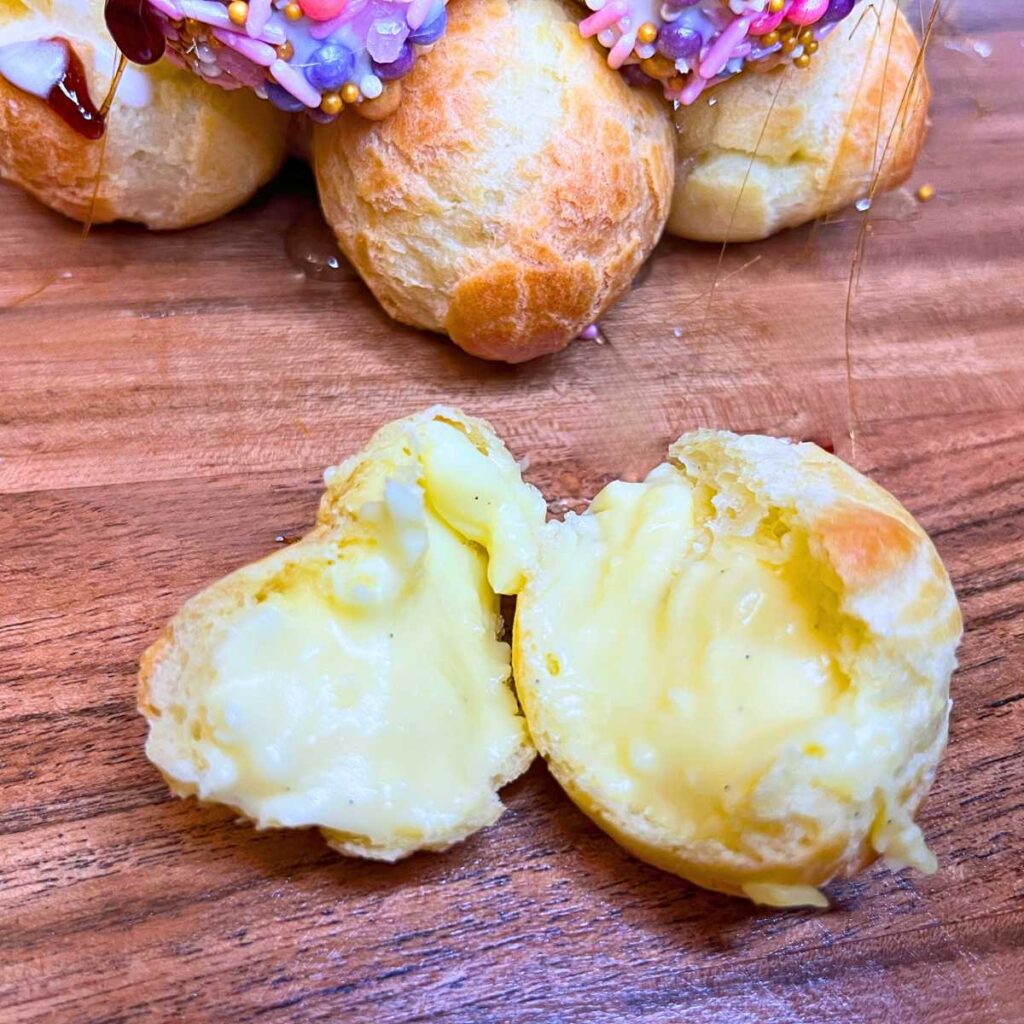
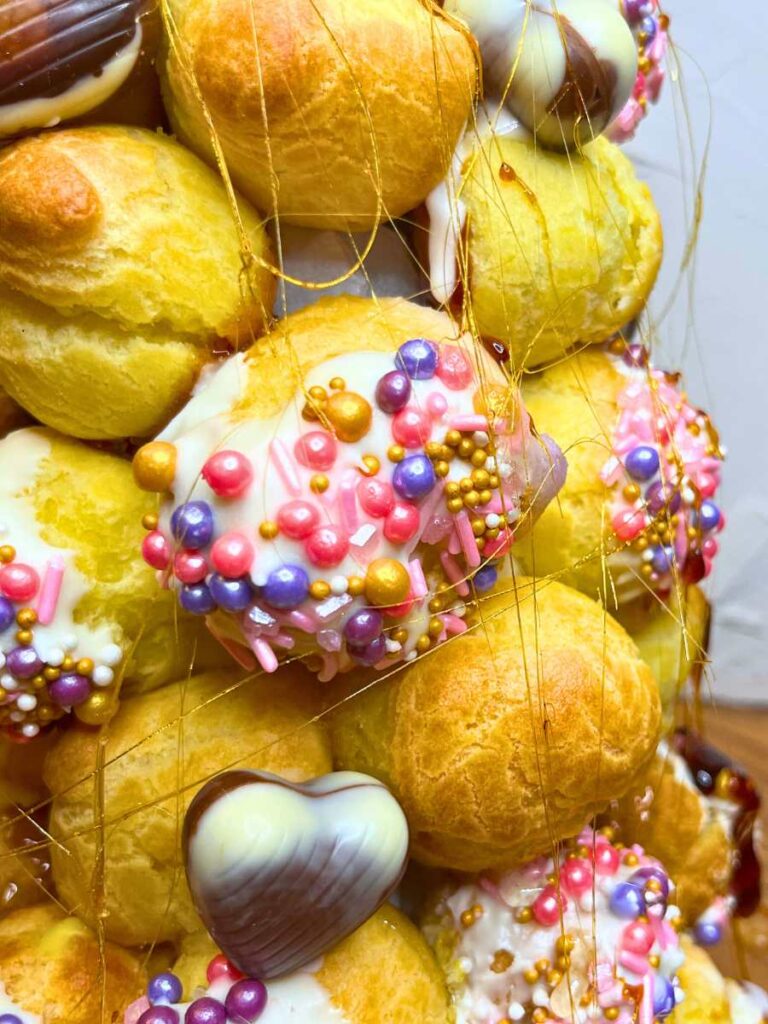
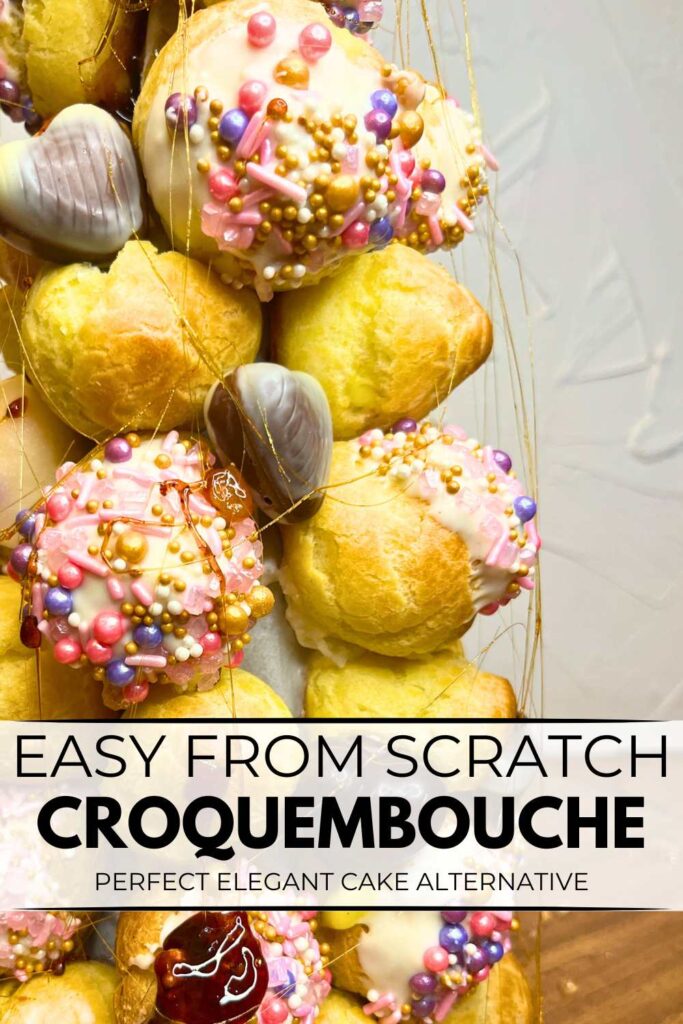
A croquembouche, pilled high and encased in strands of hard caramel, is as fun to make as it is to eat! Soft and airy pastry puffs, filled with rich pastry cream, or soft whipped cream.
These dreamy bitesized decadent desserts are then piled and glued together with sweet and glossy caramel, making perfect balance of crisp, airy pastry and rich, velvety custard.
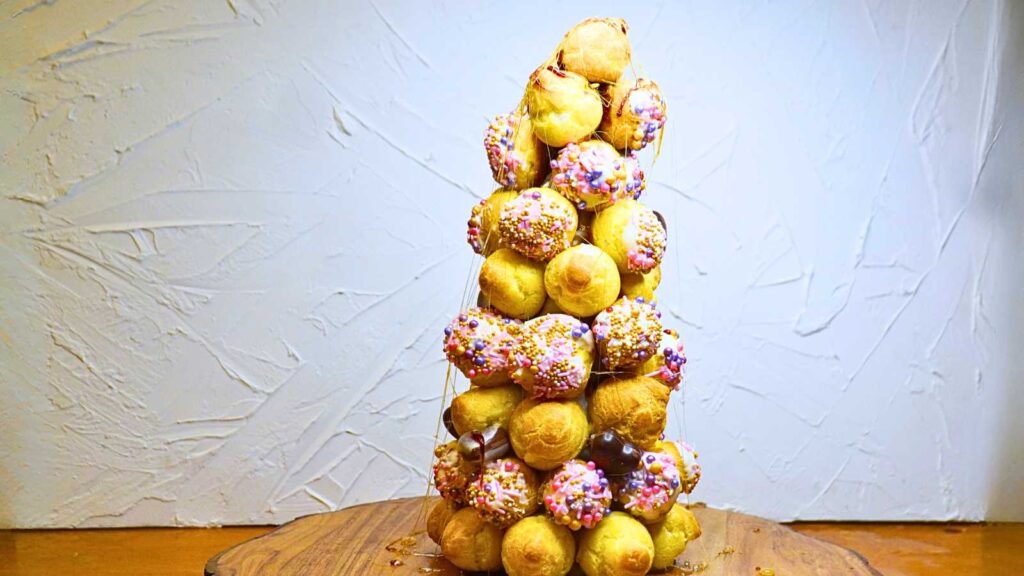
This dramatic dessert is perfect for any celebration, with perfect combination of elegance and indulgence in every bite.
What is a Croquembouche?
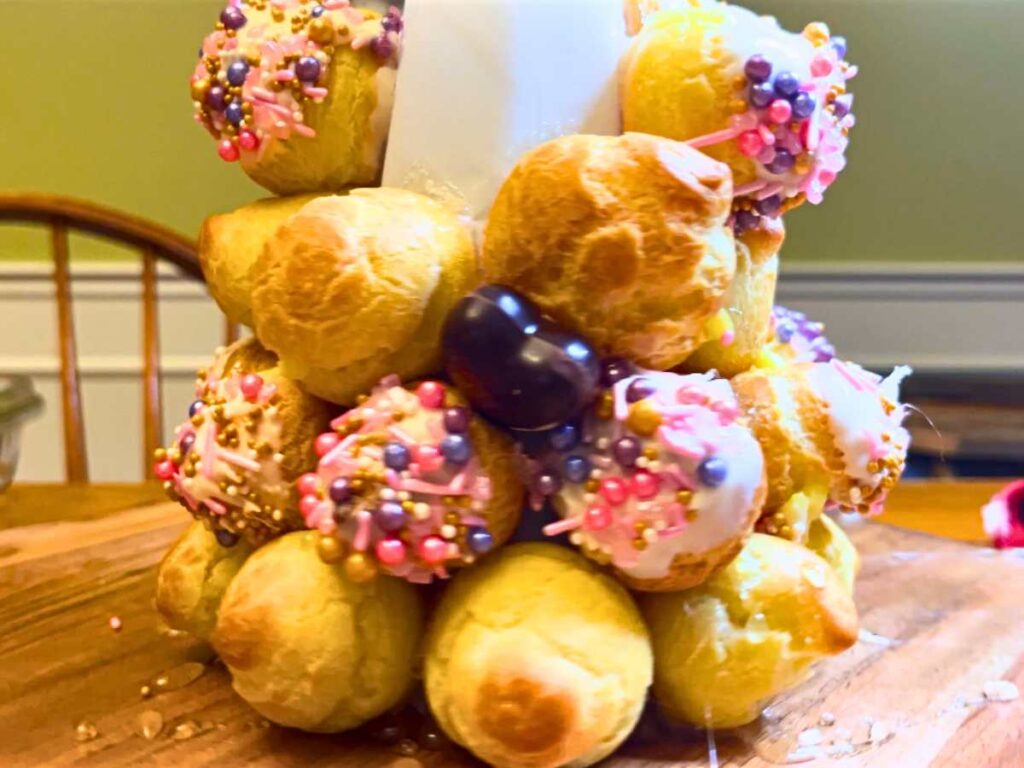
A tower of delicate, golden-brown profiteroles filled with luscious vanilla cream. The profiteroles are dipped in smooth caramel to glue them into the dramatic shape.
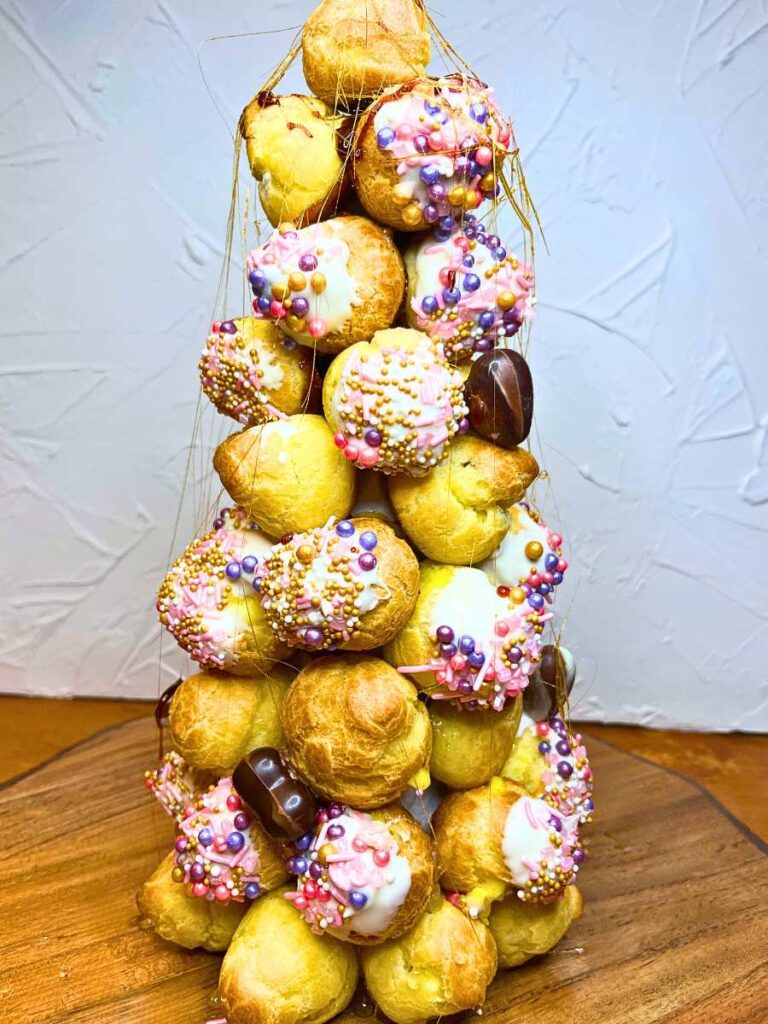
This dessert consists of filled profiteroles piled high into a towering cone. The profiteroles hold onto the cone, and each other, with a sticky caramel that dries hard.
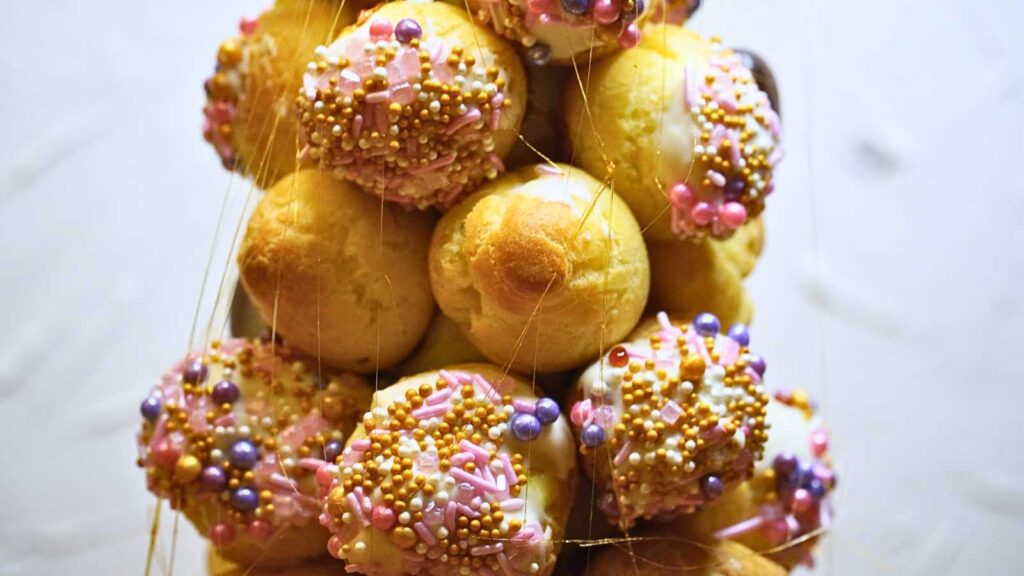
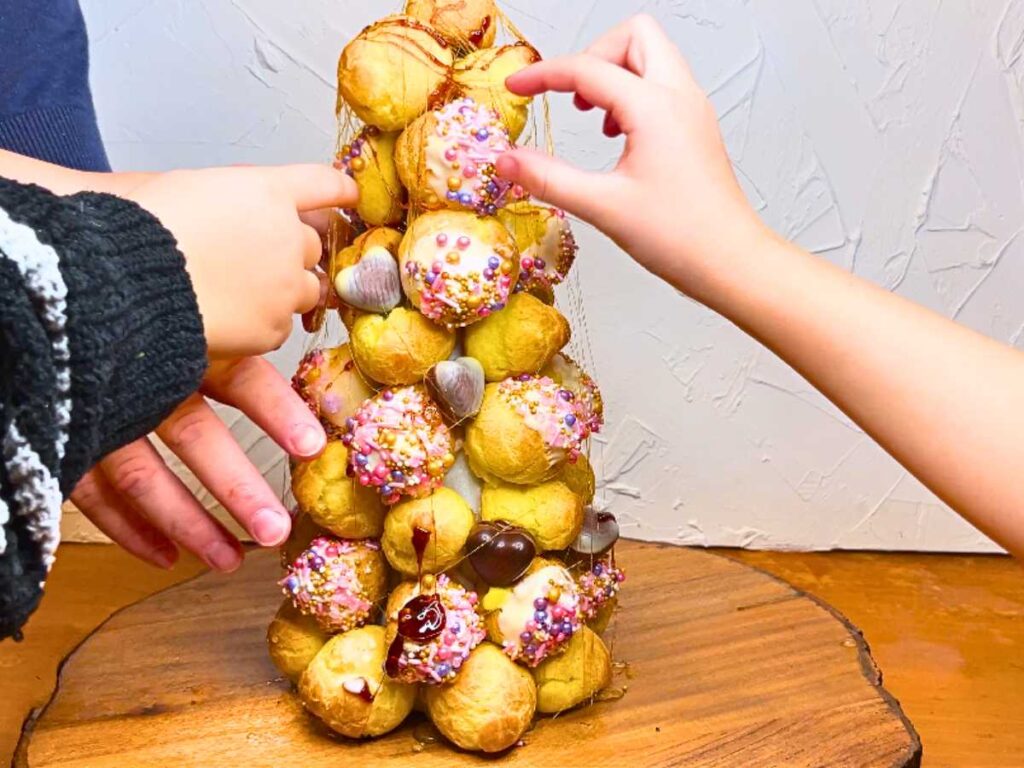
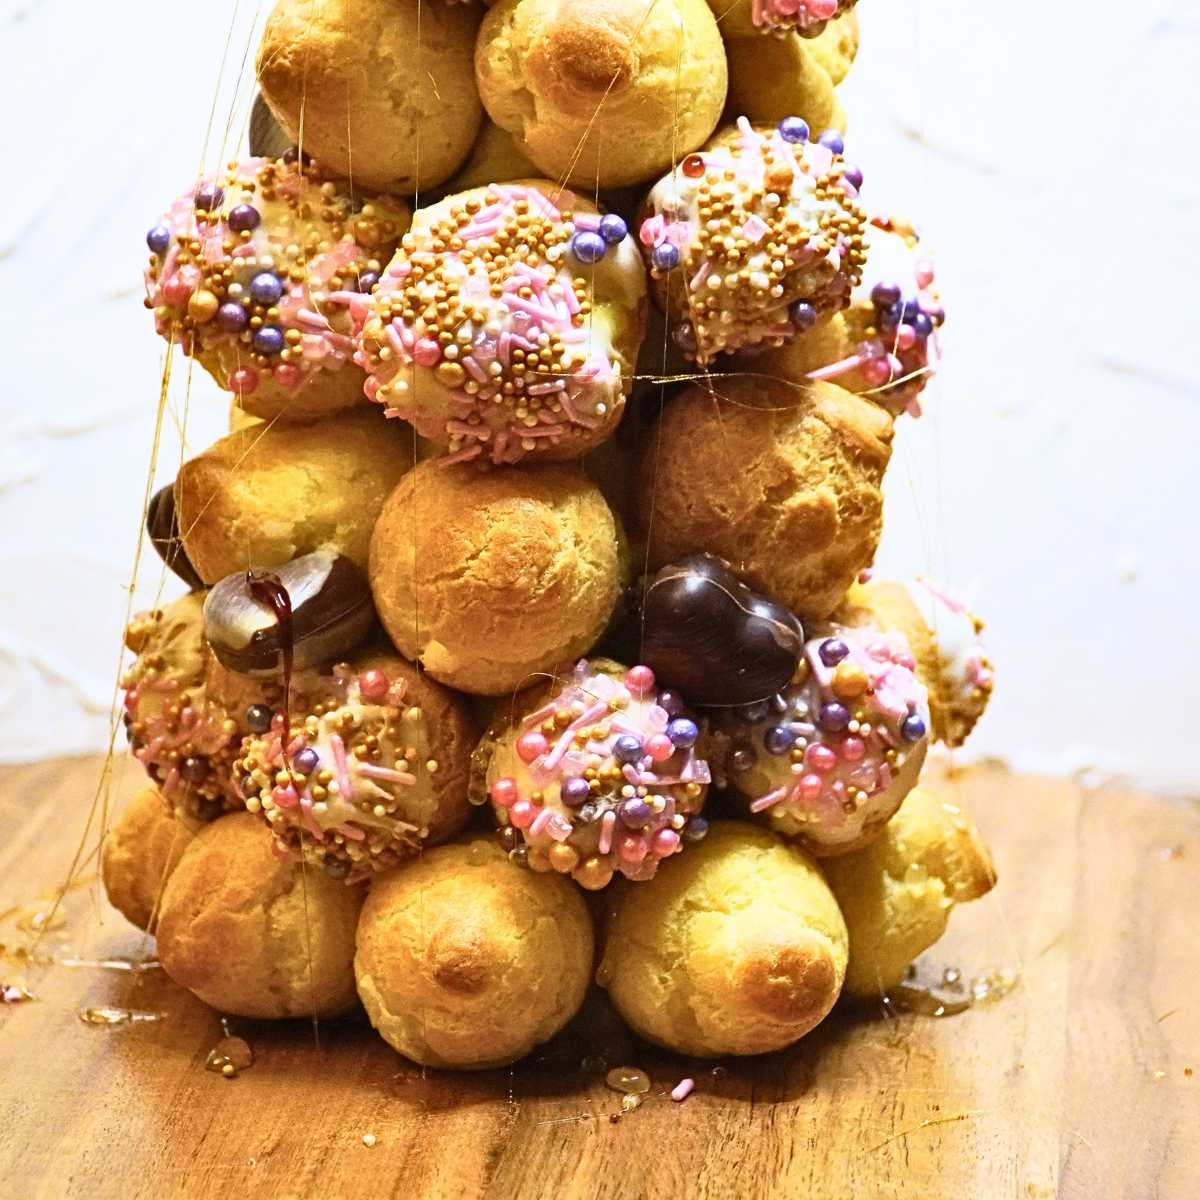
To really elevate your dessert, the profiteroles can be dipped in chocolate and extra adornments can be added to the tower. Be sure to spin little strands of the caramel around your tower to make beautiful sugar cage!
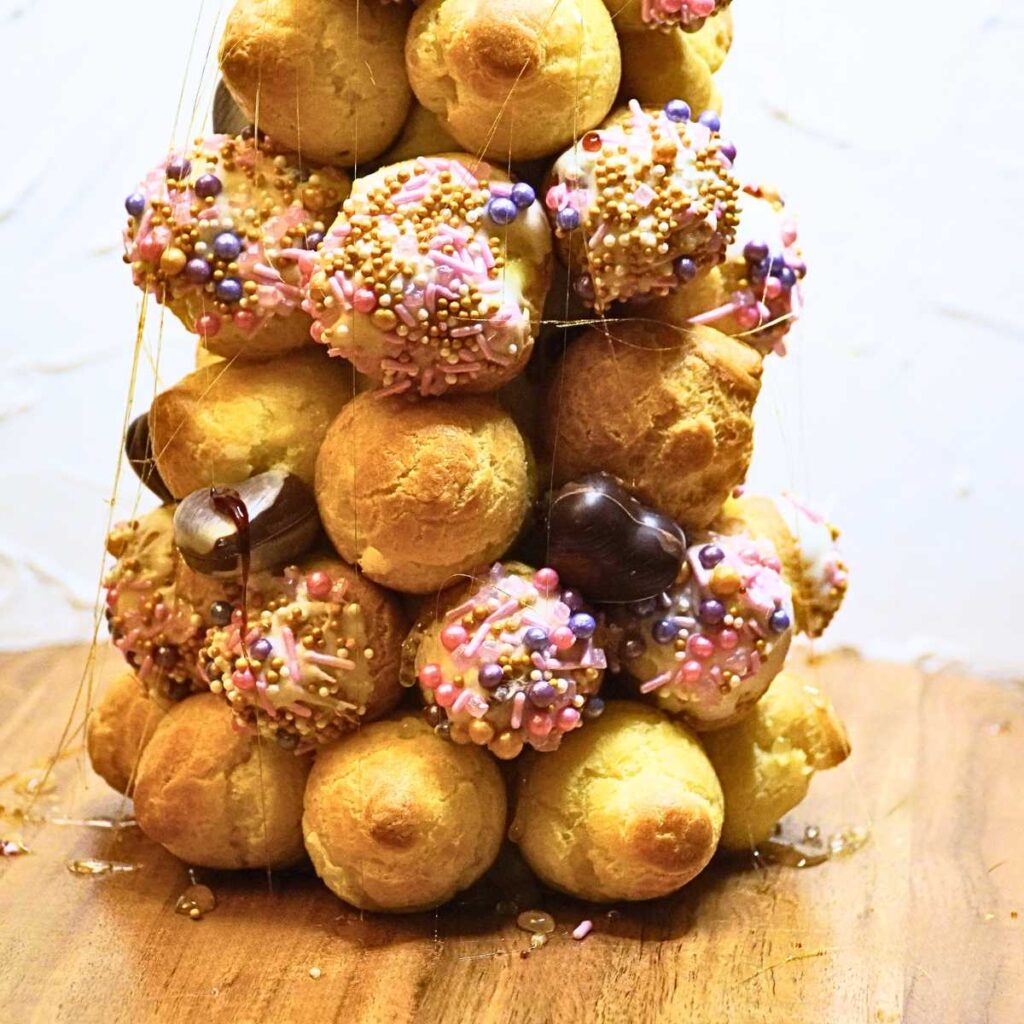
A croquembouche is classically made with profiteroles, however, to add some interest you can also other small treats like macaron, truffles, doughnuts, and other small pastries.
Croquembouche is a word made up for this dessert. It is from the words croque en bouche. This translated from French to English is crunches in the mouth. The crunch comes from the hard crystalized caramel that is holding the dessert together.
Where is croquembouche from?
Like a lot of extravagant and artistic food, the croquembouche is from France. Most agree that the inventor of the croquembouche is Marie-Antoine Carême, the French pastry chef, in the late 1700’s.
Now the croquembouche is a special occasion dessert. It is typically served at weddings, baptisms, Christmas and first communions. However, in my family, we always serve it on New Year’s Eve!
Can I make a croquembouche in advance?
You can make some elements of a croquembouche in advance. A classic croquembouche is assembled and served fresh . This is because of the texture of the profiteroles, the perishable nature of pastry cream, and the stability of the caramel sugar.
However, since a croquembouche is a more intricate dessert, making some of these items in advance can really relieve the pressure, if you are tying to prepare this for a gathering or event.
To make a croquembouche in advance,
- Store premade pastry cream in the refrigerator, 1-2 days in advance.
- Make profiteroles and store at room temperature, unfilled, in an airtight container 2 – 3 days.
- The cone form can be made in advance.
Everything else should be made, and assembled, within two hours.
Storage
It is best to enjoy the croquembouche fresh. Cover any left overs and store in the refrigerator for up to 3 days.
Profiteroles can be stored in an airtight container, in the freezer, but the texture of the pastry cream may be altered.
The texture of the caramel will become sticky and start to melt, when stored in the refrigerator or freezer, so it is best to disassemble before storage.
A croquembouche should be eaten within two hours, for proper food handling and safety. This is due to the pastry cream filling. If you are making your croquembouche with something other than pastry cream, the amount of time you can leave it out, without refrigeration, will depend on the filling.
How to assemble a classic croquembouche
The best way to make this dessert into a well formed, and sturdy, cone shape is to have a premade cone underneath.
Make a simple cone form yourself with parchment paper around something stable like a cup or buy a premade cone form at most craft or cake supply stores.
If your cone is made of a material like Styrofoam or cardboard, cover the entire form with a piece of parchment paper first. Then, glue the filled pastries to the cone.
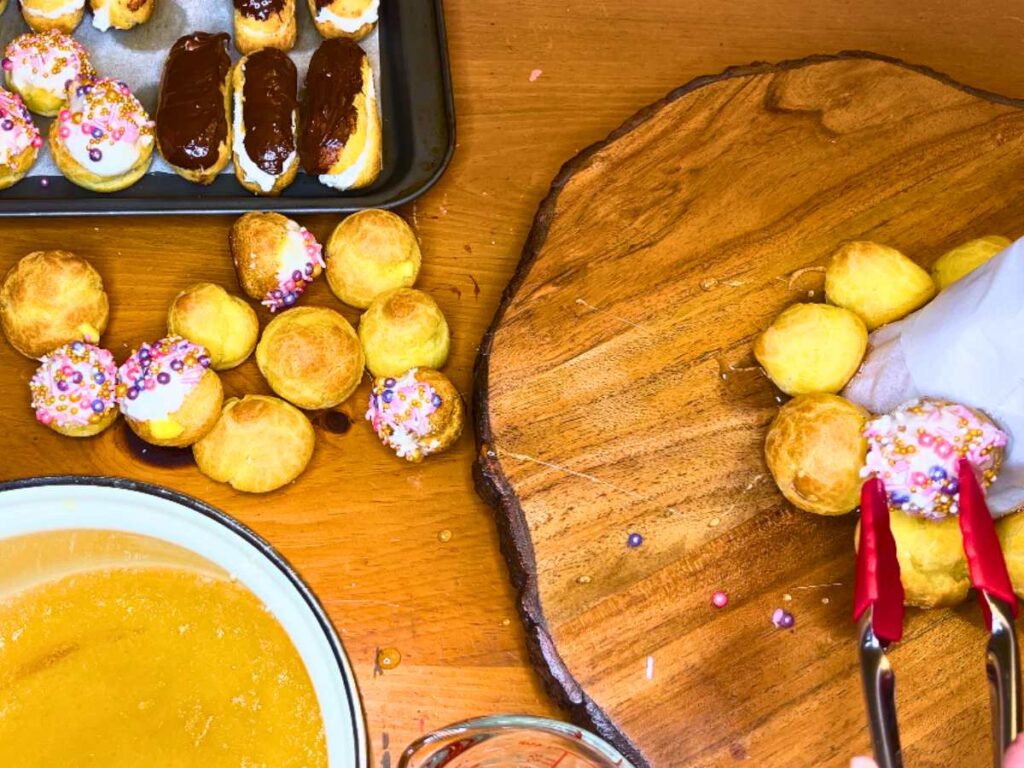
The glue for the croquembouche is made of a caramel that is liquid when heated but dries hard. This caramel is molten hot and will stick to your skin. So extra care is needed when using the caramel.
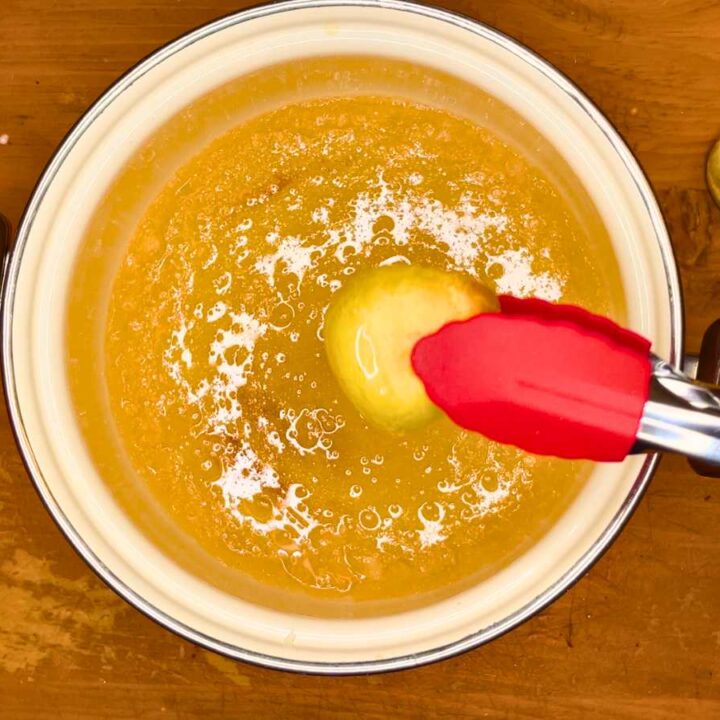
Dip each profiterole in the “glue”. A good option is to use kitchen tongs to prevent any of the caramel from touching you. Stick the pastries to the cone, and to each other, as you continue to move upward towards the peak.
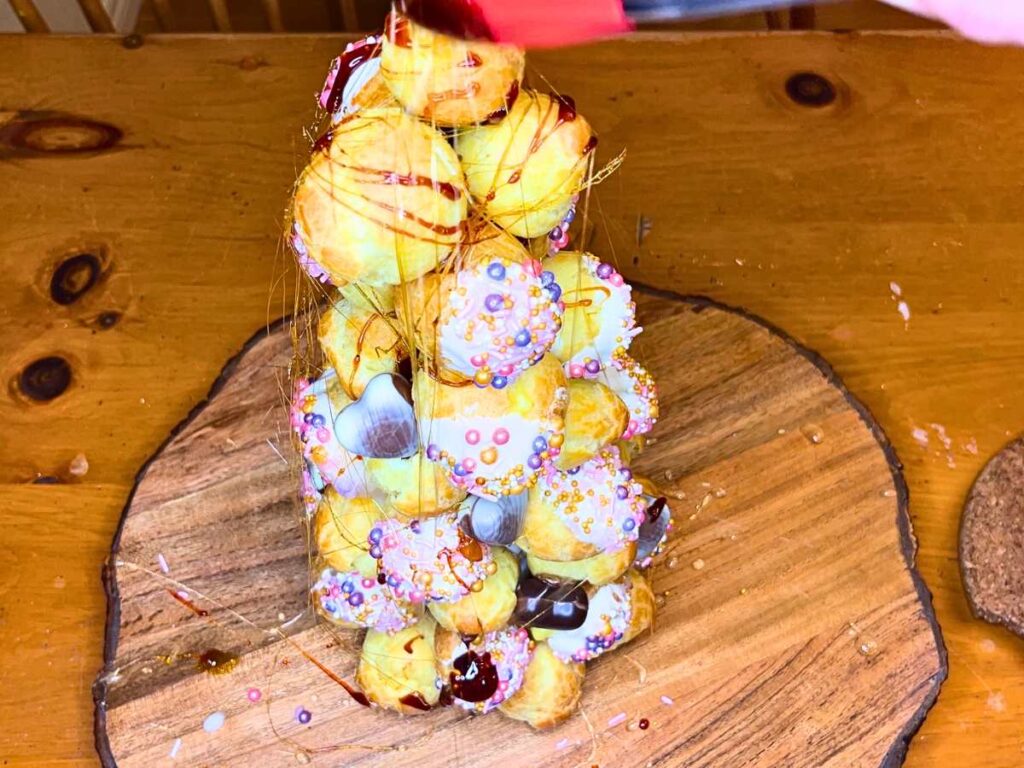
Once the entire cone is covered, take a spoon and swirl the hot caramel sauce around the outside, encasing the entire thing in a sugar cage!
How to eat a croquembouche
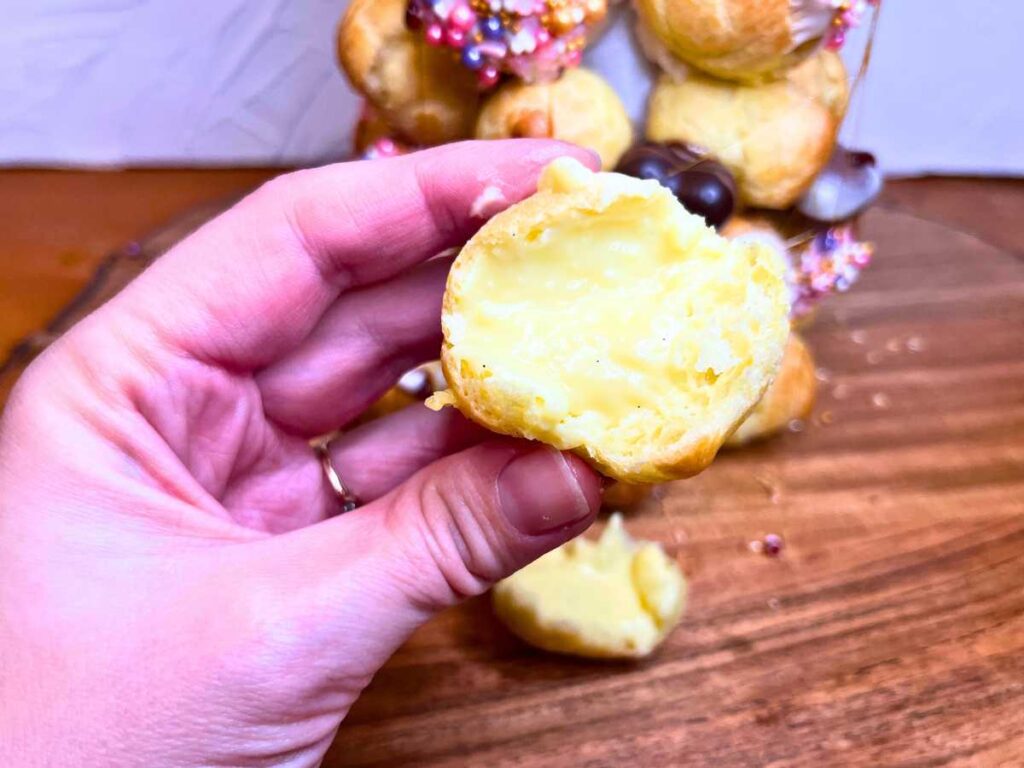
This is the fun part! To eat a croquembouche, brake through the sugar cage, grab a profiterole and break it off of the tower. Now you have a perfectly filled profiterole with a bit of crunchy, sugary caramel glaze!
The soft, velvety, filled profiteroles pairs perfectly with the delicate crunch of the caramel, making this a dessert that guests will remember!
Ingredients
For a medium croquembouche you will need:
1 recipe for pastry cream or filling of choice
A cone form, store bought or homemade
1 recipe for caramel glue (below)
Assembly
Set-up
- Make and fill the profiteroles with either pastry cream, whipped cream, or your filling of choice.
- Prepare either a store-bought or homemade cone, by covering it and securing parchment paper. I used a paper cup and formed the parchment paper around for stability. Place this on your serving tray. You can omit the cone form and just glue the profiteroles into a tower shape. However, you will need more filled pastries to make up for the space in the middle.
- Have everything set up and ready for assembly. Once the glue is made you must work quickly before the caramel starts to harden in the pot.
- Prepare the recipe for caramel glue.
Building the tower
- Carefully dip each filled profiterole into the caramel, just enough to glue it to the form.
- Working in a spiral, from the bottom up, continue to dip and glue the profiteroles onto the form.
- I find that halfway through the process, my glue becomes cool and needs to rewarm to become liquid again. To avoid this, after gluing the base of the tower, return the pot to the stove, on low heat. This will not over cook your caramel and will keep it just warm enough to ensure the glue stays liquid, during the entire process. Turn it off when you are almost at the top of the cone. This will allow you to dip and glue, but the caramel will start to cool and become slightly thicker, in preparation for making the caramel cage around the croquembouche.
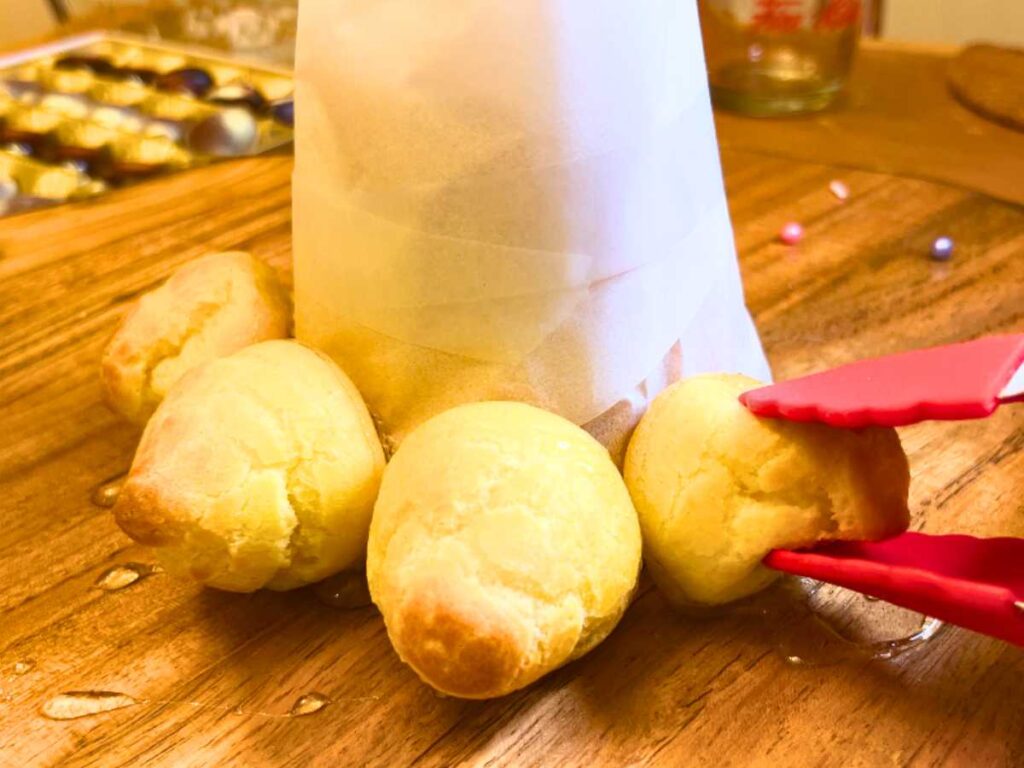

4. Continue to glue your tower together, until you cannot see the cone form.
5. Bring the pot of caramel close to the tower. With a spoon, spiral little strands of the caramel around the croquembouche. Since the strands are so thin, they should become hard quite quickly allowing them to make the cage.
6. Present as a beautiful dessert centrepiece!
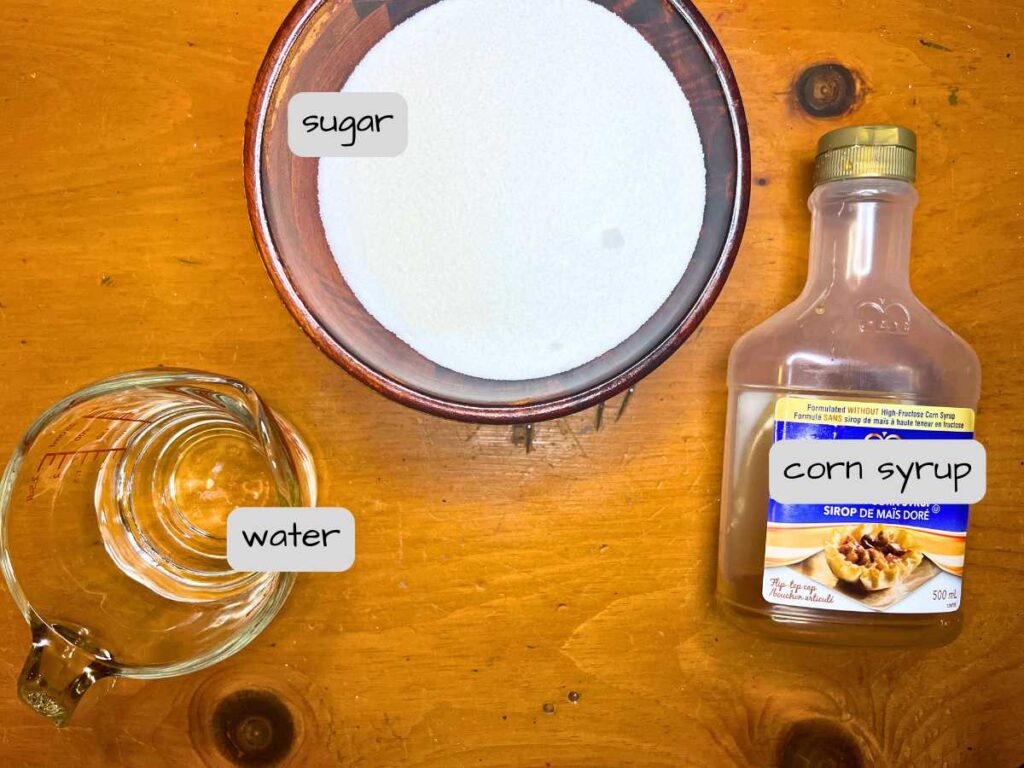
Ingredients for Caramel Glue
¼ cup of water 60 ml
1 ½ cups white sugar 300 g
1 ½ Tablespoons corn syrup 22 ml
Method
- In a medium sauce pot over med-high heat, add all of the ingredients and bring to a boil. Don’t stir!
- Meanwhile, prepare a large bowl, or tray, that will fit the pot. Place ice and water in the bowl to make an ice bath. Use this to immediately stop the caramel from cooking if you notice that it is getting too dark.
- Once you see the caramel turn a very light caramel or light-amber colour, remove from the heat. It will continue to cook, so I take it off before it gets dark.
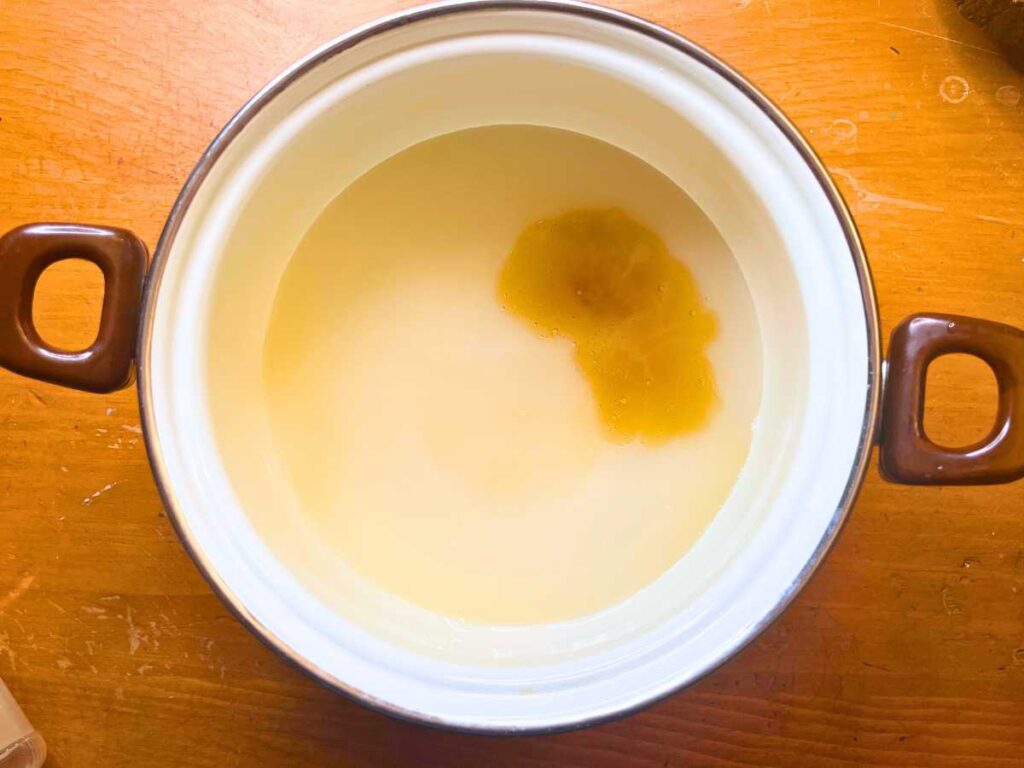
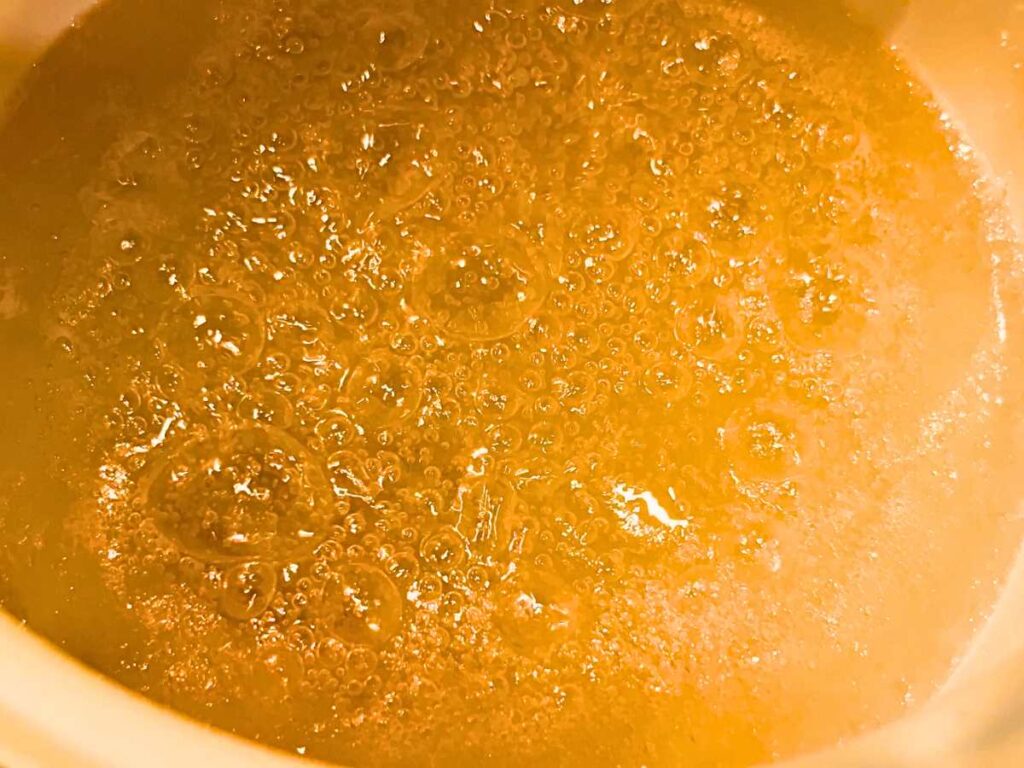
4. Carefully, dip the filled profiteroles into the caramel, just enough to glue them onto the cone. Be very carful not to get any onto your skin, as it will burn and stick to your skin. Kitchen tongs can be used for this.
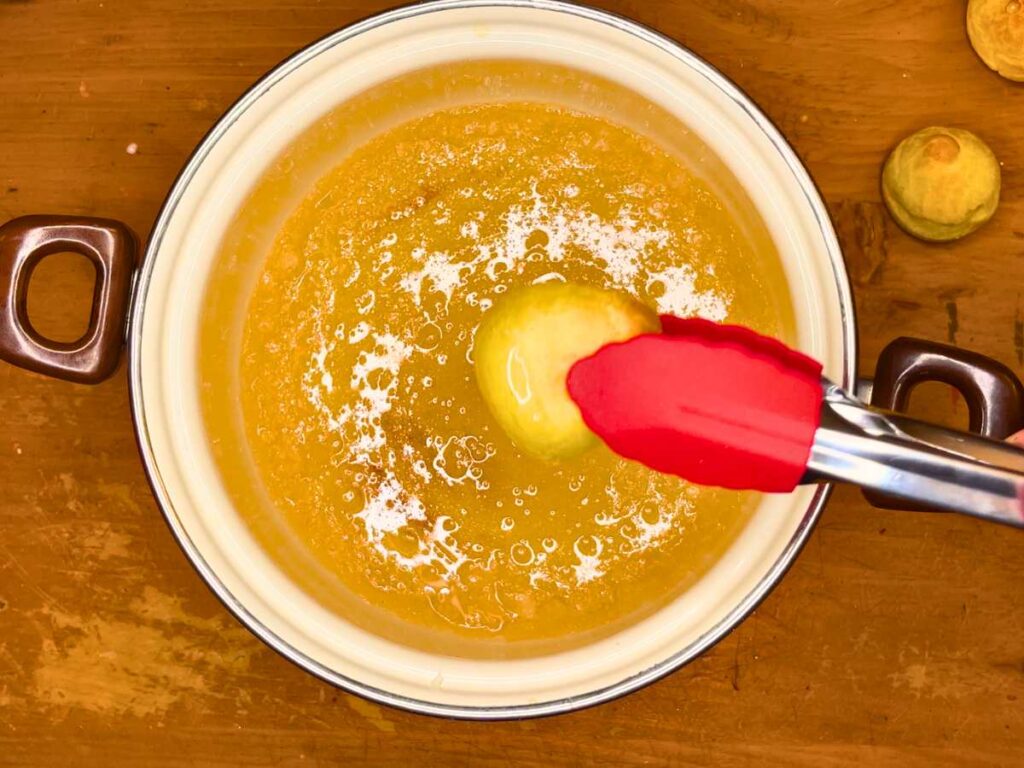

5. Return the pot of caramel to low heat, once it starts to cool and become thicker. This will keep the caramel liquid for the entire process.
6. Remove the caramel from the heat, once the croquembouche is formed. Allow the caramel to cool and thicken slightly.
7. Dip a spoon in the caramel and make a spun sugar cage by swirling strands of caramel around the dessert tower. They will look like thread-like strands of hard caramel.
8. Once finished, the leftover caramel will solidify to the bottom of the pot. To clean this, boil the hard caramel with water until it is liquid and thinned with the water.
Hard Caramel Glue
A molten, thin, sticky caramel that dries hard quickly. This can be used to glue pastries together.
Ingredients
- ¼ cup of water 60 ml
- 1 ½ cups white sugar 300 g
- 1 ½ Tablespoons corn syrup 22 ml
Instructions
- In a medium sauce pot over med-high heat, add all of the ingredients and bring to a boil. Don't stir!
- Meanwhile, prepare a large bowl, or tray, that will fit the pot. Place ice and water in the bowl to make an ice bath. Use this to immediately stop the caramel from cooking if you notice that it is getting too dark.
- Once you see the caramel turn a very light caramel or light-amber colour, remove from the heat. It will continue to cook, so I take it off before it gets dark.
- Carefully, dip the filled profiteroles into the caramel, just enough to glue them onto the cone. Be very carful not to get any onto your skin, as it will burn and stick to your skin. Kitchen tongs can be used for this.
- Return the pot of caramel to low heat, once it starts to cool and become thicker. This will keep the caramel liquid for the entire process.
- Remove the caramel from the heat, once the croquembouche is formed. Allow the caramel to cool and thicken slightly.
- Dip a spoon in the caramel and make a spun sugar cage by swirling strands of caramel around the dessert tower. They will look like thread like strands of hard caramel.
- Once finished, the leftover caramel will solidify to the bottom of the pot. To clean this, boil the hard caramel with water until it is liquid and thinned with the water.
Notes
Keep a large dish of ice water close to dip the bottom of the pot in. This will stop the cooking process immediately, if the caramel starts to become too dark.
Nutrition Information
Yield
10Serving Size
1Amount Per Serving Calories 125Total Fat 0gSaturated Fat 0gTrans Fat 0gUnsaturated Fat 0gCholesterol 0mgSodium 3mgCarbohydrates 32gFiber 0gSugar 32gProtein 0g
Hungry for some more fun finger foods to serve with this delicious dessert? Check out these recipes!
Don’t forget to sign up to get my favourite recipes right to your inbox and gain access to the FREE Printables library! I’m adding new things all the time for you to enjoy!

One Comment