

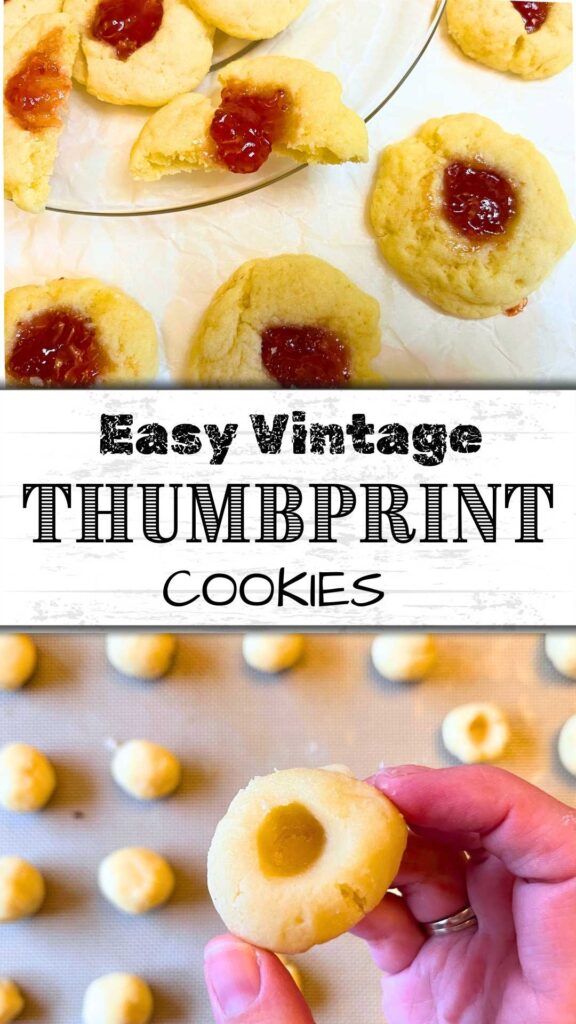
Vintage thimble or thumbprint cookies
By Rebecca St. Clair
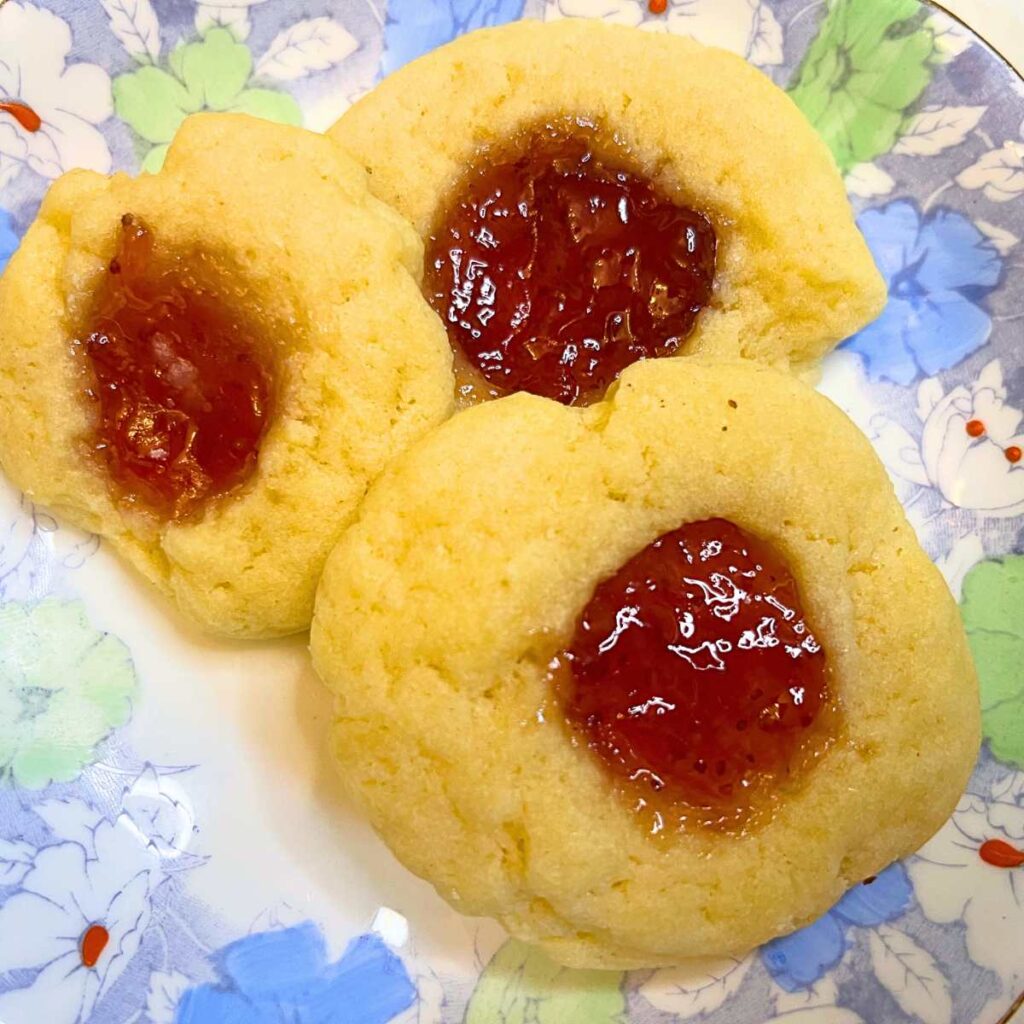
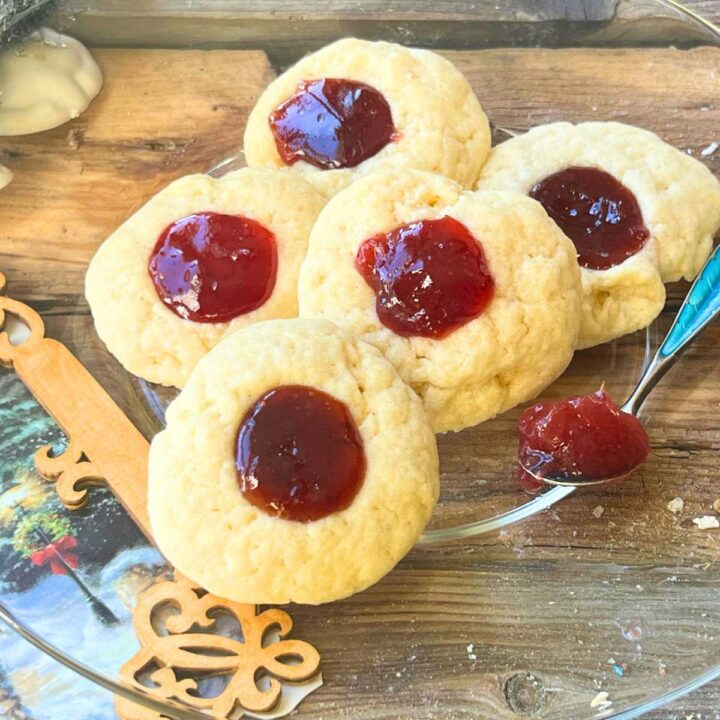
Thumbprint or thimble cookies can be enjoyed any time of year, but in my house they only make an appearance during the holidays. Everyone looks forward to these little bite-sized, soft and tender cookies with a generous dollop of ruby red jam in the middle.
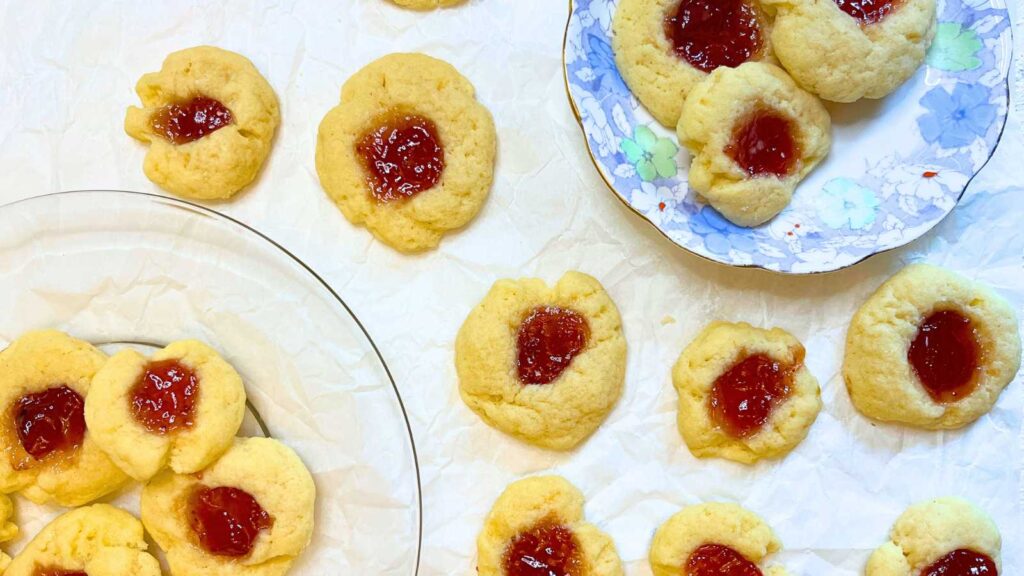
If you have heard them called thumbprint cookies, thimble cookies, or even Swedish tea rings; their taste is just the same. In the original recipe, from my grandmother, the cookie dough is rolled in finely chopped nuts before baking. We, however, prefer them without. If you you would like to add them in they are an optional ingredient in the recipe.
How to make thumbprint cookies
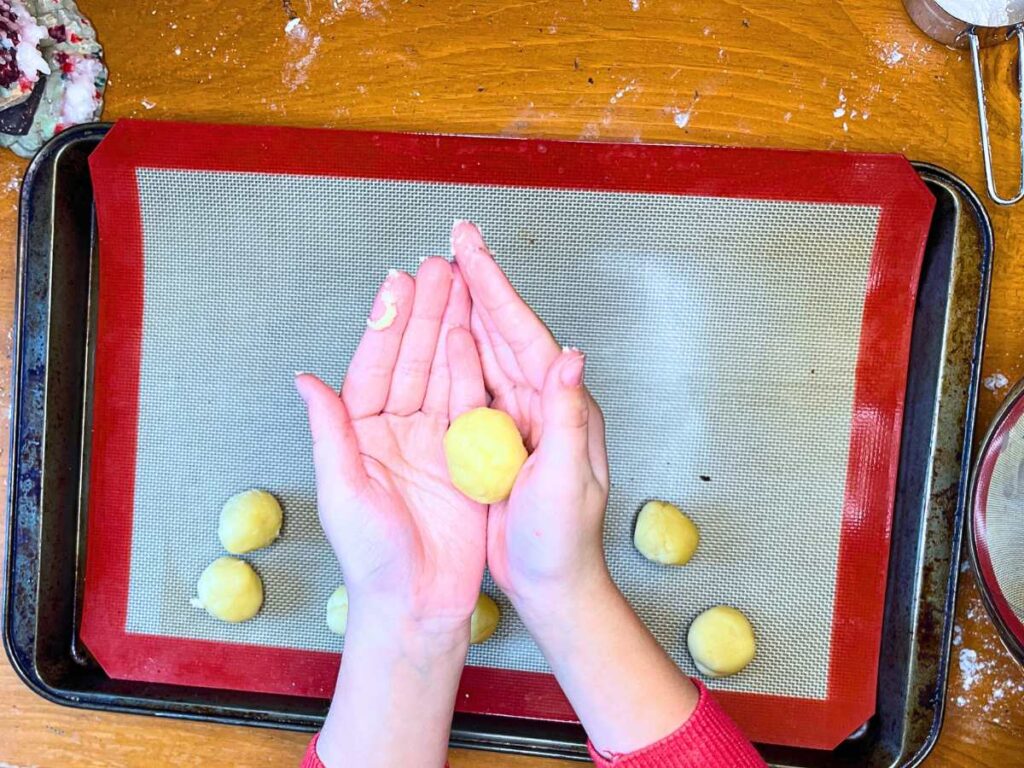
Roll 1-2 Tablespoons worth of dough into a ball shape and place on a lined baking sheet. Then you will need to make the depression in the middle. It will hold the filling later.
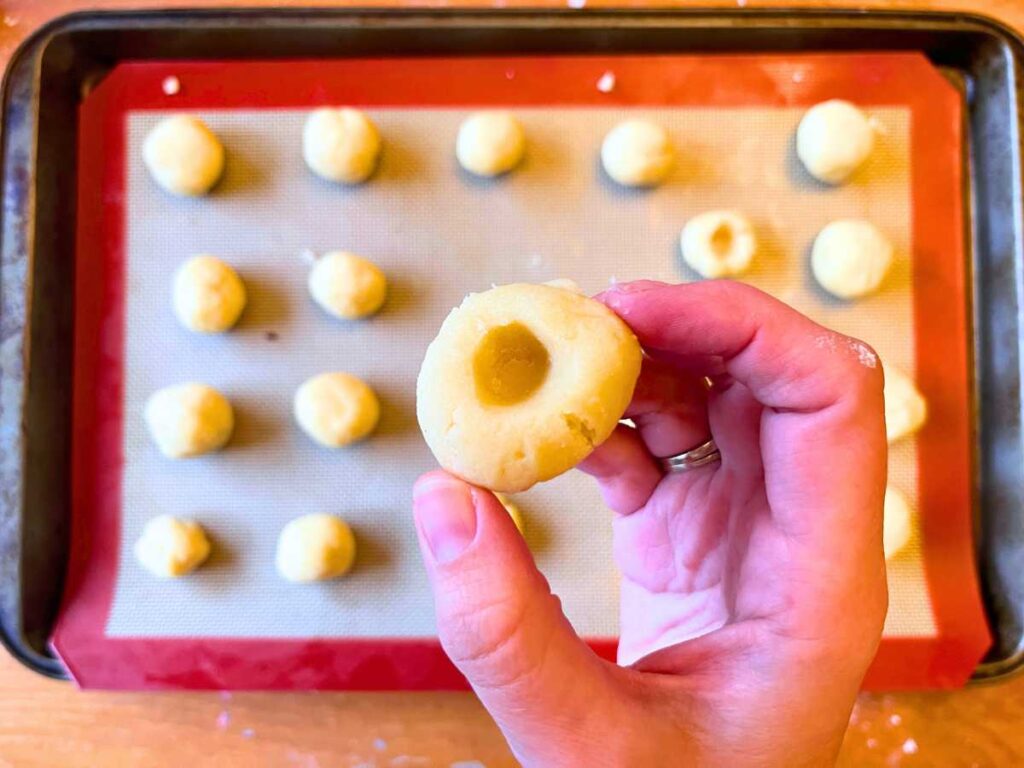
Like the recipe name suggests, you can use either your thumb, a thimble, or something similar like the tip of the handle of a wooden spoon.
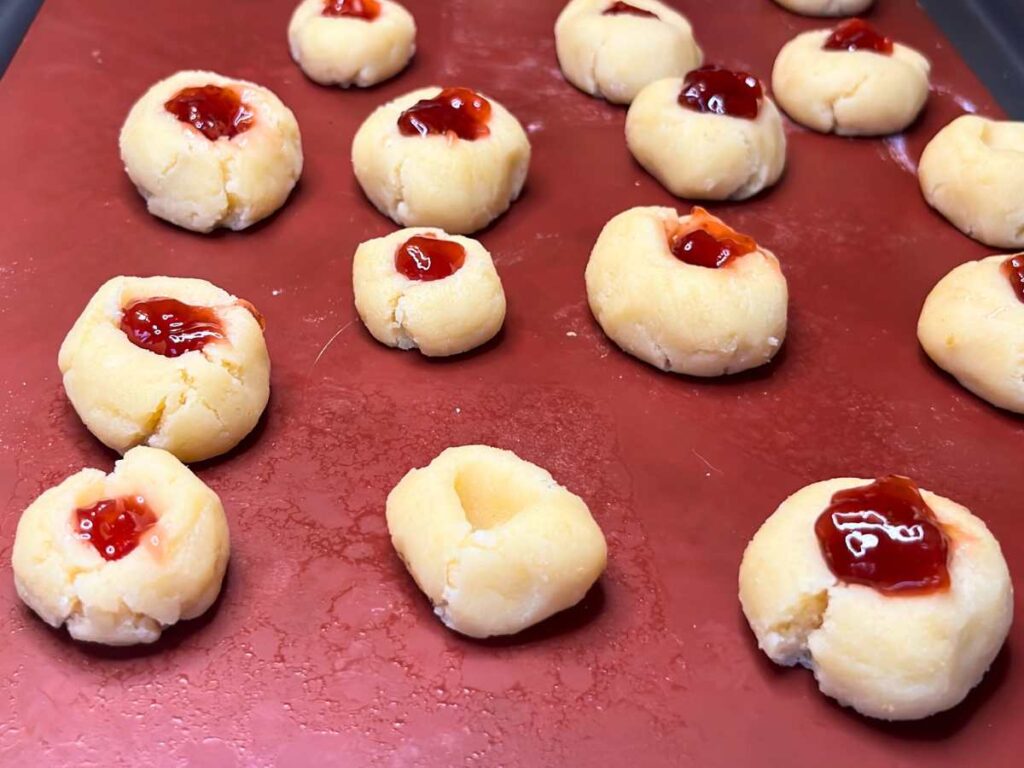
Fill the depression with your filling of choice, I used jam for this recipe. Any jams or jellies work great for this recipe. You can also choose a different filling like caramel, or chocolate.

How to store thumbprint cookies
After the cookies are baked they can be stored at room temperature, in an air-tight container, for 3-5 days. If you wish to store them for longer, keep them in an air-tight container in the refrigerator for 1-2 weeks, or in the freezer for for 3-4 months.
Freezing Thumbprint cookies
Freezing baked thumbprint cookies
This might seem a little bit tricky, since the cookies are filled with jam, but totally doable. (I have some in my freezer right now!) To freeze thumbprint cookies:
- After the cookies are baked and filled, cool them to room temperature.
- Freeze in a single layer, on a cookie sheet, for 2-3 hours.
- In layers, place them into a freezer bag, or a sealable container. Place plastic wrap in between each layer. This will stop the jam from sticking to the bottom of the next layer of cookies.
- Store in the freezer for 3-4 months. Freeze them separately first is so they do not stick together and freeze into a big clump. It also helps to solidify the filling, before packaging the cookies.
- When you are ready to use them, remove the cookies frozen, then let them come back to room temperature, in a single layer. If you let them defrost in the freezer bag, or container, the jam will soften and will stick to everything. The frozen jam will stay together and will cleanly peel off the plastic wrap.
Freezing thumbprint cookie dough
You can also make the dough in advance and freeze to bake later.
- Roll into balls, make the depressions in the middle.
- Freeze in a single layer, on a baking sheet, for 2-3 hours. Then, pop the unbaked cookies into a freezer bag, or a sealed container.
- Store in the freezer for up to 3 months.
- When you are ready to bake the cookies, continue on with the recipe the same way you would if you were making them fresh.

Common Problems
My thumbprint cookies are spreading
This is a common problem bakers face when making cookies, not just thumbprint cookies.
The best way to fix this problem is to chill the dough first before baking. Either by placing the shaped cookies in the refrigerator 2-3 hours before baking or in the freezer for 45 minutes.
My thumbprint cookies are cracking
This problem often occurs when you are making the depression in the centre of the dough ball.
If this happens, leave whatever you are using to make the depression in the centre of the cookie. With your fingers, squish and shape the dough back together.
Filling options for thumbprint cookies
The classic filling for thumbprint cookies is jam or jellies. I am using strawberry jam for mine. A few amazing substitutions for thumbprint cookies are:
- Hershey’s kisses– This is such a cute variation of thumbprint cookies! After the cookies are baked, and slightly cooled, unwrap some Hershey’s kisses and place one in the centre of each cookie.
- Nutella – Bake the cookies as in the recipe but instead of jam swap out a dollop of Nutella.
- Caramel or dulce de leche – Add either of these options to the baked cookies, the same way you would the jam.
- Other preserves – Any of your favourite sweet preserves, fruit jams, jellies, or marmalade would be a suitable filling for this little cookie!
- Rolled in nuts– Not really a filling variation, but a cookie variation. Rolling the cookie dough in finely chopped nuts is what was called for in the original recipe. We just prefer them without.
How to make Thumbprint Cookies
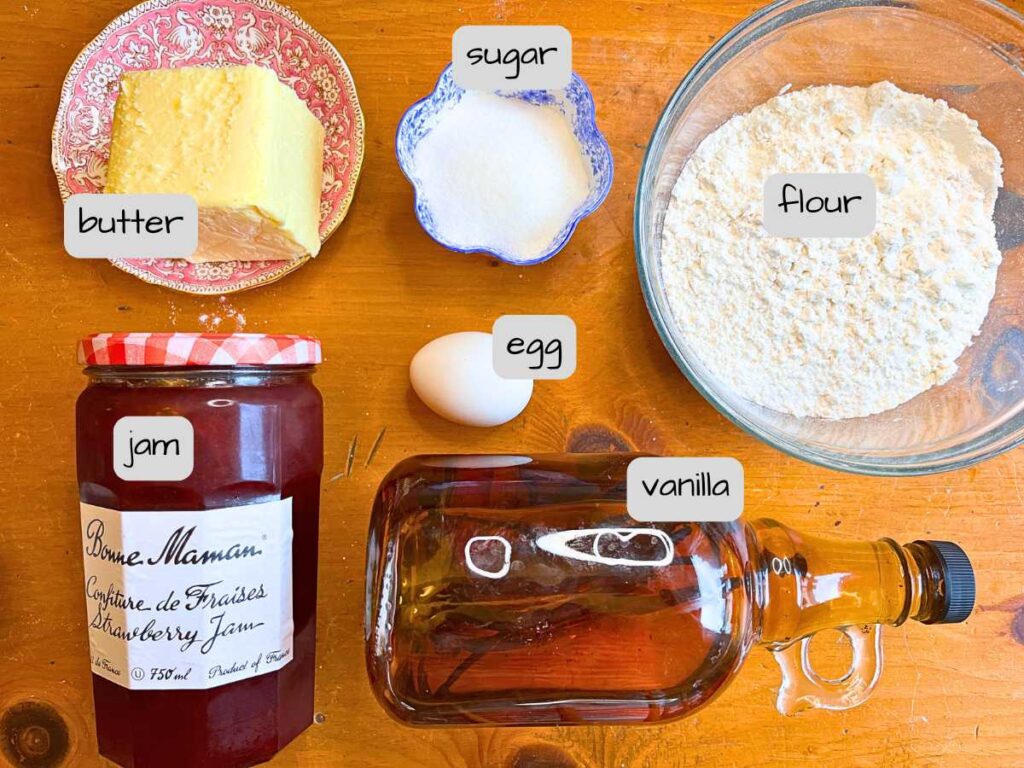
Ingredients
1 cup butter, softened 225 g
2/3 cup white sugar 134 g
1 eggs
1 tsp vanilla extract 5 ml
2 cups all-purpose flour 300 g
2 cups finely chopped nuts (optional) 240 g
Filling of choice (I used strawberry jam)
Method
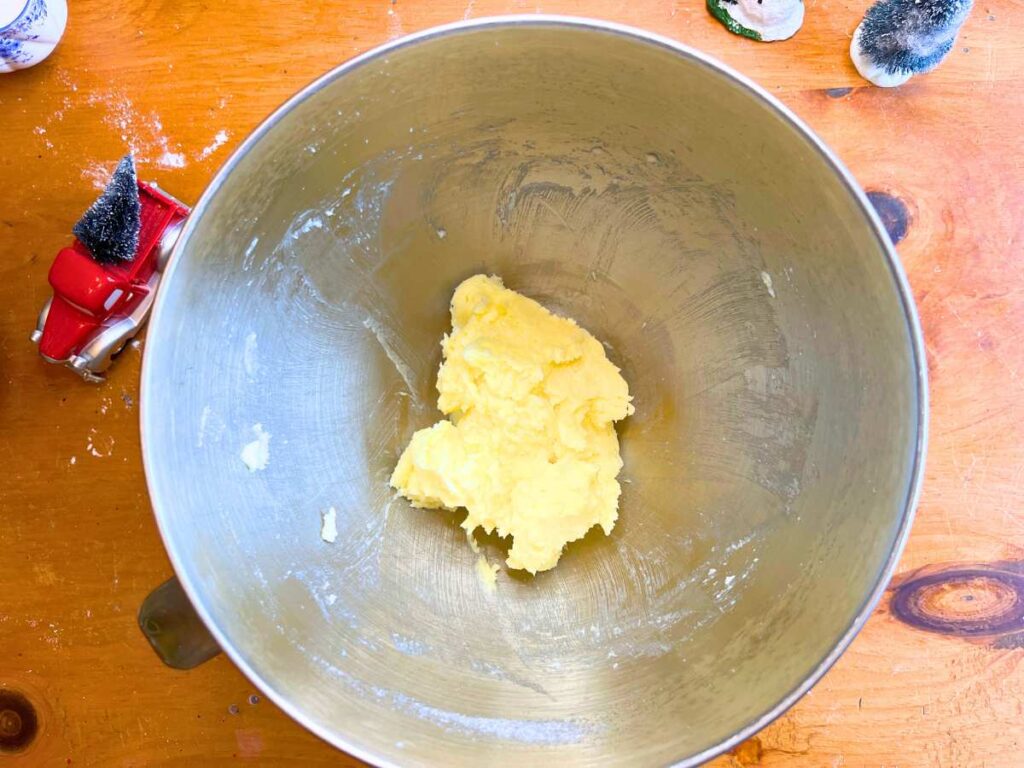
- In a large bowl, cream together the butter and the sugar.
- Blend in the egg and the vanilla extract, until everything is incorporated. Scrape down the bottom and sides of the bowl a few times as you are mixing.
- Add in the flour and mix until just combined.
- Roll the dough into balls, with about 1- 2 Tablespoons worth of dough.
5. (Optional) If you would like to add the finely chopped nuts, coat the dough in the nut mixture now.
6. Place the dough balls onto a lined baking sheet.
7. Using a thimble, your thumb, or the end of a wooden spoon, make deep depression in the centre of each dough ball.
8. Place in the fridge to chill for 1-2 hours or in the freezer for 30 minutes.
9. Meanwhile, preheat the oven to 325 °F (160 °C).
10. Fill each depression to the top with a dollop of jam, jelly, or your filling of choice.
11. Bake the cookies 12-15 minutes, or until set.
12. Cool completely.
Vintage Thumbprint Cookies
Soft and tender bite-sized cookies with a bright and fruity dollop of ruby red jam in the centre.
Ingredients
- 1 cup butter, softened 225 g
- 2/3 cup white sugar 134 g
- 1 eggs
- 1 tsp vanilla extract 5 ml
- 2 cups all-purpose flour 300 g
- 2 cups finely chopped nuts (optional) 240 g
- Filling of choice (I used strawberry jam)
Instructions
- In a large bowl, cream together the butter and the sugar.
- Blend in the egg and the vanilla extract, until everything is incorporated. Scrape down the bottom and sides of the bowl a few times as you are mixing.
- Add in the flour and mix until just combined.
- Roll the dough into balls, with about 1- 2 Tablespoons worth of dough.
- (Optional) If you would like to add the finely chopped nuts, coat the dough in the nut mixture now.
- Place the dough balls onto a lined baking sheet.
- Using a thimble, your thumb, or the end of a wooden spoon, make deep depression in the centre of each dough ball.
- Place in the fridge to chill for 1-2 hours or in the freezer for 30 minutes.
- Meanwhile, preheat the oven to 325 °F (160 °C).
- Fill each depression to the top with a dollop of jam, jelly, or your filling of choice.
- Bake the cookies 12-15 minutes, or until set.
- Cool completely.
Notes
To make sure the cookies don't spread in the oven, make sure to chill them first.
Jam can be added before or after baking these cookies.
Nutrition Information
Yield
60Serving Size
1Amount Per Serving Calories 55Total Fat 3gSaturated Fat 2gTrans Fat 0gUnsaturated Fat 1gCholesterol 11mgSodium 25mgCarbohydrates 6gFiber 0gSugar 2gProtein 1g
Craving some more cookies? Grab this FREE Ebook full of my favourite holiday bakes!


2 Comments