
Autumn Moon Cozy Crochet Hat
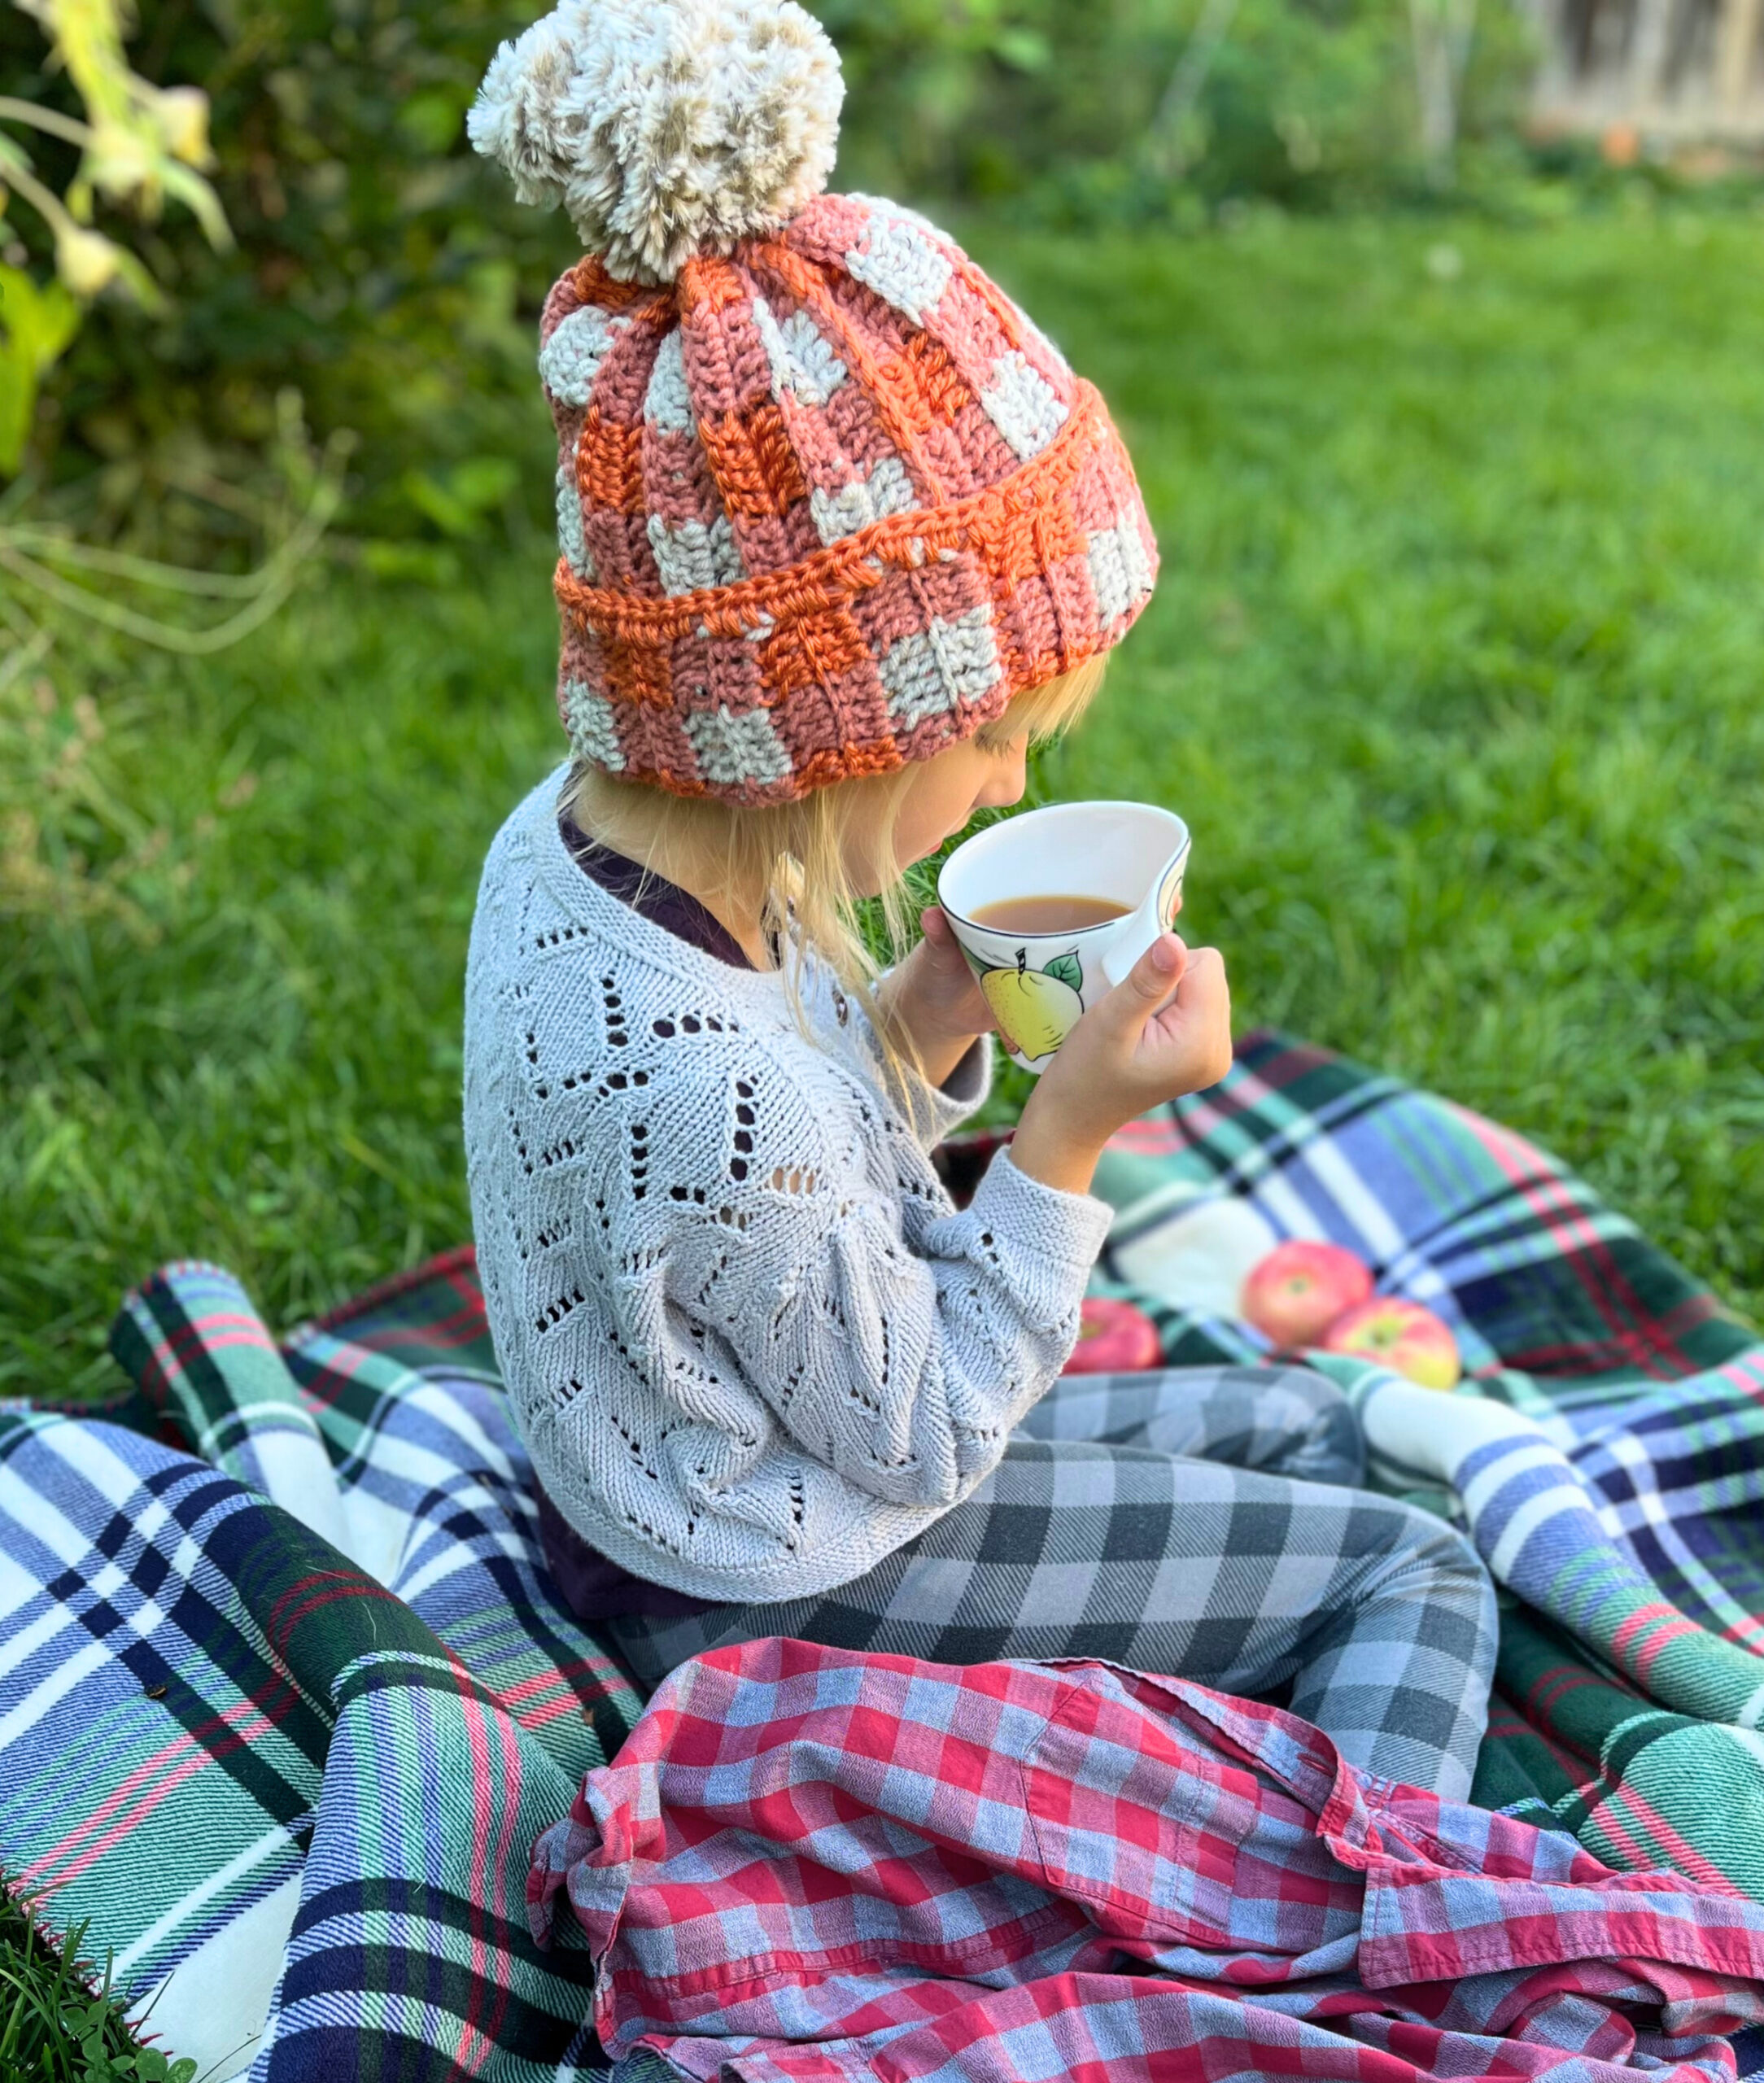
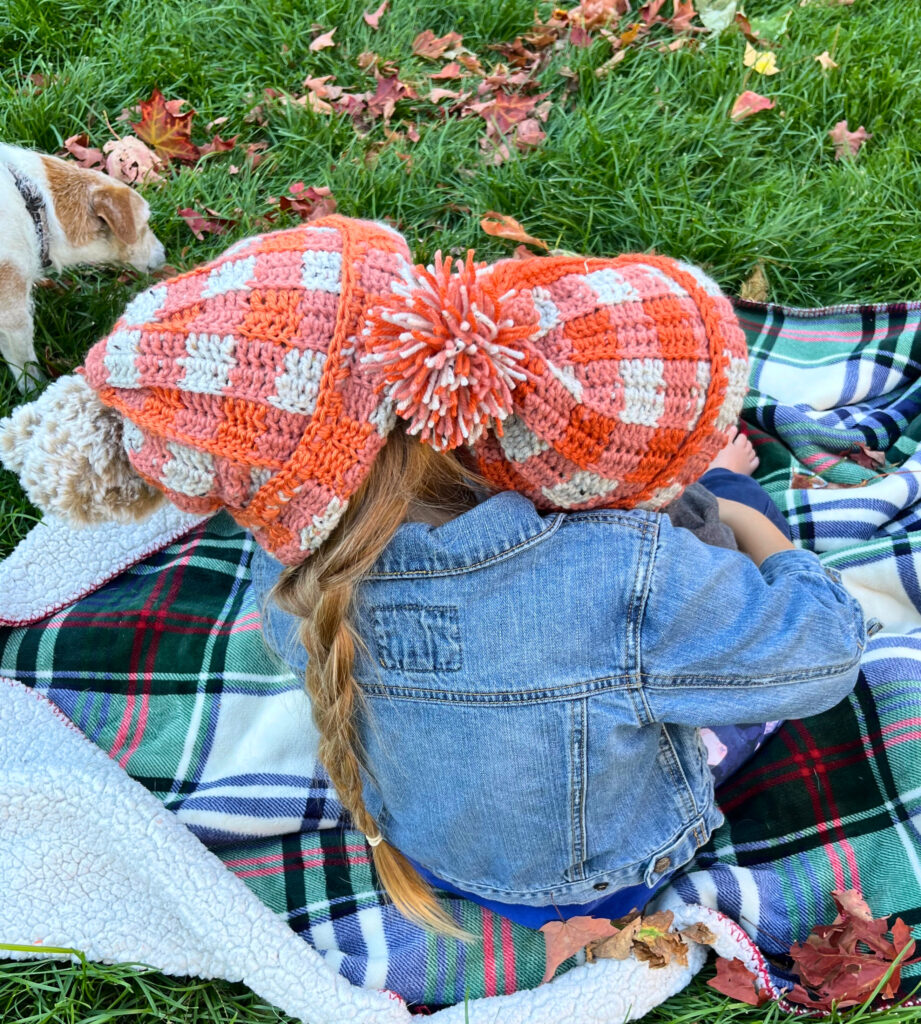
The Autumn Moon Cozy Crochet hat is perfect for those cool autumn nights. Comfortable, stretchy, and warm. Get into the fall spirit with this gorgeous crochet Hat.
Techniques are written in US terminology.
Gauge is not important for this hat, as you can measure the width of the final product to the circumference of the size of the head.
Skill level 2: Easy (Advanced beginner)
Materials needed:
- 4 mm crochet hook
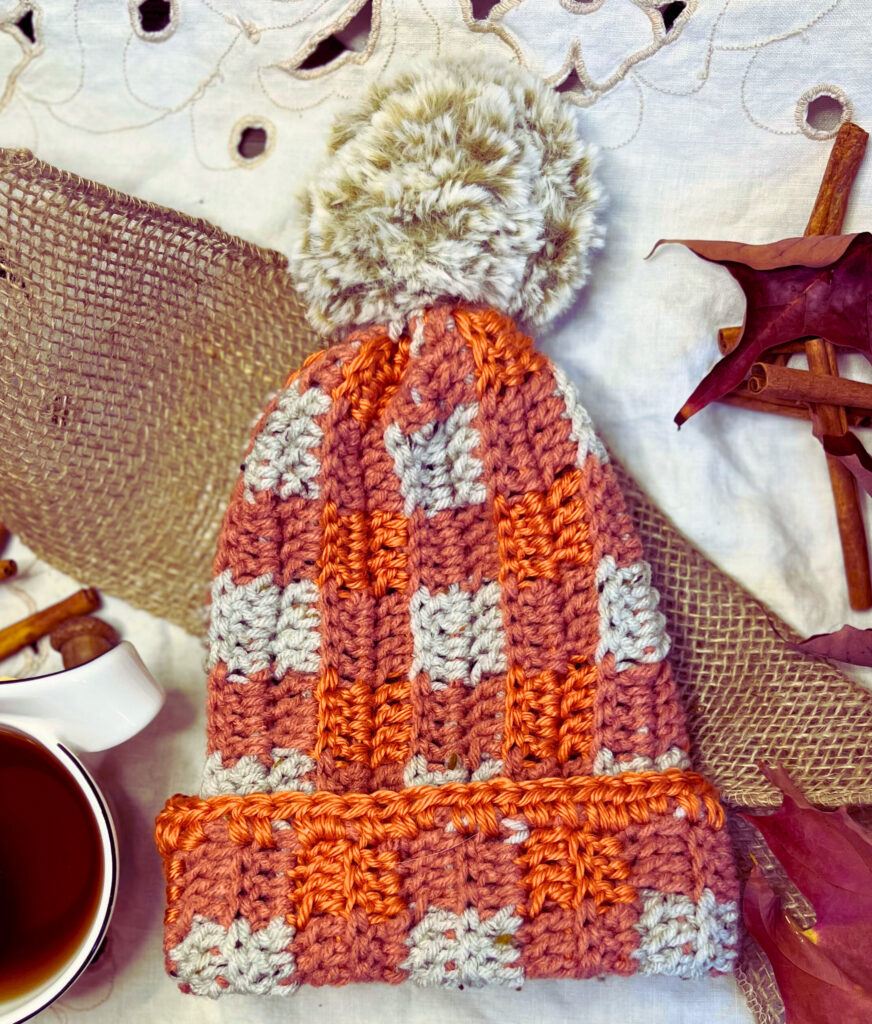
- 3 colours of #4 medium yarn (I used (1) Loops & Threads, Impeccable, medium weight, Baked Clay (2) Craftsmart, Value Tweed, medium weight, cream. (3)Loops & Threads, Impeccable, medium weight, Pumpkin
- Tapestry needle
- Pompom of choice
Stitches and Terms Used:
- ch/chs : chain/chains
- sc: Single crochet
- Dc: Double crochet
- Hdc: Half double crochet
- Rep: Repeat
- Sl st: Slip Stich
- St/sts: stitch/stitches
- blo: back loops only
Pattern notes:
- The Hat is worked flat, back and forth, and then stitched together.
- You can measure the desired circumference to the size head, as you go.
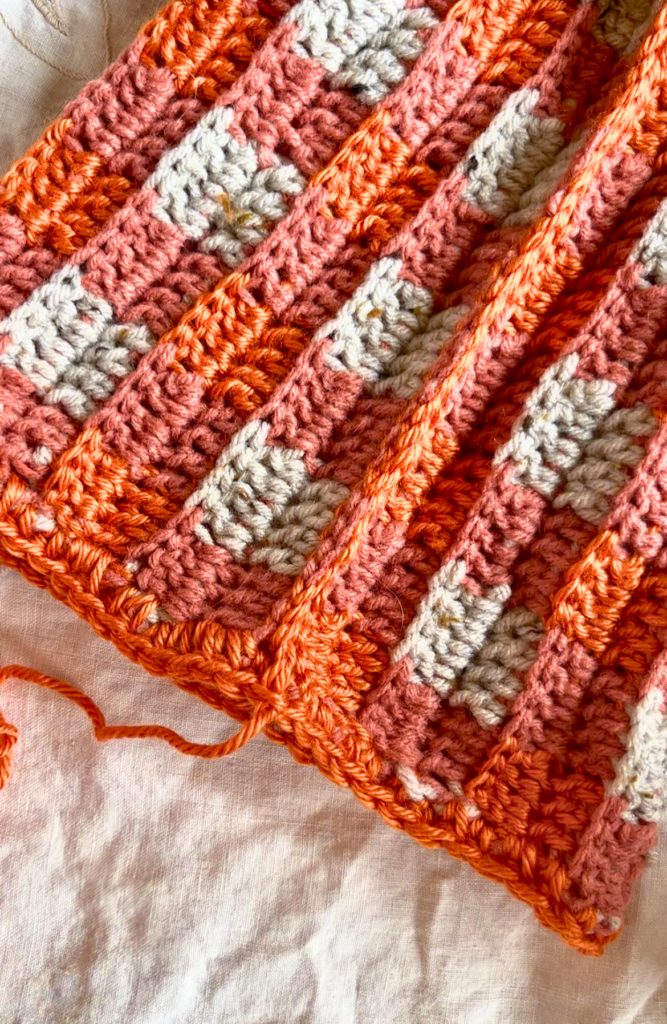
- This hat is, shades of orange, buffalo plaid. Although not necessary, your colour choice should be two colours, and the third colour being a close colour mix of the first two colours. For example if you choose white and black for your first two colours of yarn, the third colour should be grey.
- This pattern is written for size (baby/toddler), child, and (adult), but can easily be adjusted.
Pattern
- Colour 1 burnt orange
- Colour 2 cream
- Colour 3 pumpkin
Written for child
(To make adult ch 38 at the beginning and all stitch counts will be for 36 sts. You will make a total of 16 columns.) (For baby/toddler ch 30 at the beginning and all stitch counts will be for 28 sts. You will make a total of 12 columns)
- With colour 1, and 4mm hook, chain 34.
- Turn. In the second chain from hook make a single crochet. Continue making sc in each chain until you reach the chain you started. (32 sc)
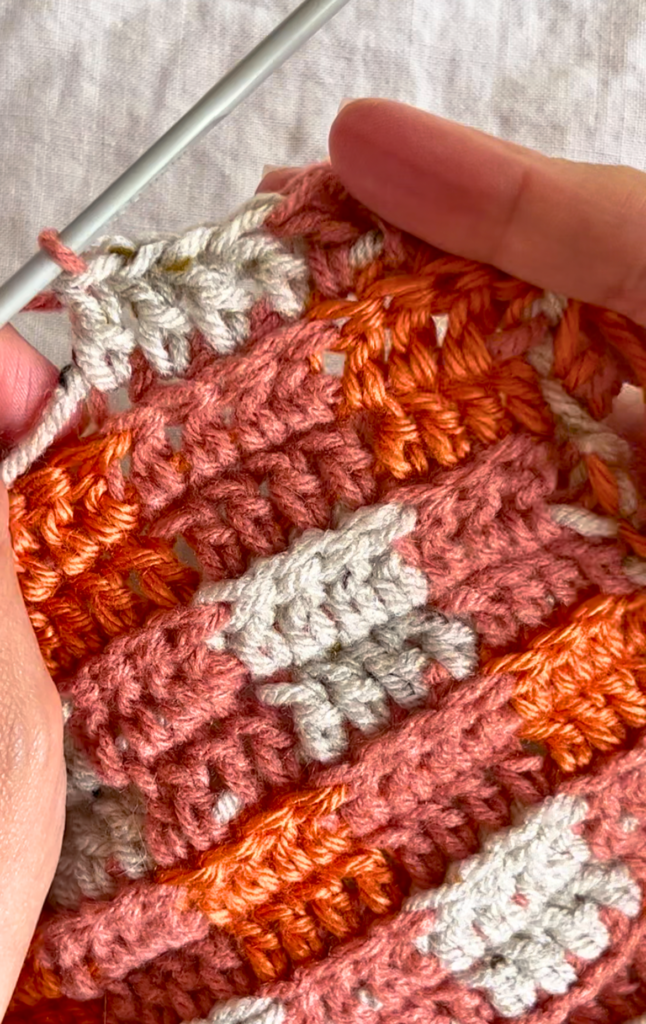
- Turn. Switch to colour 2. Ch 2. Double crochet in the first stich. Double crochet in the back loops only in the next 2 sts. (Making sure to carry the yarn from colour 1 with you and crocheting around the yarn to keep it hidden during the final product.) Switch back to colour 1 and Dc blo in the next 4 stitches. Switch to colour 2 Dc blo in the next 4 stitches. Continue to switch back and forth with colour 1 and 2, every 4 stitches, until you reach the finial stitch. DC in the last stitch of the row. (32 Dc. You will have 4 groups with colour 1 and 4 groups with colour 2. You should start with a block of colour 2 and end with a block of colour 1.)
- Turn. With colour 1 chain 2. Dc in the first stitch. Dc blo in the next 2 stitches. Switch to colour 2. Dc blo in the next 4 sts. Switch back to colour 1. Dc blo in the next 4 stitches. Continue in this pattern until you reach the final stitch. Dc in the last stitch of the end of the row. (Your pattern colours should match exactly with the previous row.) (32 Dc)
- Turn. (We are now switching the colour pattern) With colour 1 ch 2. Dc in the first st. Dc blo in the next 2 sts. Switch to colour 3. Dc blo in the next 4 sts. Switch to colour 1 Dc blo in the next 4 sts. Switch to colour 3 Dc blo in the next 4 sts. Continue in this new colour pattern until you reach the finial stitch. Double crochet in the finial stitch. (32 st)
- Turn. (We are contiuning the same colour pattern as the previous row, so all the yarn colours should match up exactly with the previous row.) With colour 3 ch 2. Dc in the first st. Dc blo in the next 2 sts. Switch to colour 1 Dc blo in the next 4 sts. Switch to colour 3, Dc blo in the next 4 stitches. Continue in this colour pattern until the last stitch of the row. Dc in the last stitch. (32 st)
- Turn. ( We are now switching the colour pattern.) With colour 2, chain 2. Dc in the first stitch. Dc blo in the next 2 sts. Switch to colour 1, Dc blo in the next 4 sts. Switch to colour 2 Dc blo, in the next 4 sts. Continue in this colour pattern until the last st of the row. Dc in the last stitch. (32)
- Turn.(We are keeping in the same colour pattern as the previous row. So the yarn colours should match up exactly.) With colour 1 ch 2. Dc in the first stitch. Dc blo in the next 2 sts. Switch to colour 2. Dc blo in the next 4 stitches. Switch back to colour 1. Dc blo in the next 4 stitches. Continue in this colour pattern until you reach the final stitch. Dc in the last stitch of the row. (32)
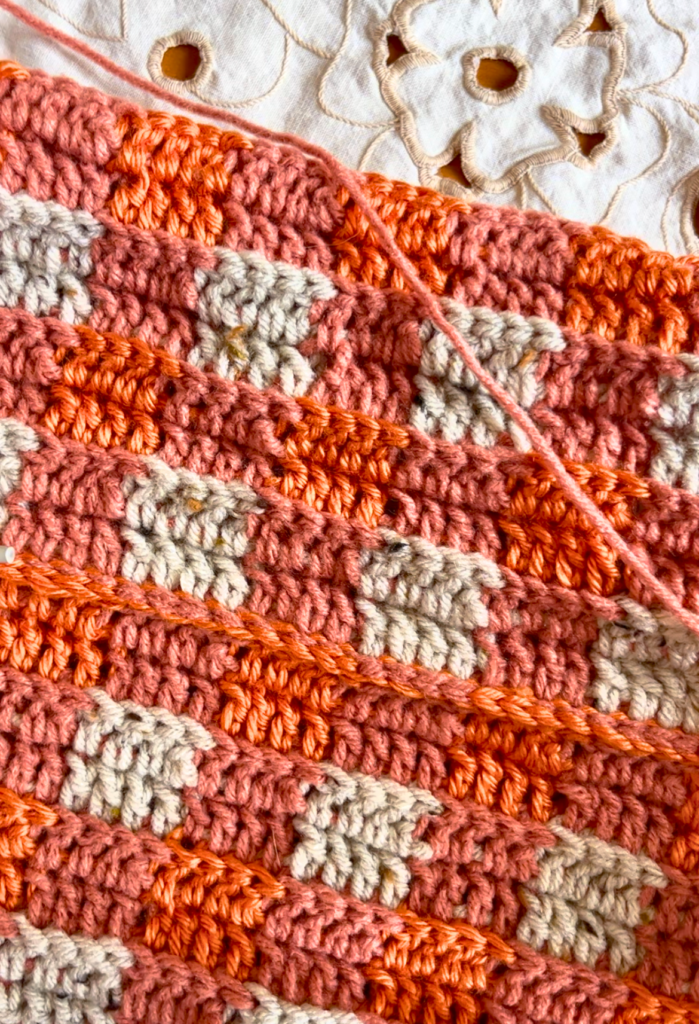
- These are the two colour patterns you will be repeating, back and forth, until you reach the length you need for the circumference of your head.
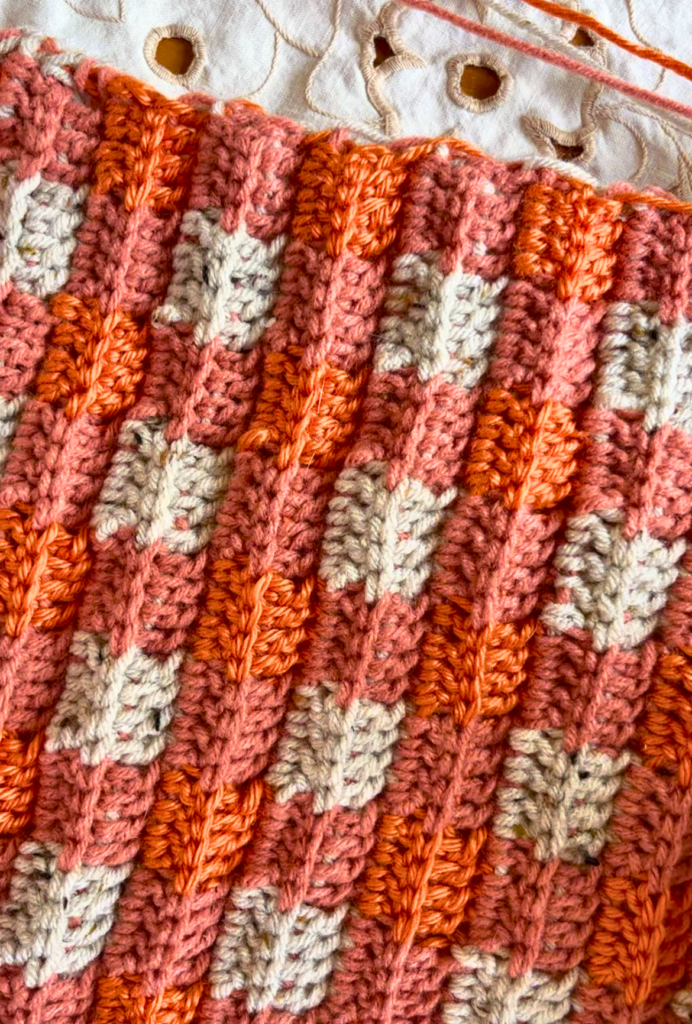
For me, I needed 16 columns for adult, 14 columns for child, and 12 columns for baby/toddler.
For back and forth row. I used 36 st for adult, 32 st for child, and 28 st for small child. This is easily adjustable to fit the size of head you need. The back and forth row in blo gives the hat stretch, which helps it fit well. Keep in mind, in the finial product you will be folding up the bottom of the hat to give it a cuff.
(The adult size fits me, the child size fit my 9 and 7-year-old, the baby/toddler fits my 18-month-old)
To finish the hat and put it together
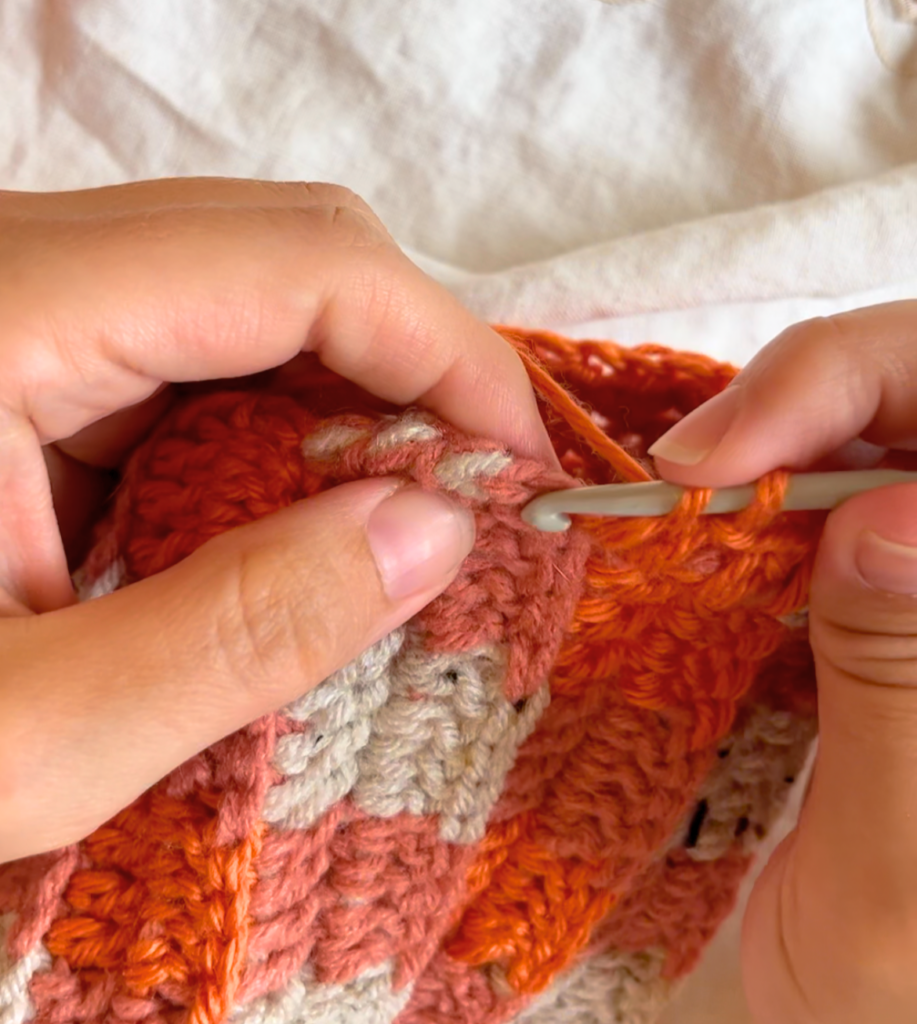
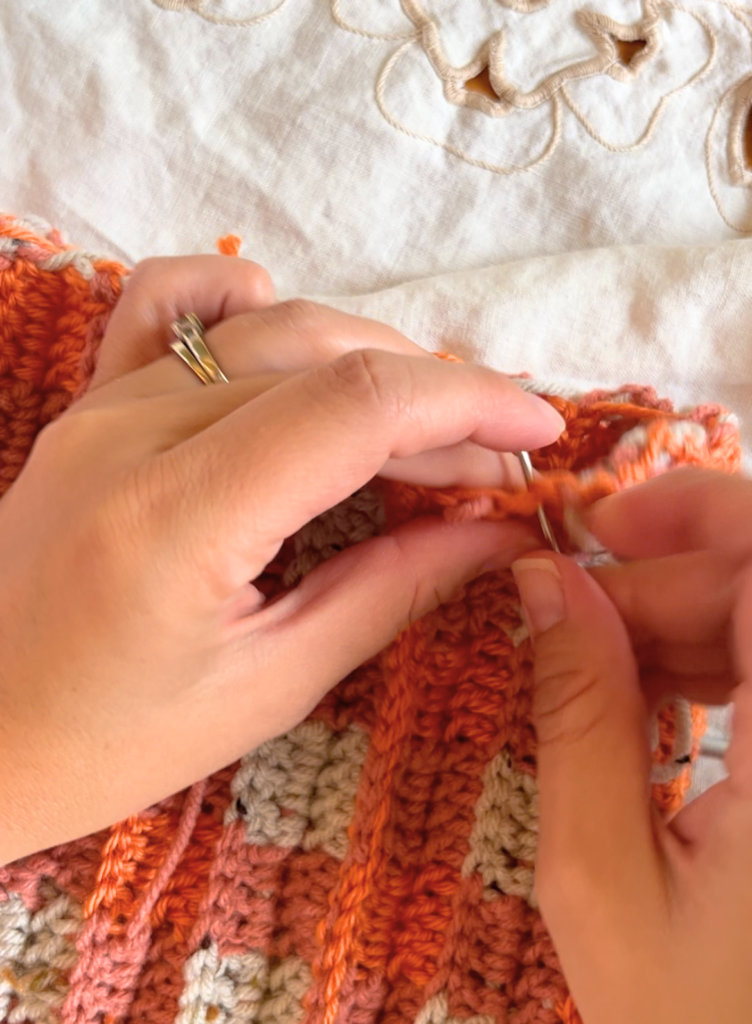
Once you have your desired width and length of your hat, fold it together to form a tube. (The colours of the two sides coming together should match with the pattern.) Your hook should still be in the last loop of the row you were working on.
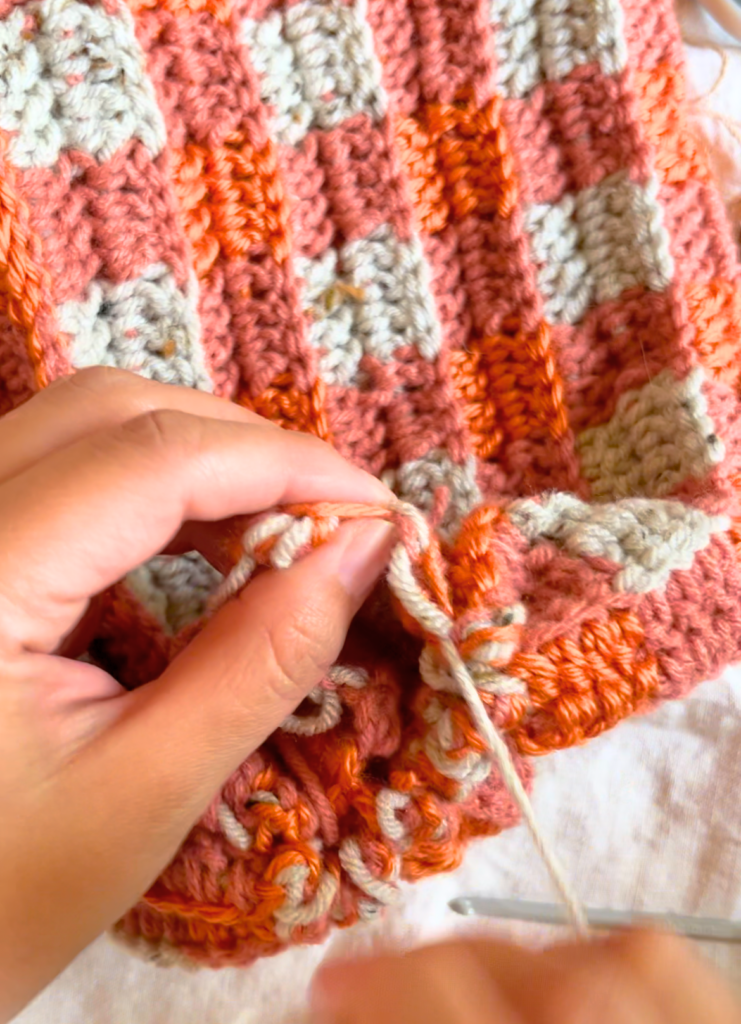
- Insert your hook into the corresponding loop on the opposite side of the hat that you are joining. Sl st all the way down the row, joining both sides together. (You will be be able to match both sides up evenly, if you follow the colour pattern.)
- Once both sides are stitched together, and your hat is now a tube, cut and tie your yarn, leaving a tail.
- Using the long tail, and a tapestry needle, weave the yarn back and forth, around the circle at the top. Pull tight to close. Secure the yarn and tie off.
- Around the opposite side, (bottom of the hat), with desired colour (I used colour 3), attach the yarn and ch 2. Hdc around the circumference of the cuff. This gives it a finished look. (I used 4 hdc per column.) Sl St to the beginning chain. Cut your yarn. Tie off, and sew in, any remaining pieces of yarn.
Pom pom
There are a few different options to make a pom pom for the hat.
If you have a favourite method, go ahead and use that! If you would like to see how I make pompoms, click here.
Happy Crocheting! I would love to see how your hats turned out! Did you stay with the autumn theme or did you choose different colours?
Leave me a comment!
One Comment