Autumn Mist Crochet Pumpkin
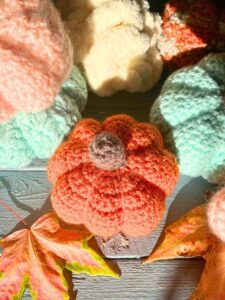
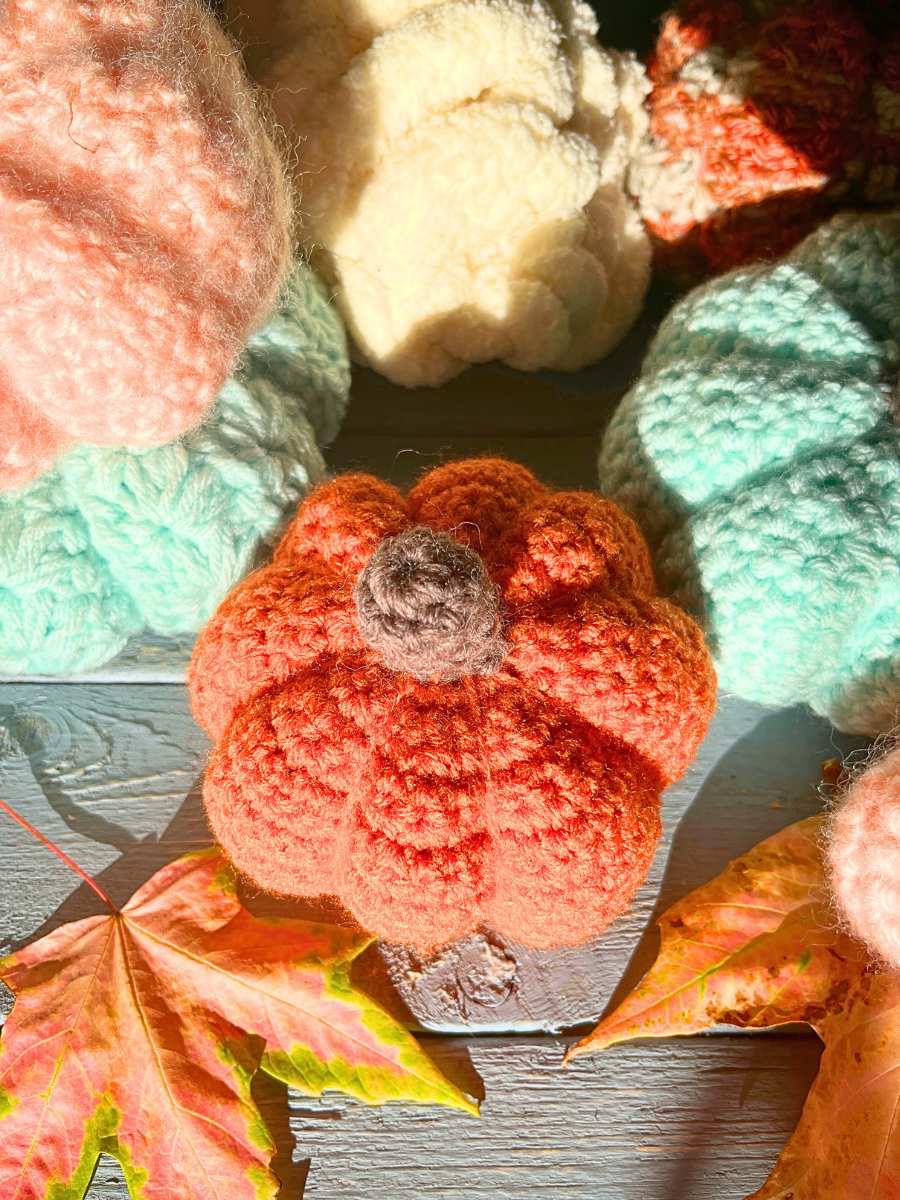
I love decorating and changing things up in my home based on the seasons. I especially love when I can make any of the items I am going to be using. For fall, of course pumpkins are one of the most obvious choices. Autumn Mist Crochet Pumpkin is my new favourite!
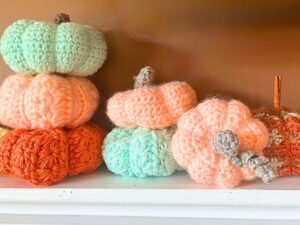
I love decorating with pumpkins and other fall harvest items. A few years ago, I wanted to crochet a bunch of pumpkins for my fall mantel. Not only do they last longer than real pumpkins, but the softness of the yarn gives them such a comforting fall feeling!
I have done a few different pumpkins, but this one is super simple and very beginner friendly. To be honest. I love the design of it. It is all single crochets, which gives it a really clean esthetically pleasing look. If you are looking for a pumpkin with more texture try this pumpkin.

The autumn mist crochet pumpkin pattern includes a stem and vine. If you would like to make multiple crochet pumpkins to stack them, I would omit the vines and stem for all except the top pumpkin. That way they will stack more easily. Or if you would rather use a cinnamon stick, you could omit the stem as well.
Materials Needed For Autumn Mist Crochet Pumpkin
- 5.5 mm hook
- 4 mm hook
- Tapestry needle
- Two colours of worsted weight yarn. One for the pumpkin and one for the stem and vine. (I used a soft peach colour and a grey colour for mine)
- Stuffing
Stitches and Terms Used
sl st – slip stitich
sc- single crochet
ch/chs- chain/chains
st/sts- stitch/stitches
sp/sps- space/spaces
rep- repeat
sc2tog- single crochet 2 together
Special Stitches
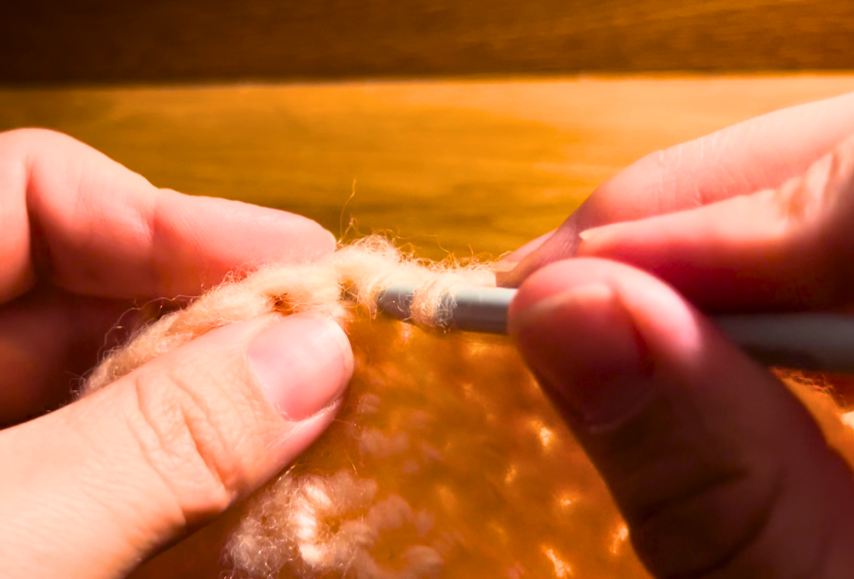
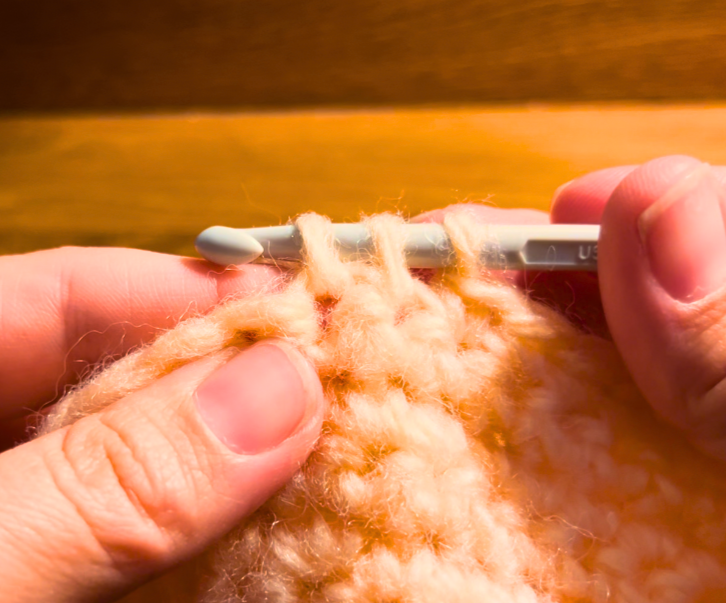
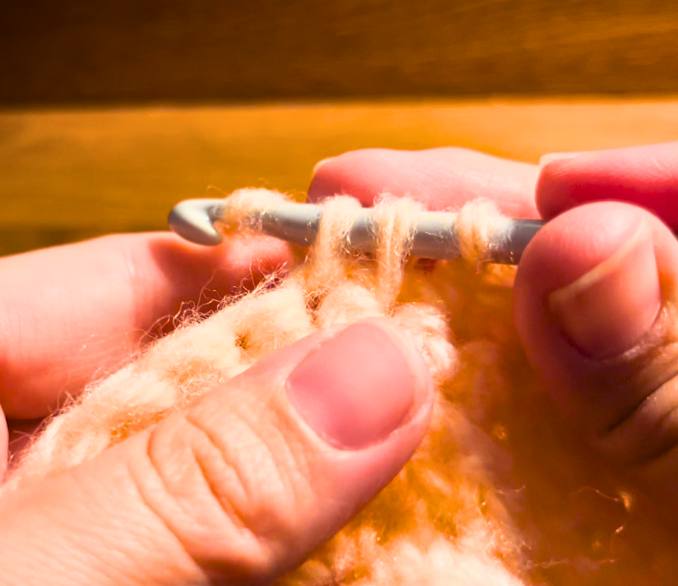
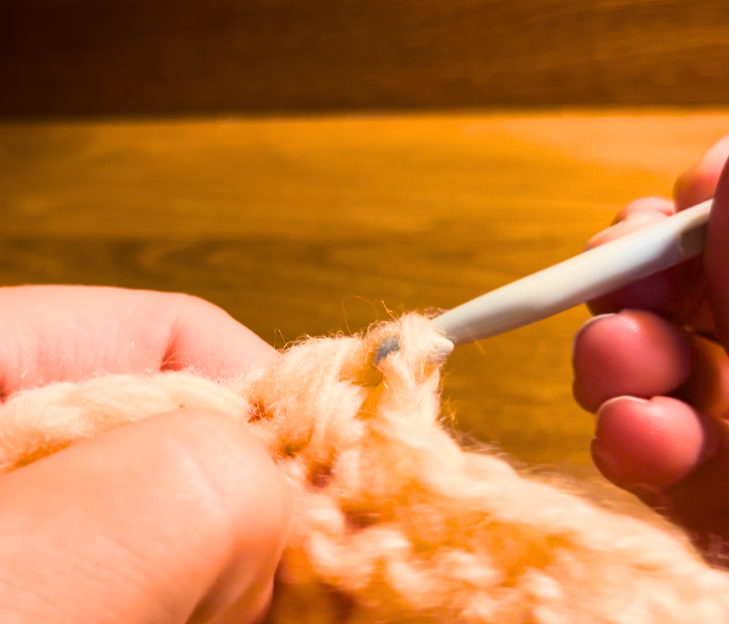
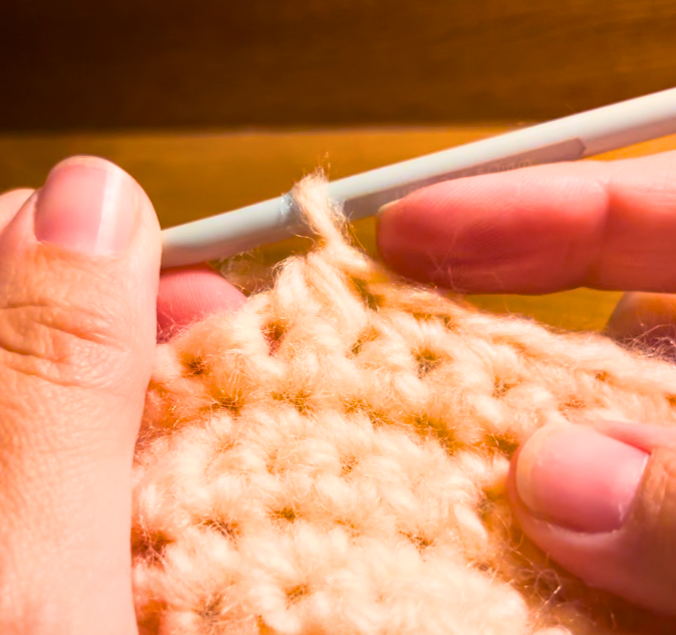
sc2tog- Single crochet 2 together, is eliminating one stitch in the row.
Into the next st insert your hook, draw up a loop. Insert your hook into the next st, draw up a loop. Yarn over. Draw through all three loops on the hook.
Those two sts have now been made into 1 st.
Pattern Notes
- This pattern is worked in the round. The stem is worked first and joined as you go to the crochet pumpkin, as is the vine. So no need to sew everything together in the end!
- Size is not important for this project. If you choose a bigger or smaller wieght yarn, change your hook size accordingly.
- If you are omitting the stem and vine, use your pumpkin colour to make the magic ring. Do your 4 sc into the ring, pull tight and sl st to the beginning sc. Then, move on to the instructions starting at round 2, after attaching the pumpkin colour, section of the pattern. When you get to the end of the pattern, omit the vine section.
- If you would like your pumpkin taller, repeat Round 11 of the main pumpkin section, until you reach your desired height.
Pattern for Autumn Mist Crochet Pumpkin
With stem and vine colour
Make a magic ring. Single crochet 4 into the ring. Pull the ring to close and Slip stitch to the top of the first sc.
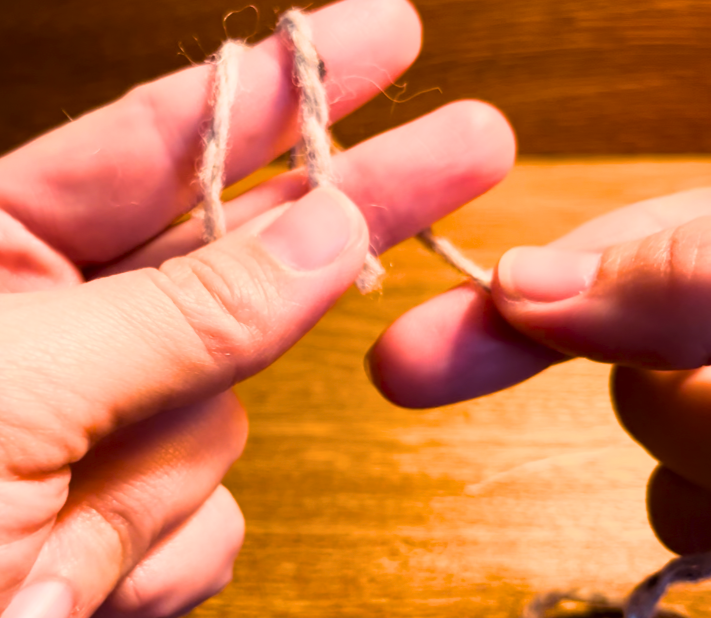
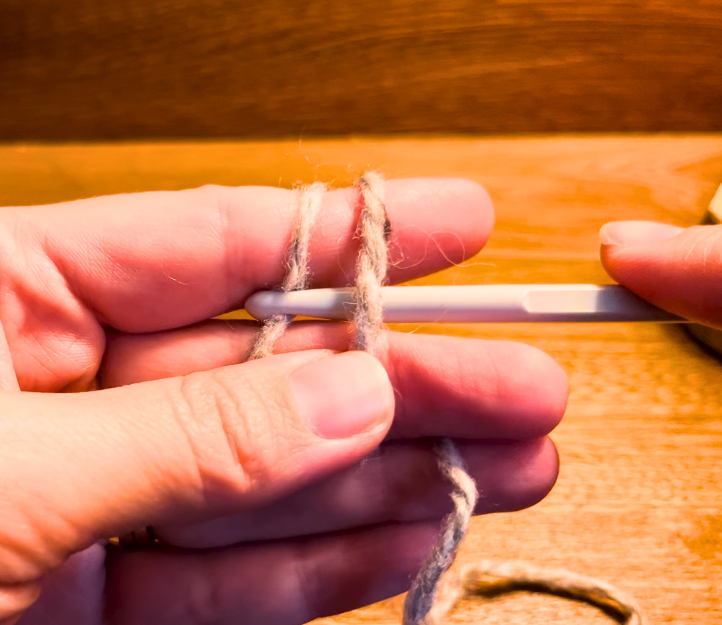
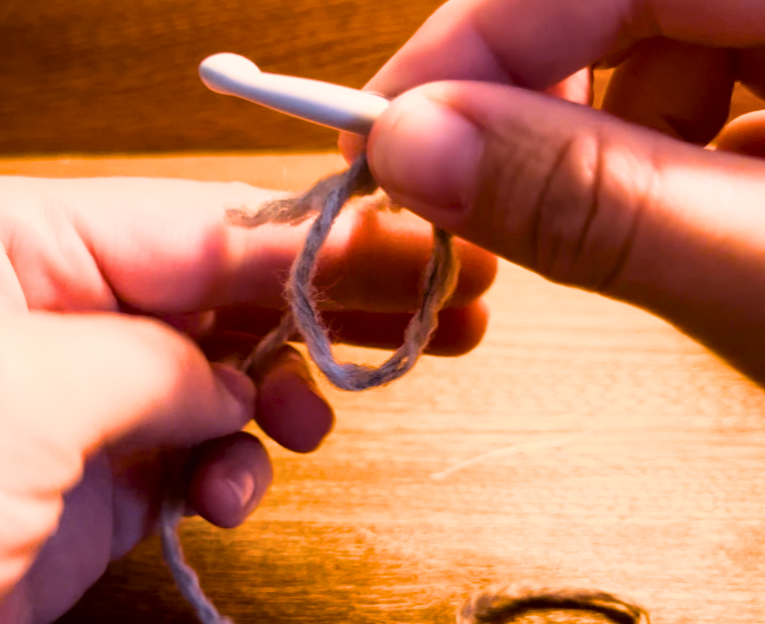
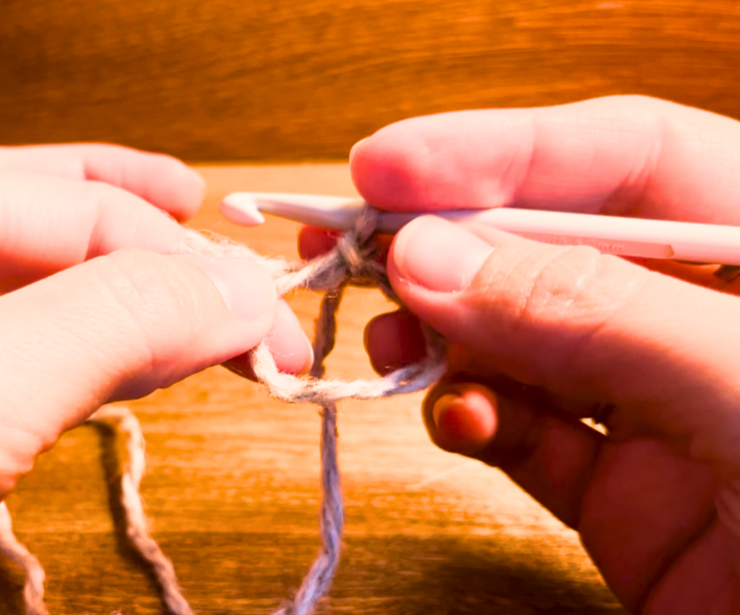
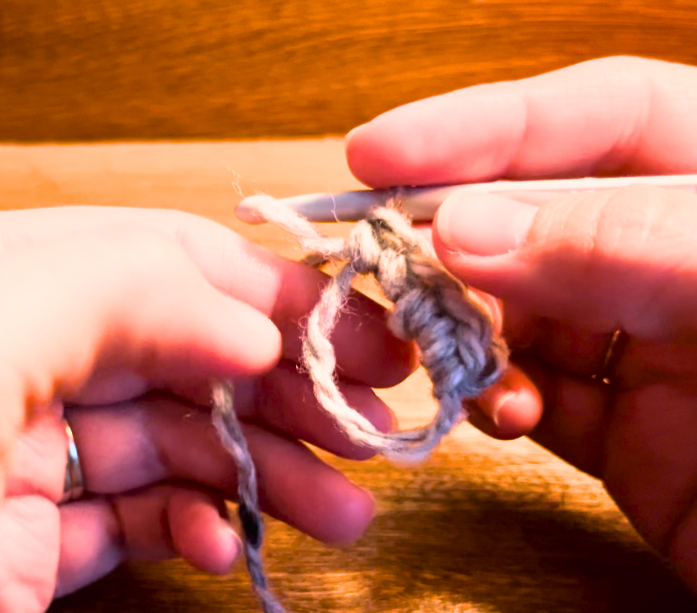
(Round 1) Ch 1, turn. 1 sc into first st. (2 sc into next st. 1 sc into the next st.)follow to end. sl st to the 1st sc.
(Round 2) Ch 1, turn. 1 sc in each st around. Sl st to the first sc.
(Round 3-5) Ch 1, turn. 1 sc in each st around. Sl St to the first sc. Rep until desired height. (I did 4 rounds)
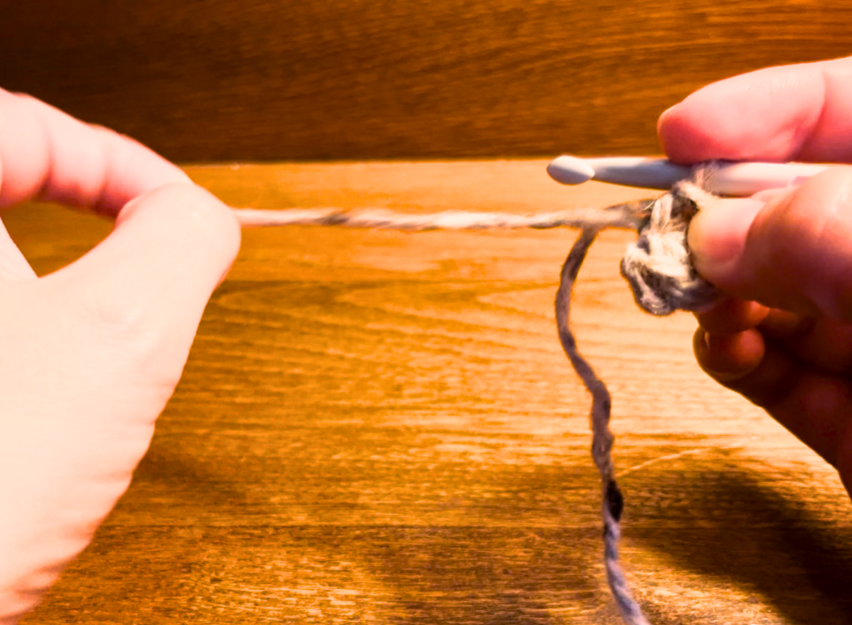
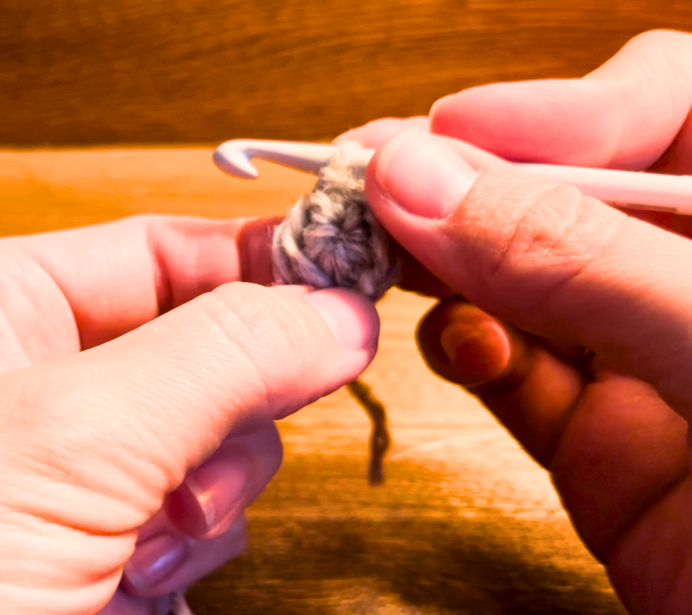
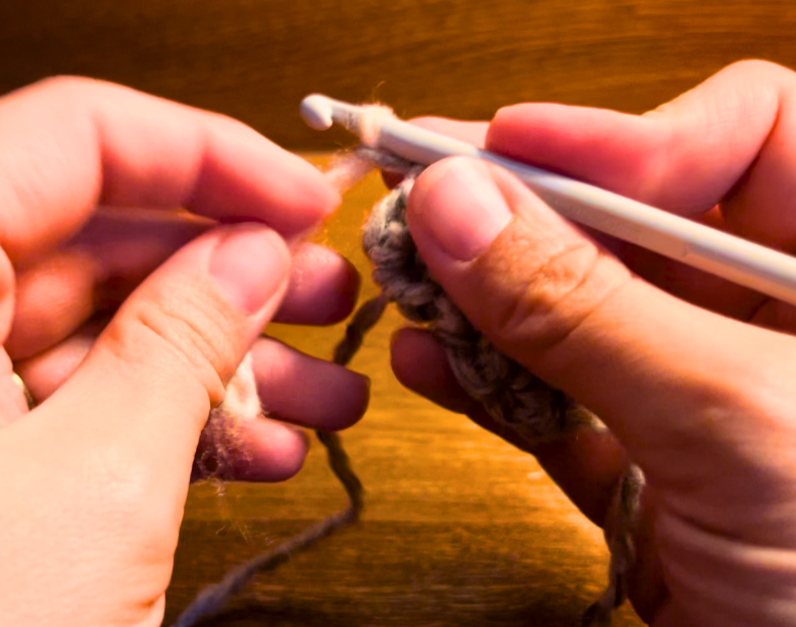
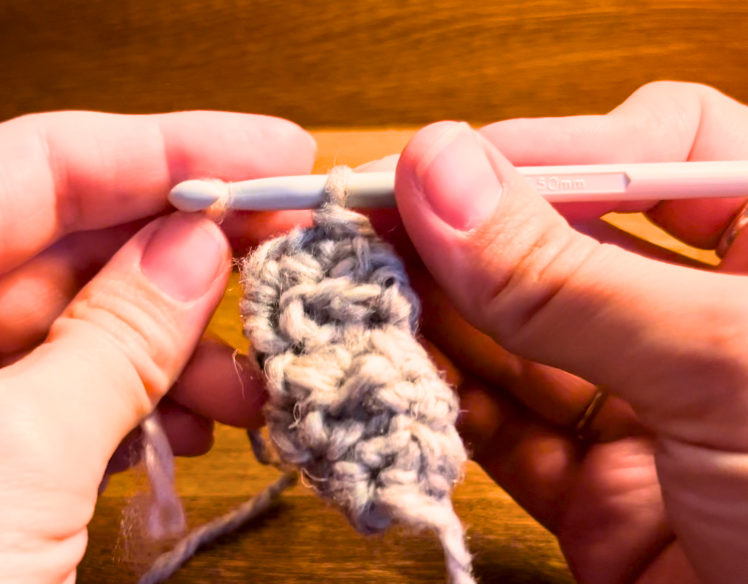
Attach pumpkin colour
(Round 1)With your hook still in the last sl st from the last round of the stem, add the pumpkin colour. Ch 1 Turn (with the new colour, you can now leave the stem colour) sc in each st around sl st to first sc.
(Round 2) Ch 1, turn. 2 sc in each st around. Sl st to first sc.
(Round 3) Ch 1, turn. 1 sc in the first st. (2 sc in the next st. 1 sc in the next st.) Rep to end. Sl st to beginning sc.
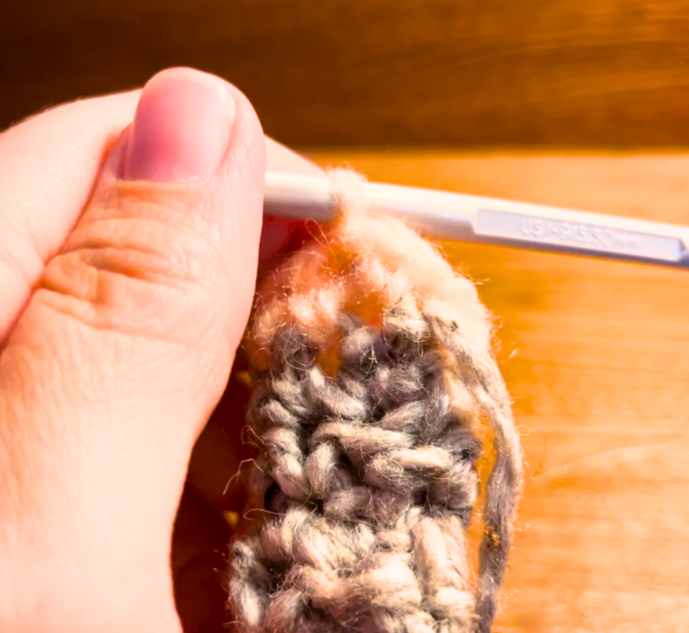
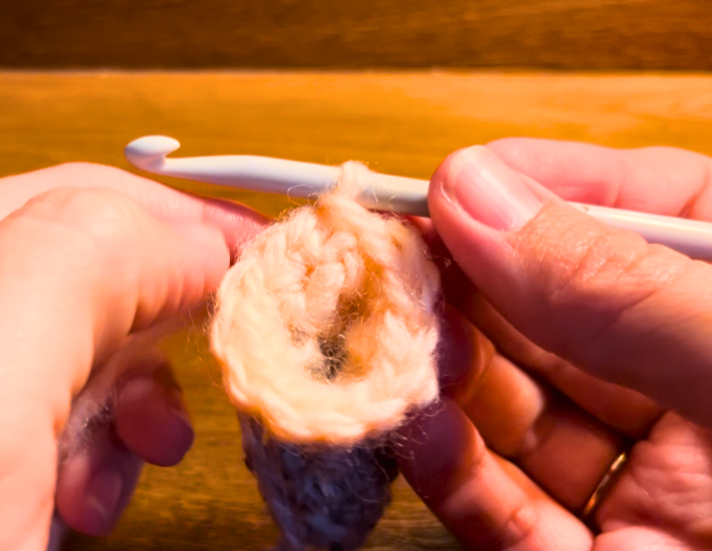
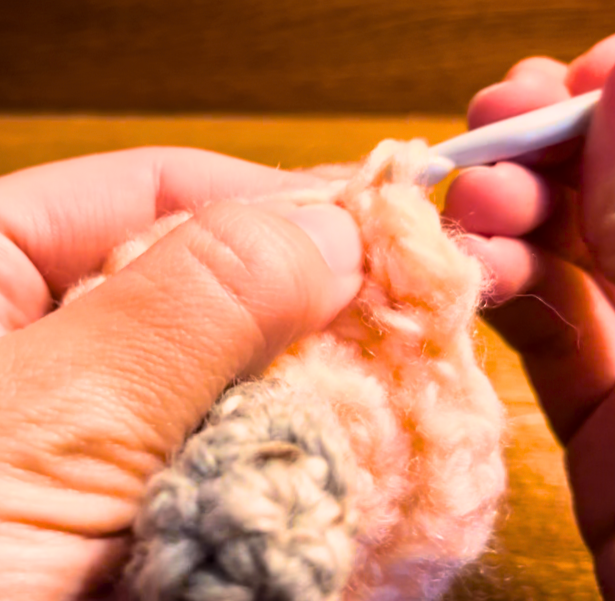
(Round 4) Ch1, turn. 1 sc in the first 2 sts. (2 sc in the next st. 1 sc in the next two sts.) Rep to end. Sl st to the beginning sc.
(Round 5) Ch 1, turn. 1 sc in the first 3 sts. (2 sc in the next sp. 1 sc in the next 3 sts.) Rep to the end. Sl st to the beginning sc.
(Round 6) Ch 1, turn. 1 sc in the first 4 sts. (2 sc in the next st. 1 sc in the next 4 sts.) Rep to the end. Sl st to the beginning sc.
(Round 7) Ch 1, turn. 1 sc in the first 5 sts. (2 sc in the next sp. 1 sc in the next 5 sts.) Rep to the end. Sl st to the beginning sc.
(Round 8) Ch 1, turn. 1 sc in the first 6 sts. (2 sc in the next sp. 1 sc in the next 6 sts.) Rep to the end. Sl st to the beginning sc.
(Round 9) Ch 1, turn. 1 sc in the first 7 sts. (2 sc in the next sp. 1 sc in each of the next 7 sts.) Sl st to the beginning sc.
(Round 10) Ch 1, turn. 1 sc in each stitch around. Sl st to the beginning sc.
(Round 11) Repeat round 9.


(Round 12) Ch 1, turn. 1 sc in the first 6 sts. (Sc2tog. 1 sc in the next 6 sts.) Rep to the end. Sl st to the beginning sc.
(Round 13) Ch 1, turn. 1 sc in the first 5 sts. (Sc2tog. 1 sc in the next 5 sts.) Rep to the end. Sl st to the beginning sc.
(Round 14) Ch 1, turn. 1 sc in the first 4 sts. (Sc2tog. 1 sc in the next 4 sts. ) Rep to the end. Sl st to the beginning sc.
(Round 15) Ch 1, turn. 1 sc in the first 3 sts. (Sc2tog. 1 sc in the next 3 sts.) Rep to the end. Sl st to the beginning sc.
(Round 16) Ch 1, turn. 1 sc in the first 2 sts. (Sc2tog. 1 sc in the next 2 sts.) Rep to the end. Sl st to the beginning sc.
(Round 17) Ch 1, turn. 1 sc in the first st. (Sc2tog. 1 sc in the next st.) Rep to the end. Sl st to the beginning sc.
stuff the pumpkin.
(Round 18) Ch 1, turn. Sc2tog all around. Sl st to the beginning st.
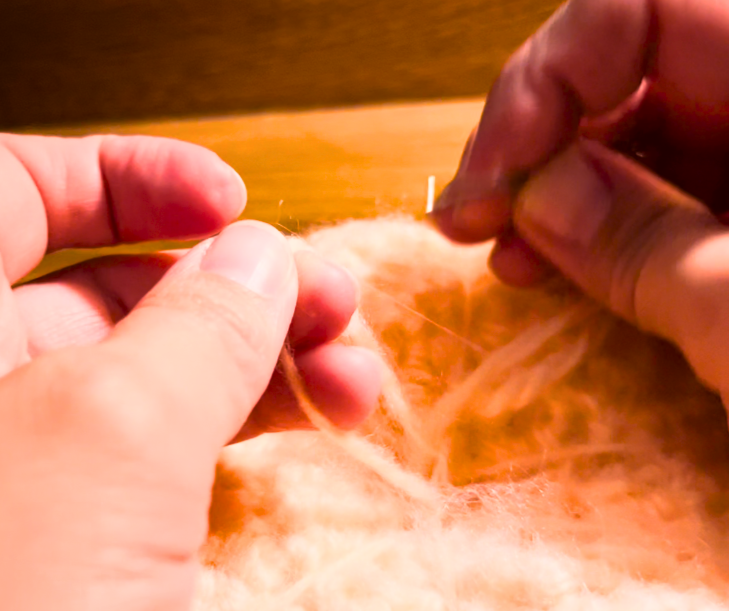
Leaving a long tail, cut the pumpkin yarn. Sew back and forth a few times to close any opening at the bottom. Tie to secure.
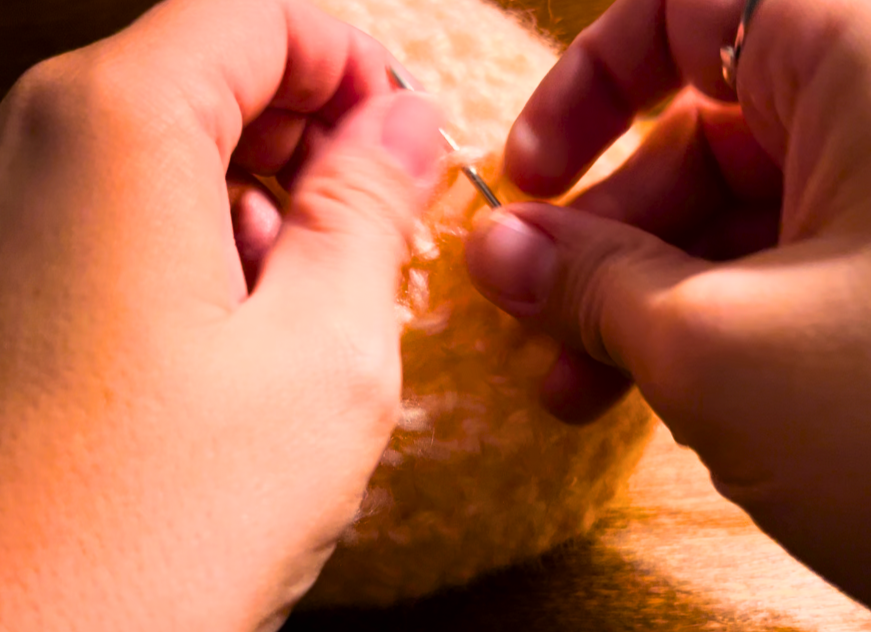
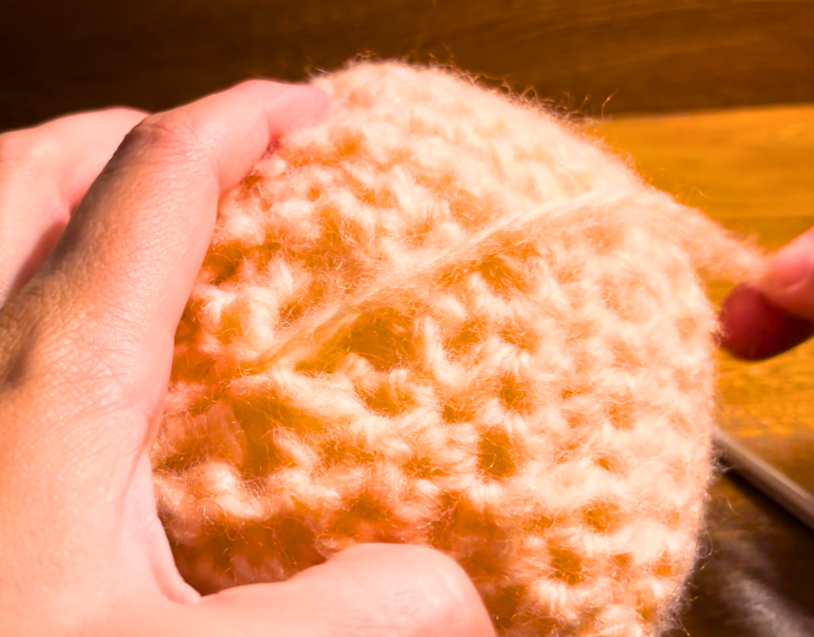
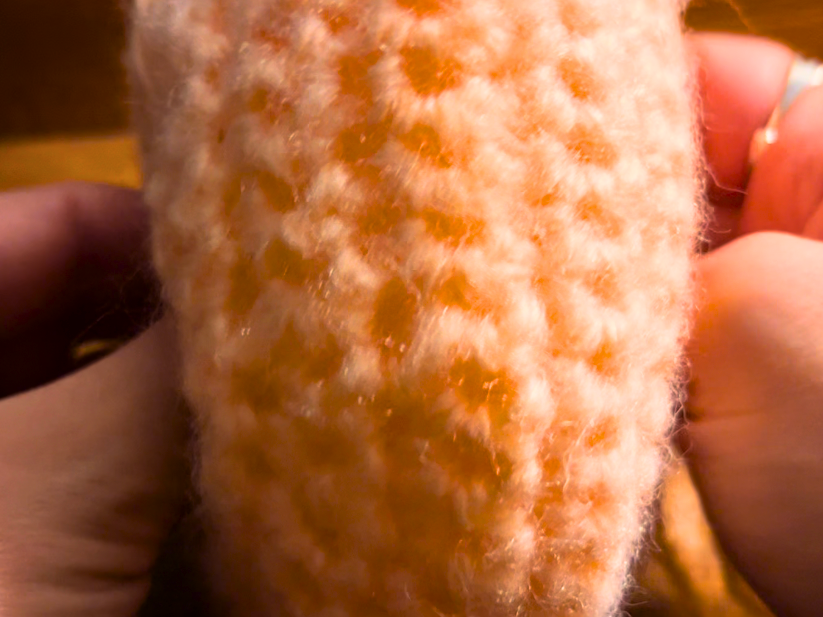
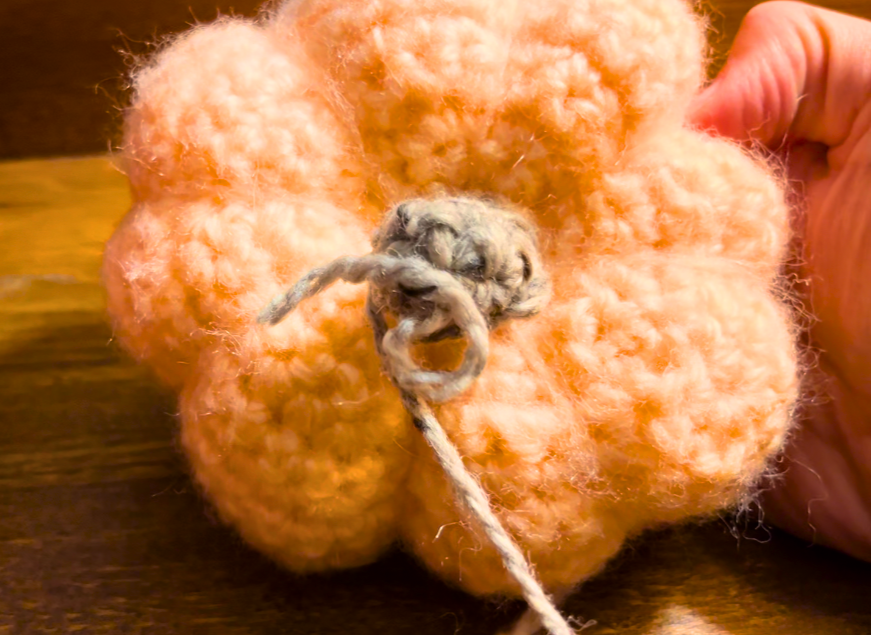
Going around the sides of the pumpkin, from top to bottom and down through the middle, pull the string tight to make the groves of the pumpkin. Tie tight at the bottom to secure.
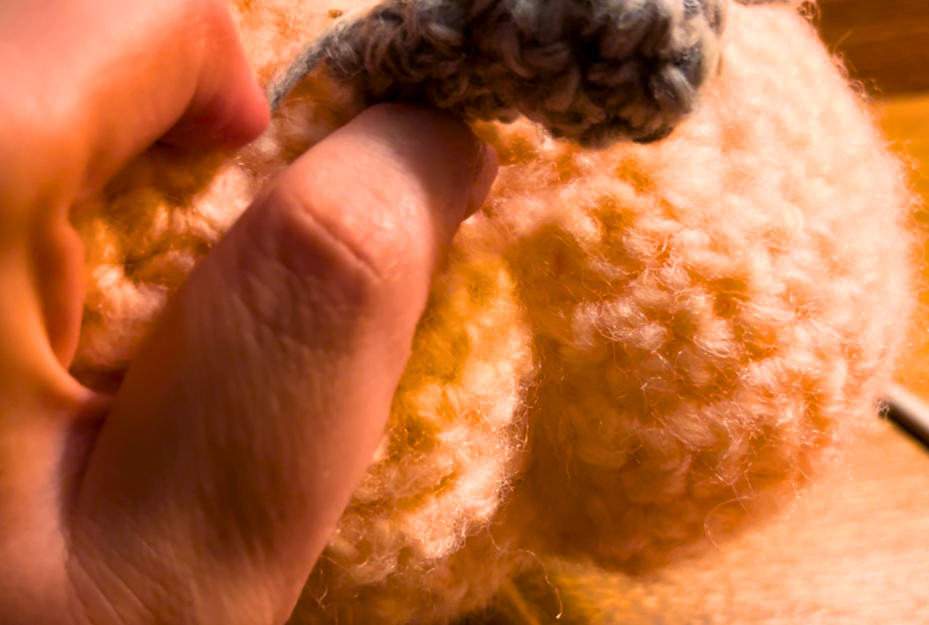
Making the vine
With your smaller 4mm hook, return to the stem and vine coloured yarn. Push your hook into the base of your stem, (where it meets the pumpkin colour). Draw up a loop onto your hook. Loosely ch 15.
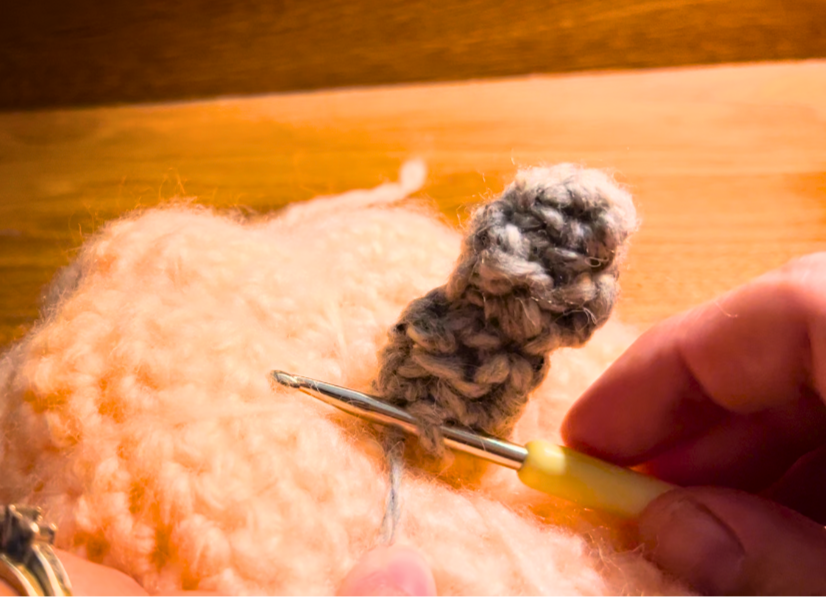
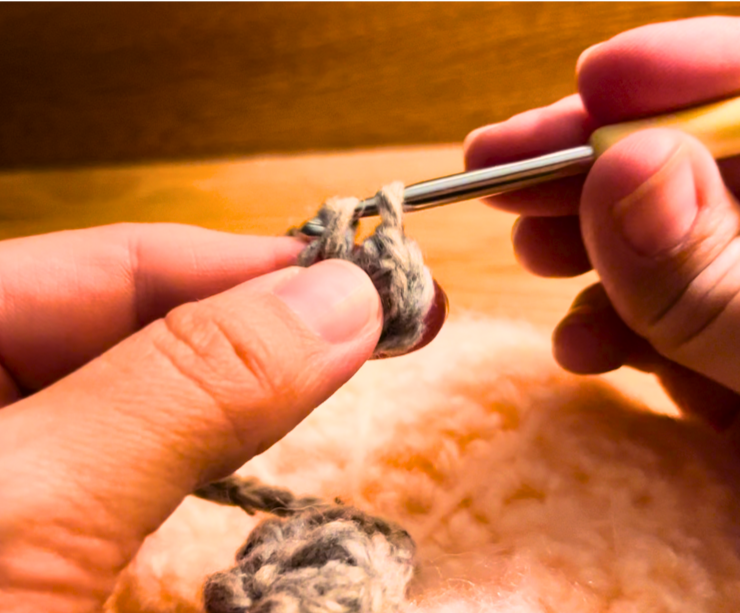
(Row 1) In the second chain from the hook, make 3 sc. Make 3 sc in each ch until you reach the beginning where it joins the pumpkin. Sl st to join to the pumpkin. Cut your yarn and tie off. Your vine should be a spiral. twist your vine around to make the spiral pattern twist all the same ways. Sew in any strings.




One Comment