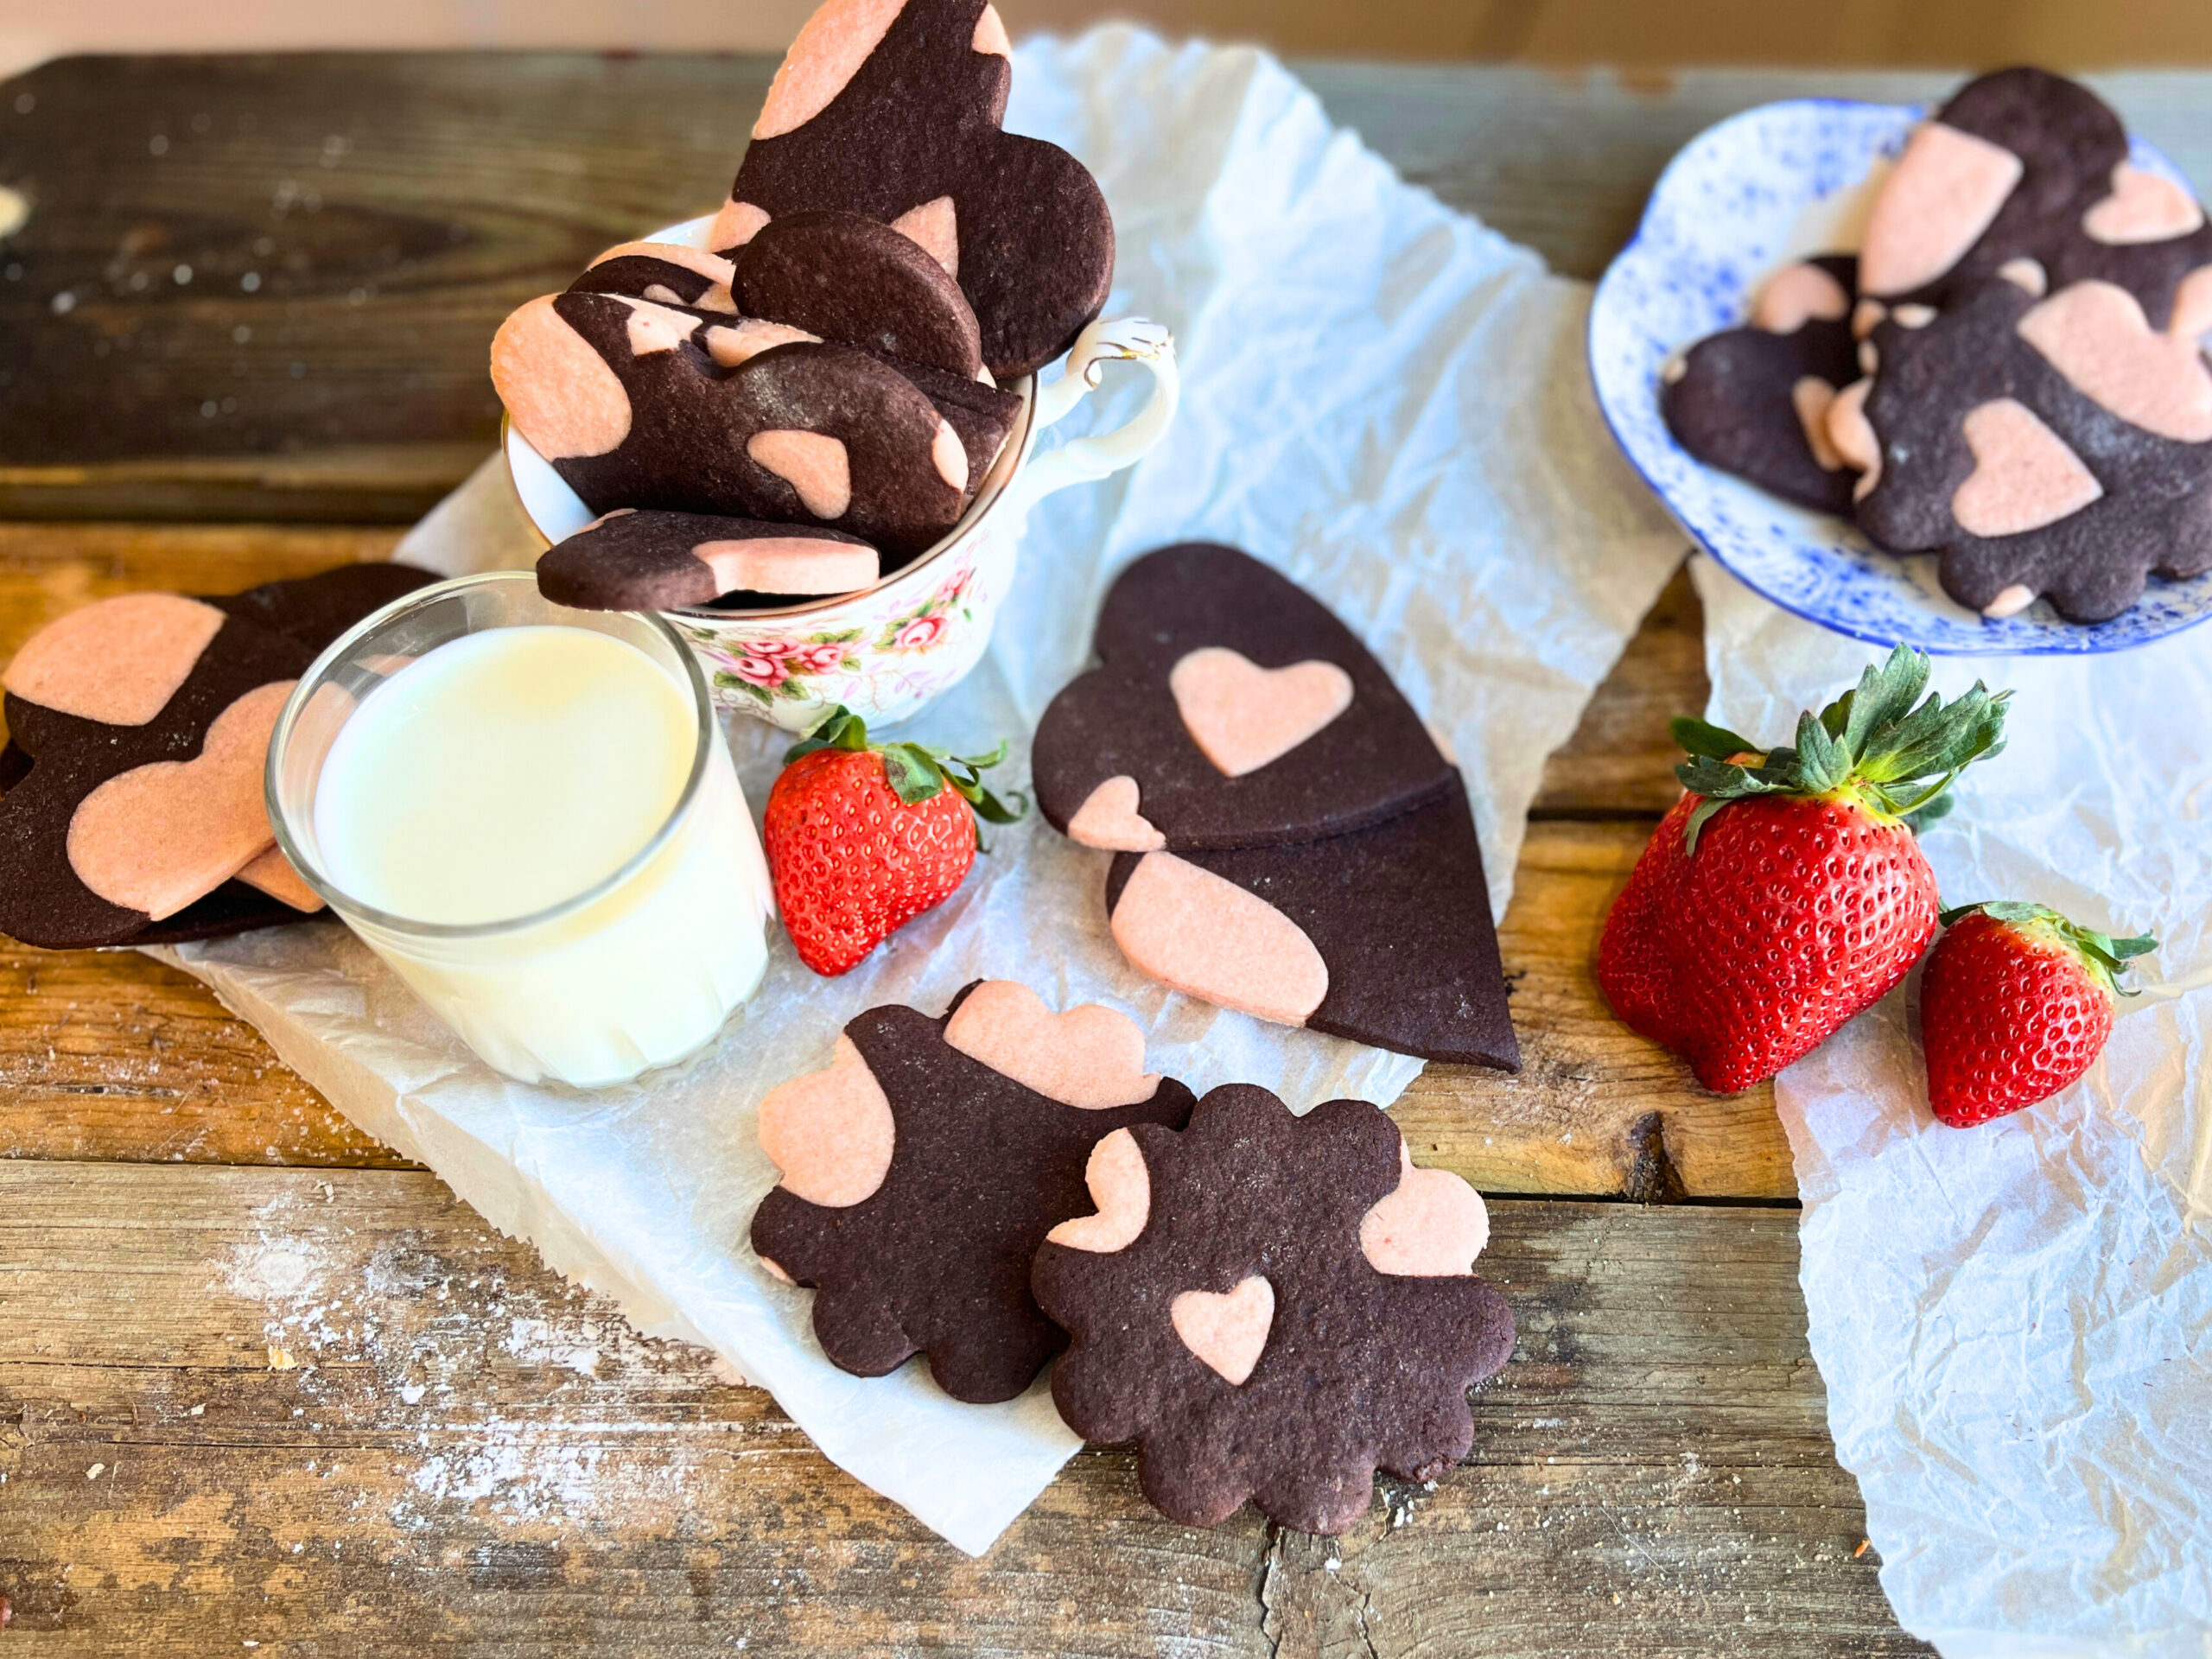
Valentine’s Day Sugar Cookies
Valentine’s Day sugar cookies are an easy homemade treat that you can package and hand out to your Valentine’s! Much easier than other baked goods like say a cupcake. The icing dries hard, while the cookies are soft and tender.
- I will leave a list of the RECIPES used for this collection at the BOTTOM OF THE POST.
- There is a VIDEO compilation of the cookies at the BOTTOM OF THE POST.



These are my Valentine’s Day cookies for this year. Hope you can find some inspiration! Now get baking!
Two Tone Sugar cookie dough
While any sugar cookie dough will work for this project, I used No spread strawberry sugar cookies and chocolate sugar cookies. Because, what says Valentine’s Day more than strawberries and chocolate!?
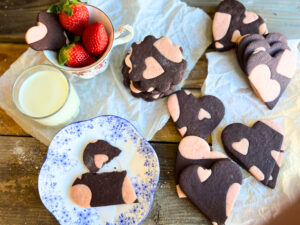
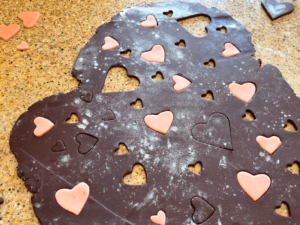
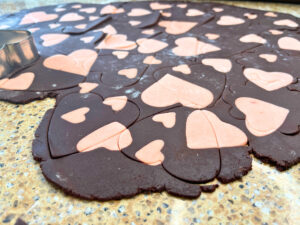
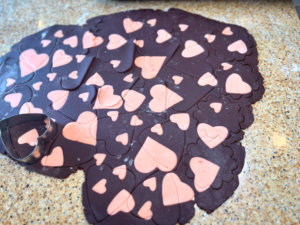
I made one batch of each then used different sized heart cutouts in both colours. I then inserted the pink hearts into the chocolate dough where those hearts had been removed. Like making a heart puzzle out of cookie dough.
Roll the dough out slightly, just to make both doughs stick together. Then cut out my actual cookie shapes using the new two-tone dough!
Chill and bake as you would for the sugar cookie dough recipe.
These can be eaten just as they are, because they are so cute! Or you can make them into sandwich cookies using either strawberry buttercream or classic vanilla buttercream. I used the vanilla buttercream for mine!
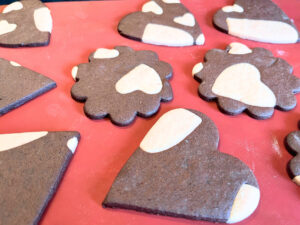
- See more cookie designs without royal icing at the bottom of the post!
Valentine’s Day Sugar cookies and Royal icing
With the left over dough I made these Valentine’s Day designs with royal icing.
I used stiffer royal icing for the borders, which is about the consistency of mayonnaise (not really a great comparison, I know.)
I used flood consistency for the main icing of the cookie and all of the wet designs. (That means when I add multiple colours to the main icing of the cookie, before any of the icing is dry.) The flood consistency should be like runny liquid honey.
To move and manipulate the icing into designs I use a kitchen skewer. But you can also use toothpicks, darning needles, or anything that is small and very thin. If you have a cookie scribe, that is the best tool for the job.
Royal Icing Valentine’s Day Sugar Cookies
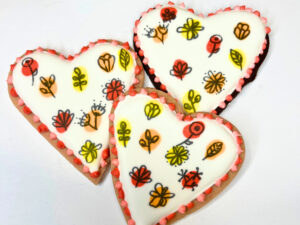
Modern art, line drawing cookies


My inspiration for these designs was an art kit I got for Christmas. It had all these modern art drawings that consisted of different watercolour like colour splotches and simple line drawing designs overtop of that.
It will be easier to just show you the pictures than to go through all of the steps in writing. But to make these cookies:
- Pipe the borders in white and fill with white flood consistency icing.
- While the white icing is still wet, pick two or three colours and pipe a few larger splotches of icing around the white. If you are making specific shapes like hearts, don’t try to make them perfect it is supposed to look that way. (Make sure to not over fill or the icing could run over).
- Wait for the icing to dry (this will be about 12-24 hours) and then using food writers, draw your pictures or words.

Roses cookie
Valentine’s Day and roses go hand in hand. This design is beautiful but surprisingly easy to make!


- Pipe the border and flood the cookie with your background colour.
- With the background icing still wet, pipe an oval and then a small line inside the oval. Do this using two different shades of pink. (This is using flood consistency icing)
- With a small skewer or scribe, at the top of the oval swirl a spiral just going around 1 ½ to 2 rotations.
- Underneath the spiral swipe back and forth. Going one way, then under going the opposite way. Do this to the bottom of the rose. This should only be 3-4 back and forth motions.
- With green pipe a dot at the bottom of the rose, then either a lighter green or yellow pipe a smaller dot in the middle (this is with flood consistency icing).
- Using the skewer or scribe, swipe through the green dot, one time, from one side to the other. This should make a leaf shape.
- You can decorate the inside of the of cookie around the roses with dots to add extra decorations if desired.
- Wait 24 hours and the icing will set hard.
Pearls and roses cookie
This is not a wet-on-wet design so you will have to allow the background icing to dry first before piping on the detail icing.

- Pipe a border and then flood the rest of the cookie. Let the cookie dry 12 hours.
- Using the white border consistency icing. Pipe dots from top to bottom making a string of pearls over the cookie.
- Using different shades of pink border consistency icing, pipe a small tight spiral. This will be the rose shape.
- Using a green border consistency icing pipe a few green leaves around your roses.
- Allow the icing to dry 24 hours and it will set hard.
Little chocolate box cookie
This cookie is made in two steps. Let the flood icing dry before moving on to the piping design on top.

- Pipe the border and then flood the cookie. With border consistency icing. Pipe a simple border around the icing.
- After this is dry, using border consistency icing, pipe lines from top to bottom and from side to side.
- Using a few different shades of pink, pipe some spiral roses. This is where the lines cross in the middle.
- Using piping consistency green icing, pipe some leaves around the roses.
- Allow the icing to dry 24 hours.
Bee my Valentine
This is a super cute design that I originally made for a summer party where I just had bees and butterflies. I thought it would be perfect for Valentine’s Day!

- Pipe the border and flood the cookie. Allow this to dry 12 hours.
- Using piping consistency icing, pipe some pink roses, and 1 yellow oval (this will be the bee).
- Using green piping consistency icing pipe leaves around the roses.
- Using food writers, draw some broken loopy lines around your cookie, as if making a path the bee took visiting the flowers.
- Allow the icing to dry 12 hours. Using the food writers, draw wings above the yellow oval, a line for the stinger and two thick lines over top of the yellow oval for the bee’s stripes.
- Using piping consistency icing pipe the words BEE MINE on the cookie.
- Allow the cookie to dry 12-24 hours.
Scribble hearts cookie
This is a fun and colourful heart cookie. It is quick and easy to make!
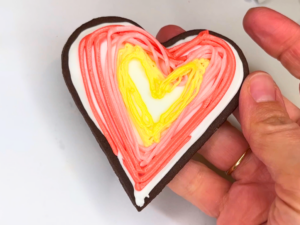
- Pipe a border and flood the cookie with white icing. Let the cookie set 12 hours.
- Using different colours of piping consistency icing, pipe hearts going from big to small as you work your way to the centre of the cookie.
- Let the icing set 24 hours.
Valentine’s Day Sugar cookies without royal icing
Peek-a-boo cutouts
These are classic sandwich cookies with little hearts cut out of the top to reveal the buttercream icing inside.
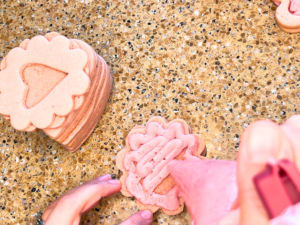
A full post and recipe for this can be found here!
Double chocolate sandwich cookies
These are classic sandwich cookies using the chocolate sugar cookie dough.
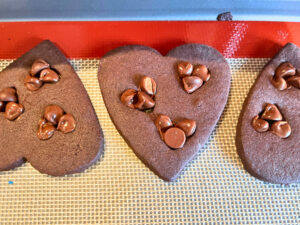
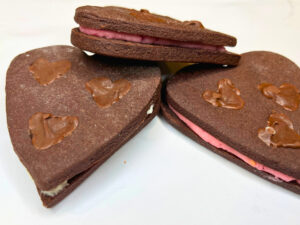
- Make some small heart cut outs in the dough cutouts.
- Bake the cookies according to your recipe.
- As soon as the cookies come out of the oven, place a few chocolate chips in the cutout spaces.
- When the chocolate is melted, swirl it with a skewer or scribe to smooth it out.
- Allow the chocolate to set in the cookie, on the tray, before removing.
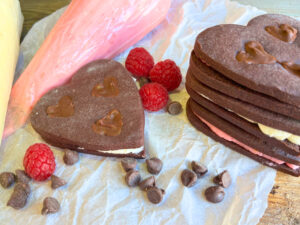
Which ones will you try out? Do you prefer to decorate with royal icing or without?
Looking for more sugar cookie recipes? Try one of these! Orange and Cardamom Sugar Cookies Autumn Spice Decorated Sugar Cookies Happy Baking!
- Cookie recipes from this post include Homemade, Oreo Inspired, Sandwich Cookies, No spread strawberry sugar cookies
- Icing recipes are written below for royal icing, and buttercream. Strawberry buttercream can be found with the strawberry sugar cookie recipe.

Royal Icing
Ingredients
- 2 lbs. of icing sugar
- 5 Tablespoons meringue powder
- ⅔ cup warm water. You may need more or less to reach the proper consistency
Instructions
- In the bowl of the stand mixer, with the paddle attachment, add the sugar and the meringue powder.
- Mix to combine and break up any lumps.
- Add the water and mix on low until the icing starts to come together.
- Turn the mixer up to medium and beat for 4-5 mins, or until light and fluffy and holds a stiff peak. (You may need to add more water to reach the desired consistency for the piping.)
- Keep your icing covered, either with cling-film or a damp cloth, when not in use, or it will start to dry and set.
- The stiff consistency is perfect for making things like royal icing flowers or piping 3 dimensional designs.
- For the consistency for writing or piping borders, the consistency should be similar to mayonnaise. (You gradually add water to the icing until this is reached.)
- For flood consistency, (this is the main inside icing you will be filling the cookie with), add water gradually, until you have a runny honey consistency.
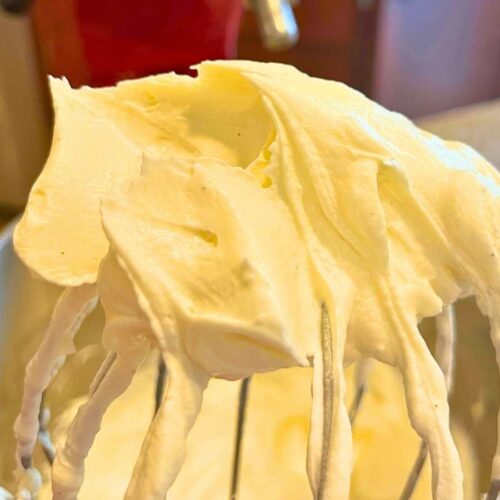
Simple Buttercream Icing
Ingredients
- ½ cup butter softened
- 4 cups icing sugar
- 3 Tablespoons cream
- 2 teaspoons vanilla
- ¼ teaspoon salt
Instructions
- In the bowl of a stand mixer, with the whisk attachment, cream butter.
- Add icing sugar. Mix on the lowest setting, until all of the sugar is incorporated. Then cream on medium-high until light and fluffy.
- Add vanilla and salt. Blend into the icing.
- Thin with cream, you may need more or less, until you have the desired consistency.
