Easy Homemade Garlic Breadsticks Recipe | Soft, Buttery & Golden Garlic Bread Sticks
By Rebecca St.Clair
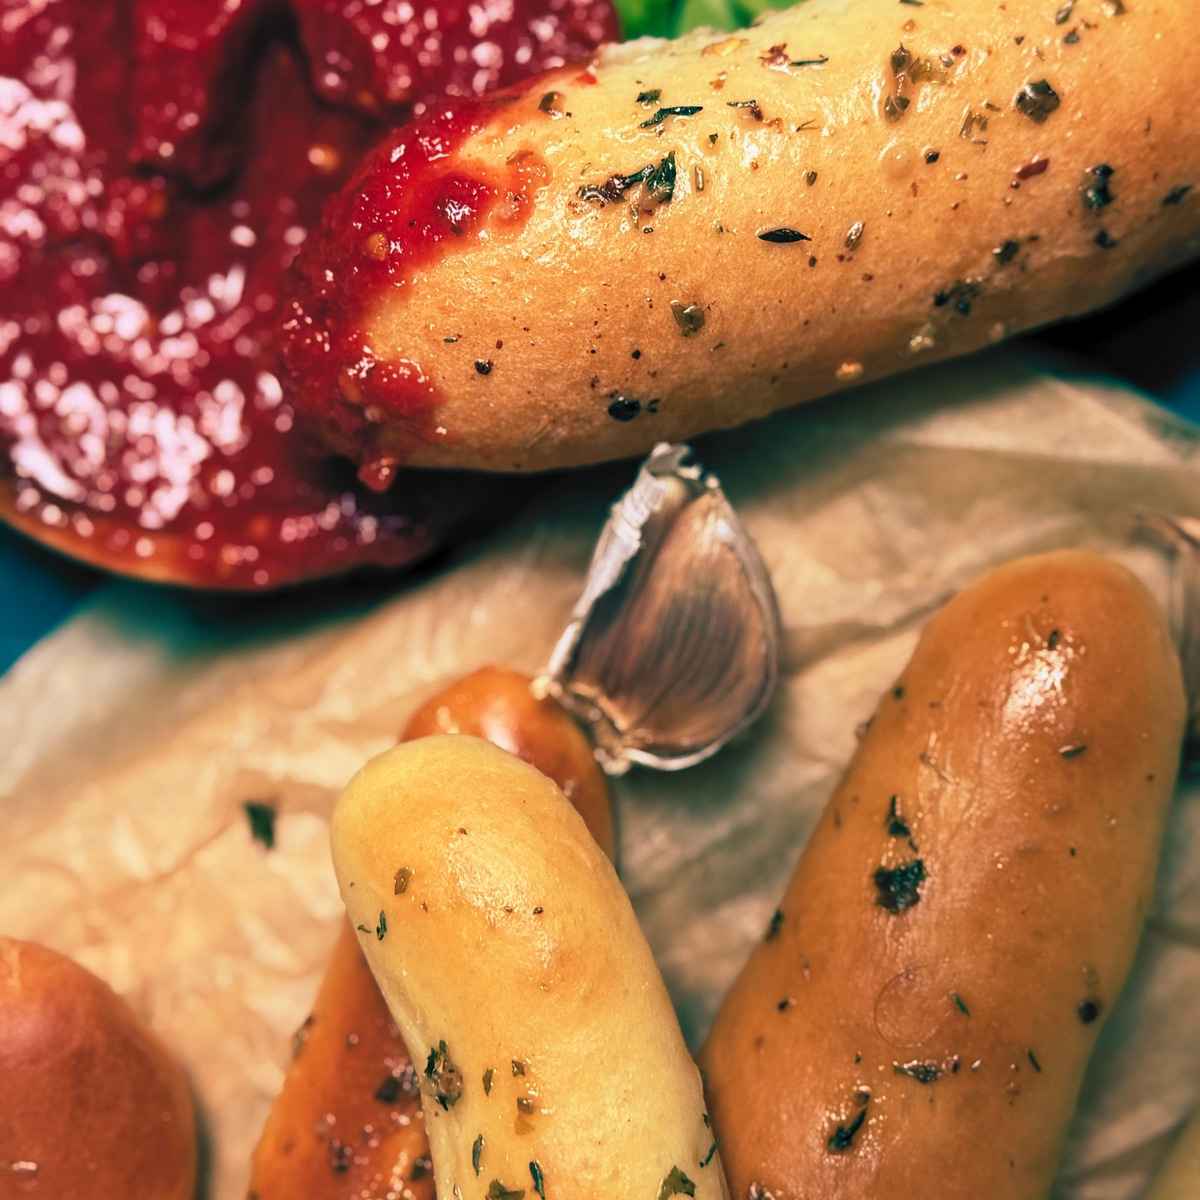
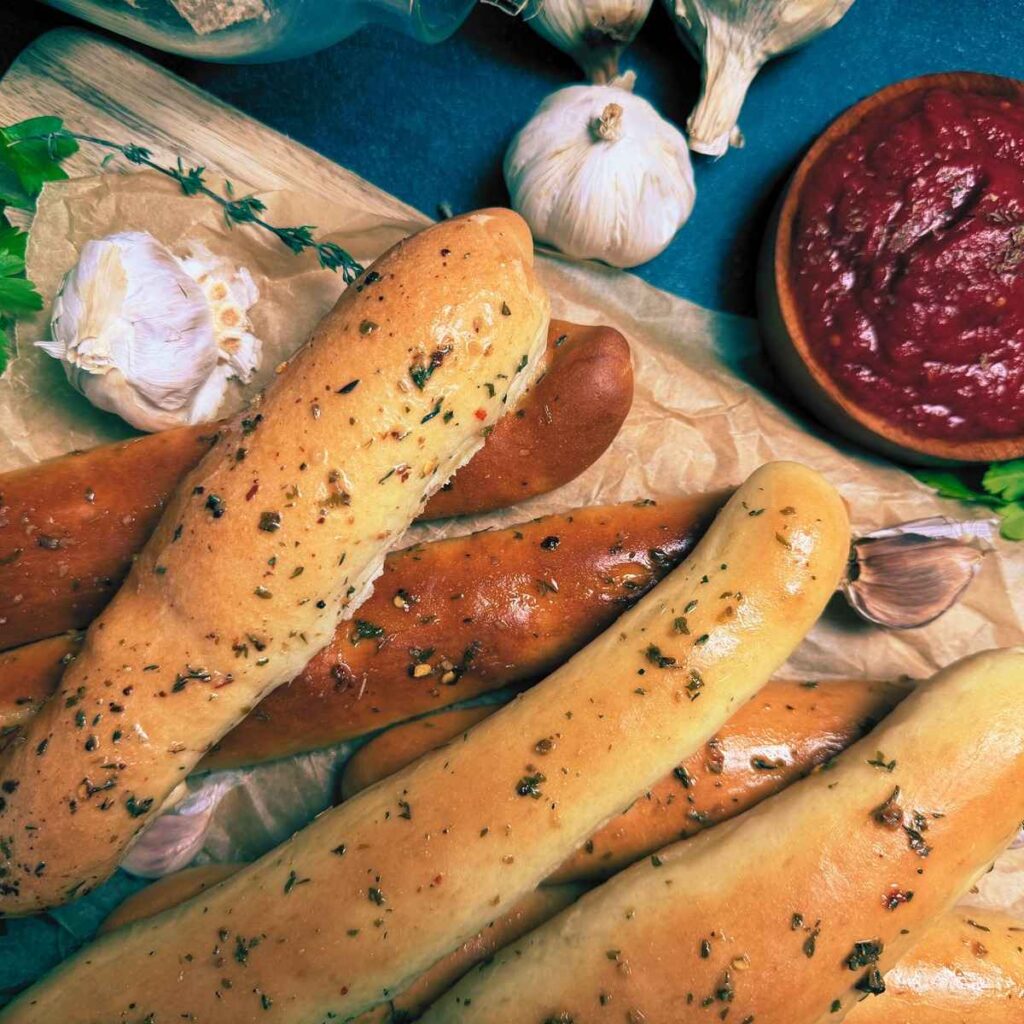
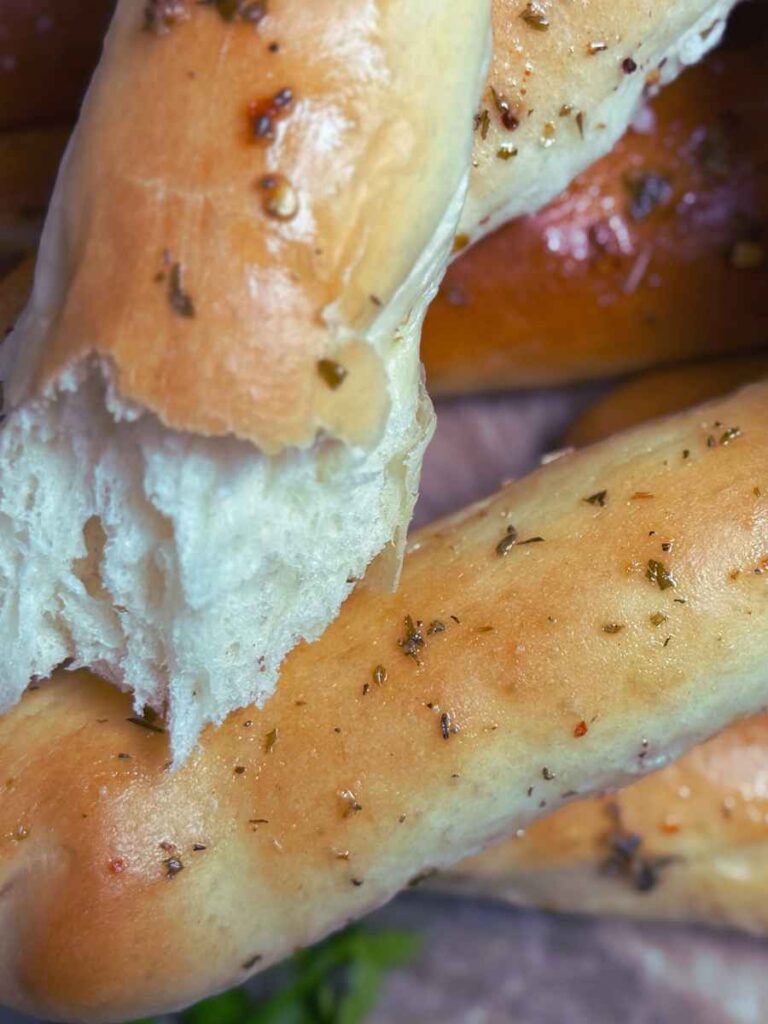
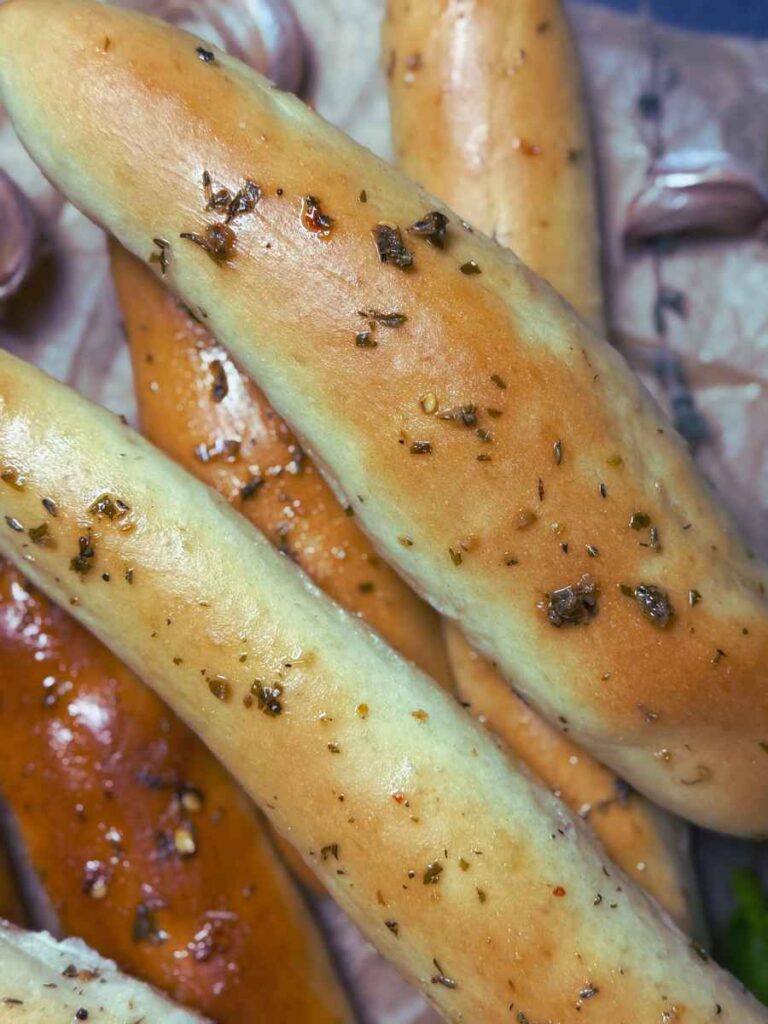
Who doesn’t love the smell of freshly baked homemade garlic breadsticks! Soft, tender on the inside, lightly golden on the outside, and brushed with a generous layer butter infused with herbs and garlic. These easy homemade garlic breadsticks are the perfect addition to just about any meal but we love them on the side of soups and pasta.
Made from scratch with simple pantry ingredients, this garlic breadsticks recipe make a soft, pillowy breadstick with a beautiful golden crust. At our house these breadsticks disappear quickly.
Why You’ll Love This Recipe
Soft and pillowy: A tender, soft interior with a lightly golden exterior.
Buttery garlic-herb flavour: Brushed with a savoury garlic-herb butter for plenty of flavour.
Made from scratch: Simple ingredients come together to make wonderful homemade breadsticks.
Easy to prepare: An enriched yeast dough perfect for even for beginner bakers.
Perfect for sharing: A delicious side dish for family dinners, holidays, and gatherings.
Freezer-friendly: Make a batch ahead of time and freeze some for later!
Ingredients for Homemade Garlic Breadsticks
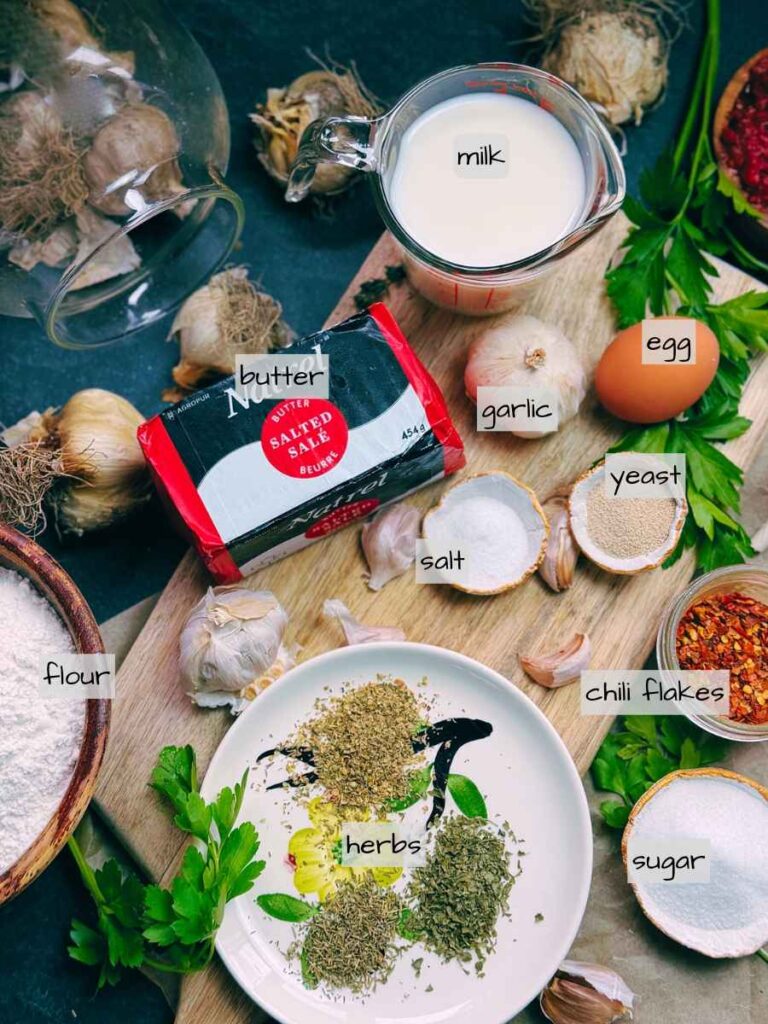
You only need a handful of simple ingredients to make these soft homemade garlic breadsticks.
For the breadstick dough:
- Flour: I used all-purpose flour to create the soft structure of the breadsticks.
- Warm water and milk: Helps bring the dough together. Water give the breadsticks a slightly lighter texture and the milk makes them softer and richer.
- Yeast: I used active dry yeast to help the dough rise.
- Butter: Adds flavour and tenderness to the dough.
- Sugar: Provides a little sweetness to balance the savoury garlic flavour and helps feed the yeast to give you light and airy texture.
- Salt: Provide a delicious flavour to the bread.
For the herb-garlic butter topping:
- Butter: Melted with the garlic to infuse the flavour.
- Fresh garlic: Finely minced garlic provides the best flavour. Garlic powder can also be used.
- Herbs: Add colour and flavour. I used a mixture of dried parsley, dried oregano, dried thyme.
- Red pepper flakes : Adds flavour, colour, and a slight zip to the bread.
- Salt: Enhances the garlic flavour.
How to Make Easy Homemade Garlic Breadsticks
Step 1: Prepare the Enriched Yeast Dough
In a large bowl, combine the 1/2 cup warm milk, 1/2 cup warm water, 2 Tablespoons sugar, 1 tsp dry-active yeast. Allow the yeast to soften and become foamy. (This takes about 5 minutes)
Add in 1 egg, 2 Tbsp soft butter, 3 1/4 cups flour, and 1 tsp salt.
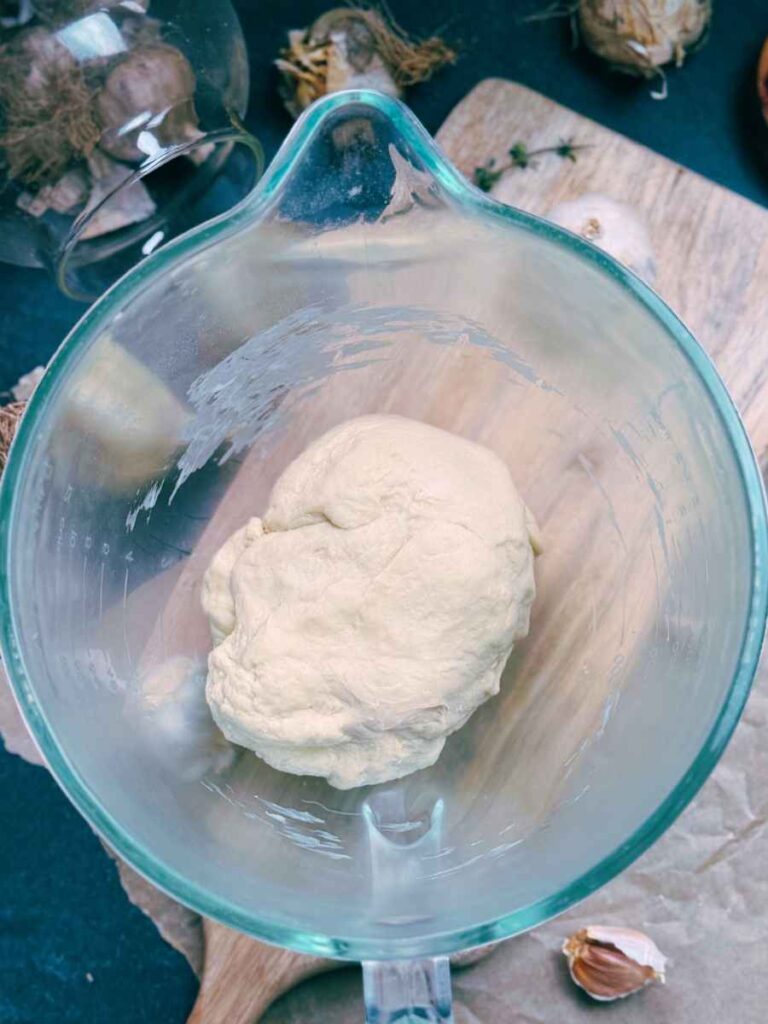
Knead the dough until it becomes smooth and elastic. This will take several minutes.
The dough should feel soft, smooth.
Step 2: Allow the Dough to Rise
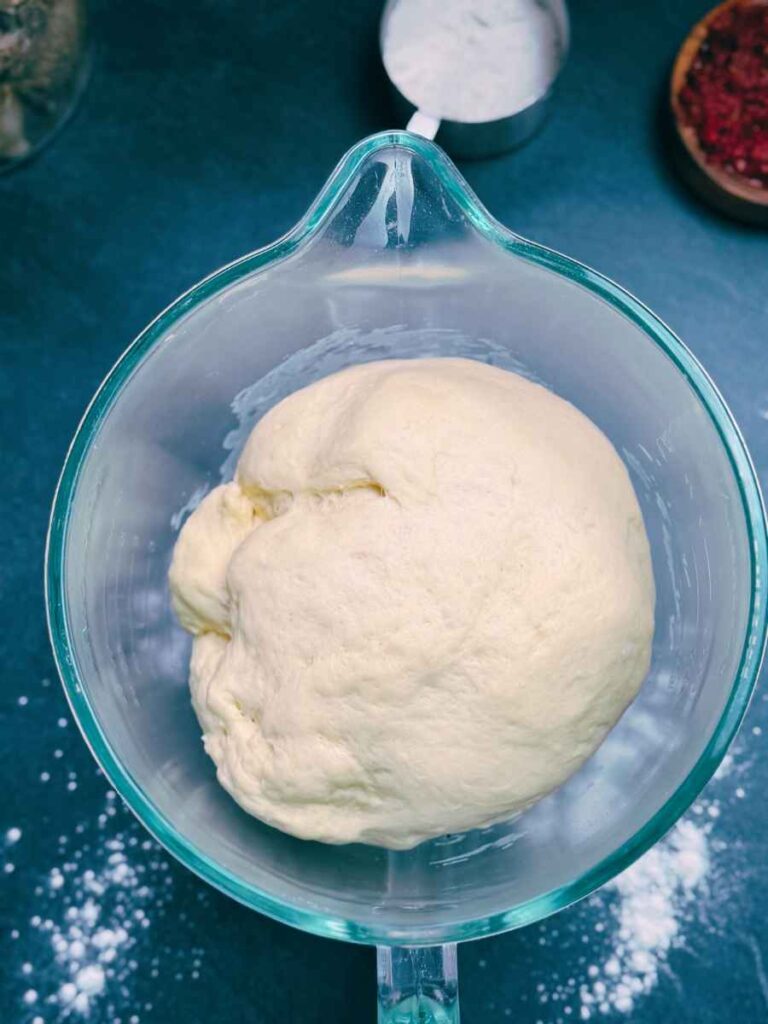
Place the dough in a bowl and cover it with a damp kitchen towel or plastic wrap.
Allow it to rise in a warm spot until doubled in size.
Depending on the temperature of your kitchen, this should take about 1 hour.
Step 3: Shape the Garlic Breadsticks
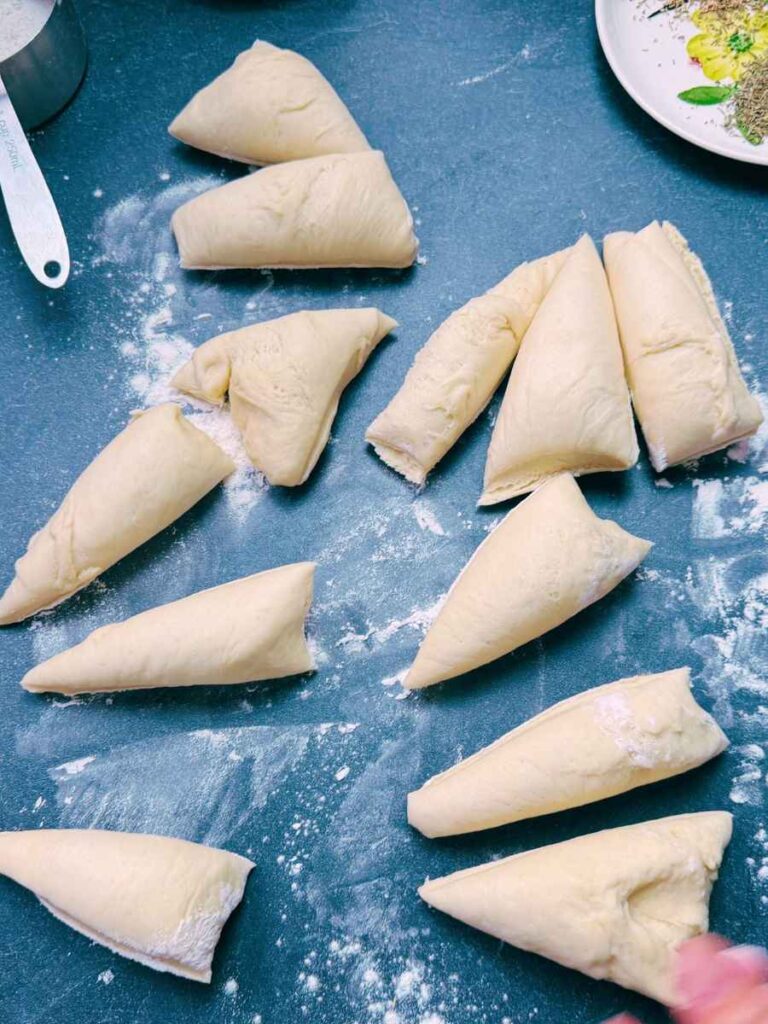
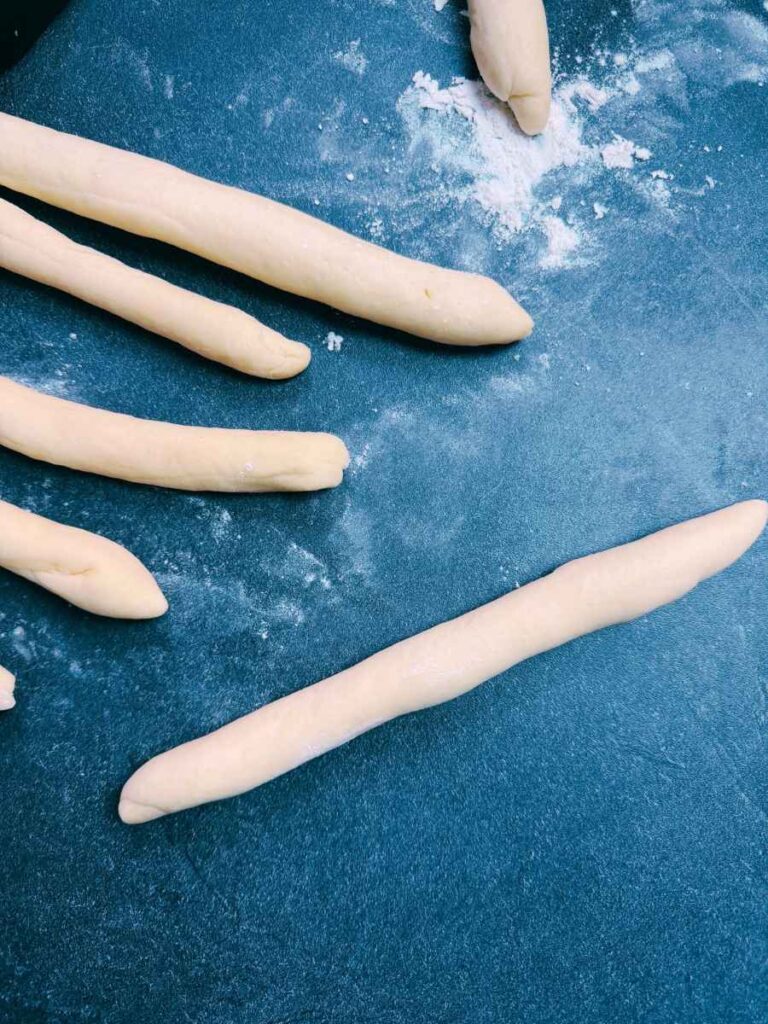
Once the dough has doubled in size, tip it out onto a lightly floured surface. Divide the dough into 12 equal portions and roll each piece into a long breadstick shape.
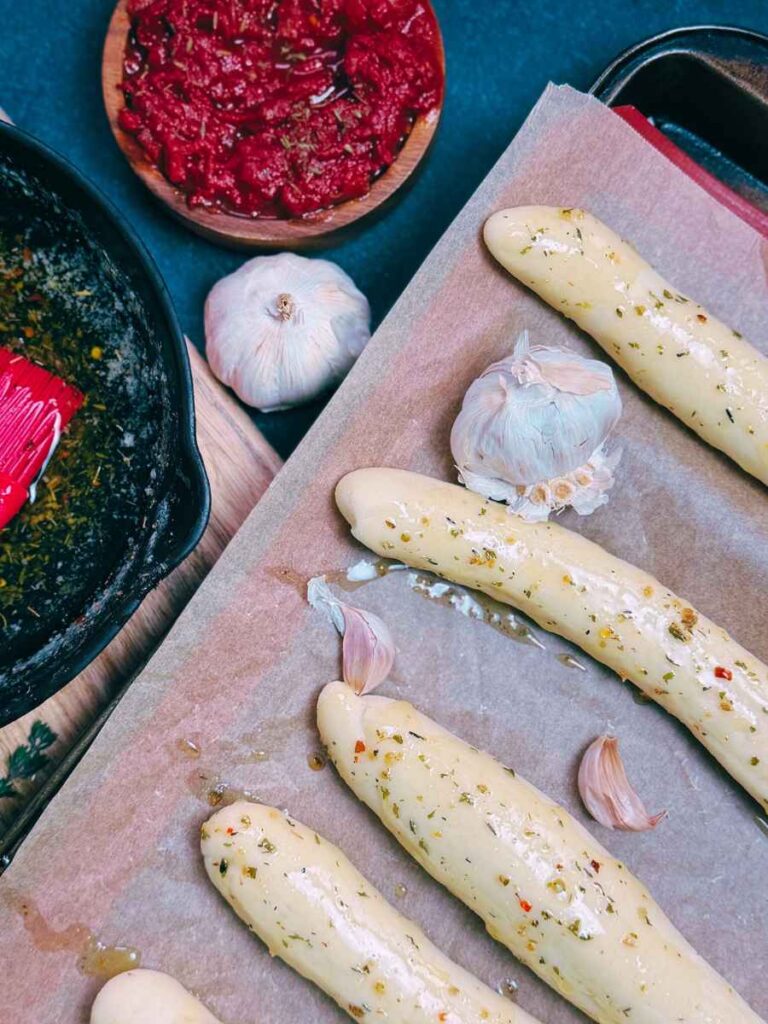
Arrange the breadsticks on a parchment-lined baking sheet, leaving a little space between each one.
Allow them to rise again until almost doubled again, approximately 30 minutes.
Step 4: Homemade Garlic Butter
While the breadsticks are rising, prepare the garlic butter.
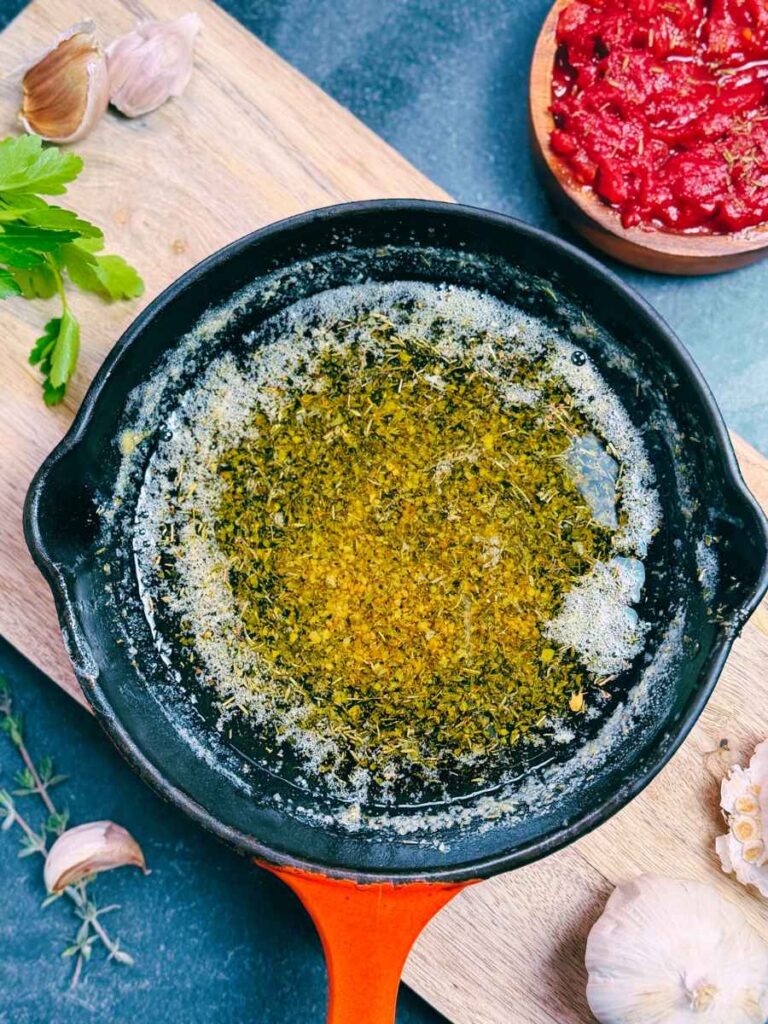
Melt 1/4 cup butter in a small saucepan. Stir in the 3 cloves minced garlic. Cook until you see the butter lightly brown and the garlic starting to colour. Remove from the heat and stir in 1 teaspoon dried parsley, 1 teaspoon dried oregano, 1/2 teaspoon dried thyme, 1/2 teaspoon crushed red pepper flakes, and 1/2 teaspoon of salt or to taste.
Stir to combine.
Step 5: Bake Until Golden
Preheat your oven to 375°F (190°C).
Brush the tops of each bread stick gently with the melted garlic butter mixture.
Bake the breadsticks 20 – 25 minutes or until they are lightly golden and cooked through.
As soon as the breadsticks come out of the oven, generously brush the tops with the garlic butter again.
The warmth of the freshly baked breadsticks allows the buttery garlic flavour to soak into the soft crust.
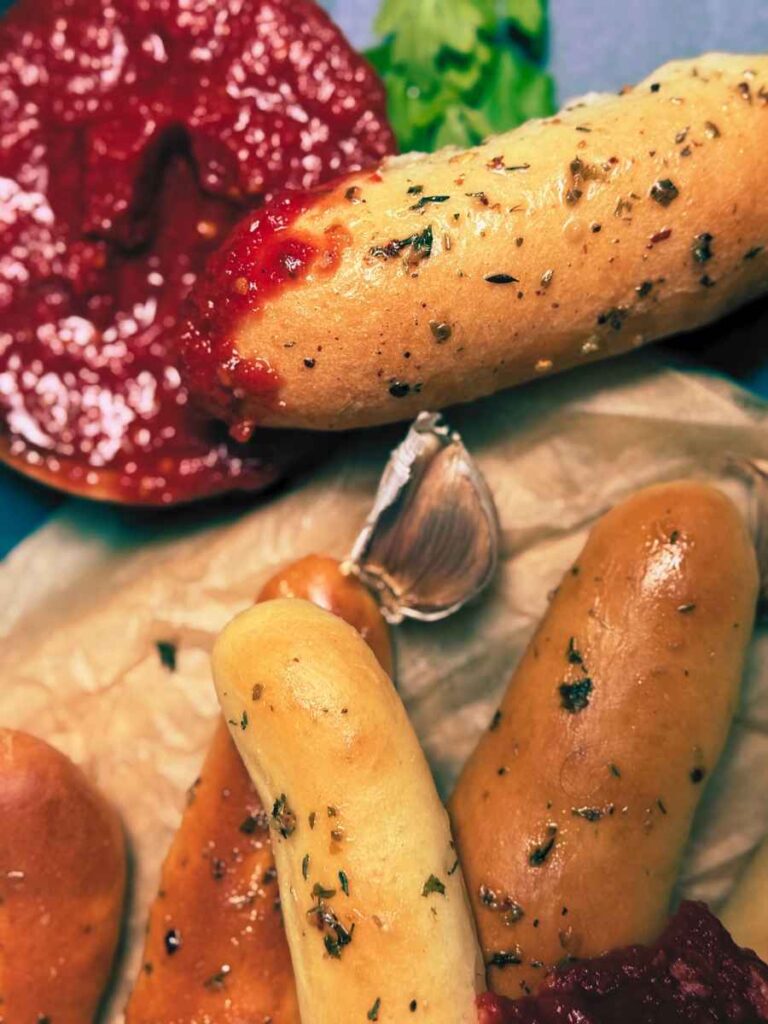
Serve warm and enjoy!
Tips for Making the Best Soft Garlic Breadsticks
A few simple tips can make all the difference when baking homemade breadsticks.
Use fresh garlic: Freshly minced garlic provides a more vibrant flavour than garlic powder.
Use warm, not hot, liquid: Very hot water or milk can kill the yeast. Aim for approximately 100–110°F (38–43°C).
Measure flour carefully: Too much flour can make breadsticks dense and dry. For the best results, weigh your flour or spoon it into your measuring cup and level it off.
Knead until smooth: Properly kneaded dough develops gluten, which gives breadsticks their soft, stretchy texture.
Allow enough rising time: The dough should become noticeably puffy before baking.
Don’t overbake: Remove the breadsticks once they are cooked through and lightly golden.
Add garlic butter while warm: Brushing the breadsticks immediately after baking gives them wonderful flavour.
For additional flavour, you can also add some freshly grated Parmesan cheese.
What to Serve with Garlic Breadsticks
Homemade garlic breadsticks are the perfect addition to so many meals. Their buttery garlic flavour pairs especially well with hearty, comforting pastas and soups.
Here are some delicious ways to serve them:
- Homemade tomato soup: Perfect for dipping into a warm bowl of tomato soup.
- Creamy pumpkin soup: A lovely seasonal pairing for fall dinners.
- Homemade lasagna: Serve alongside a hearty lasagna with layers of pasta, sauce, and cheese.
- Spaghetti and meatballs: A classic Italian-inspired family dinner.
- Creamy pasta dishes: Use the breadsticks to soak up every last bit of delicious sauce.
- Homemade pizza: Serve as a tasty appetizer or side dish.
- Garden salads: Pair with a fresh green salad for a simple lunch.
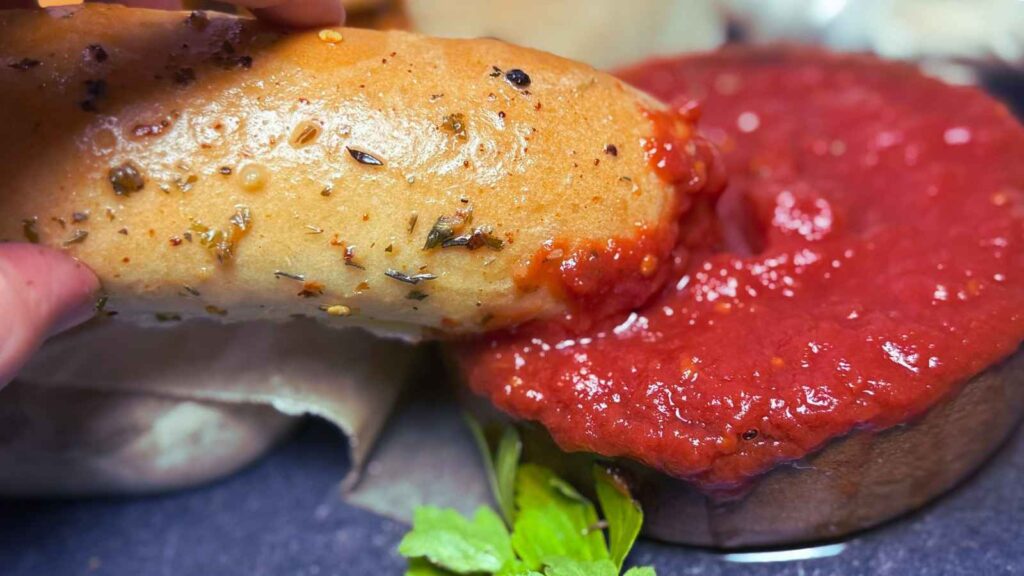
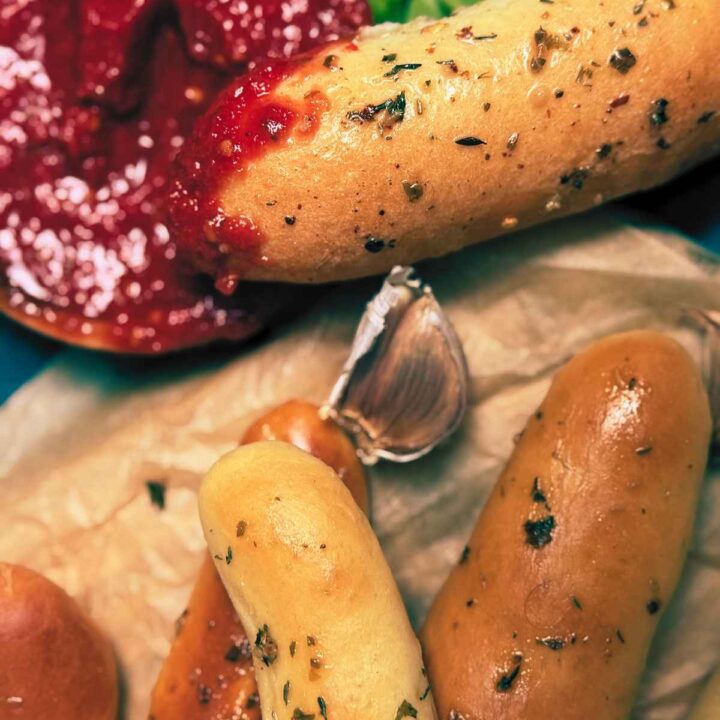
They are also perfect served on their own with marinara sauce, homemade pizza sauce, or a creamy herb dipping sauce.
How to Store Homemade Garlic Breadsticks
If you have leftover homemade garlic breadsticks, allow them to cool completely before storing.
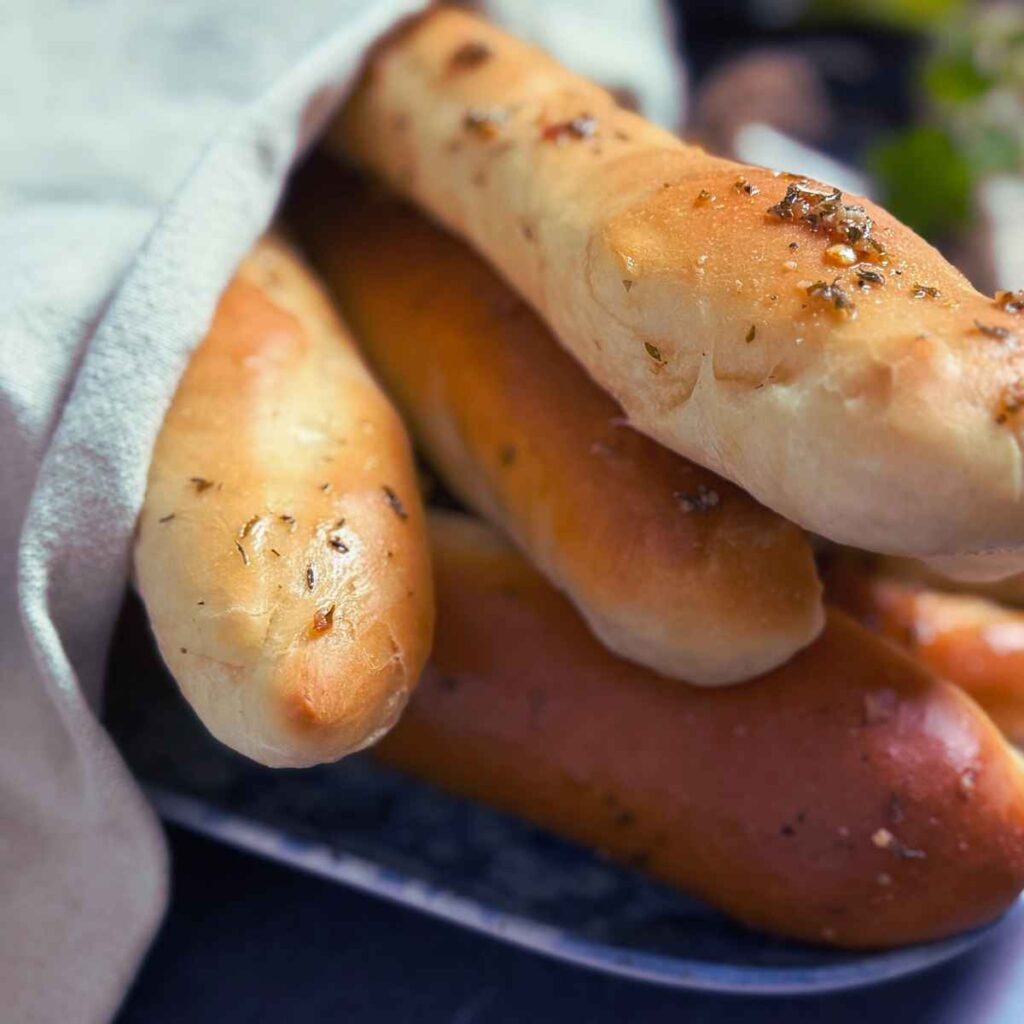
At room temperature: Place the cooled breadsticks in an airtight container. Store at room temperature for up to 2 days for the best quality.
In the refrigerator: Refrigeration is generally unnecessary for plain breadsticks and can cause them to dry out more quickly.
In the freezer: Garlic breadsticks freeze beautifully. Allow them to cool completely, then place them in a freezer-safe bag or airtight container. Freeze for up to 3 months for the best quality.
How to Reheat Garlic Breadsticks
For the best texture, reheat homemade garlic breadsticks in the oven.
- Oven: Wrap the breadsticks loosely in foil and warm at 300°F (150°C) for approximately 5–10 minutes, depending on their size.
- Air fryer: Warm at approximately 300°F (150°C) for 2–4 minutes, checking frequently.
- Microwave: Heat briefly in 10–15 second. This is convenient, although the breadsticks have an altered texture.
If desired, brush with a little additional melted garlic butter just before serving.
Can You Make Garlic Breadsticks Ahead of Time?
Yes! Homemade garlic breadsticks are a wonderful make-ahead side dish.
You can prepare the dough in advance and refrigerate it after you shape it to do it’s final rise in the fridge. Cover and refrigerate overnight.
You can also bake the breadsticks ahead of time, allow them to cool completely, and freeze them. Reheat in the oven and brush with freshly prepared garlic butter before serving.
Frequently Asked Questions
What makes homemade garlic breadsticks soft and fluffy?
The secret to soft and fluffy garlic breadsticks is the enriched dough. The added milk, egg, and butter in the dough helps create a tender texture.
Can I use instant yeast instead of active dry yeast?
Yes! Instant yeast can be substituted for active dry yeast. It can generally be mixed directly into the dry ingredients without proofing first. Follow the package directions and allow the dough to rise until doubled in size.
Why are my homemade breadsticks tough?
Breadsticks can become tough if too much flour is added, the dough is not properly kneaded, or they are overbaked. Measuring flour carefully and allowing the dough to rise properly will help create a soft texture.
Can I use garlic powder instead of fresh garlic?
Absolutely! Garlic powder works well in homemade garlic butter. Start with a small amount and adjust to taste. Fresh garlic provides a stronger, more aromatic flavour.
Can I make garlic breadsticks without a stand mixer?
Definitely! You can make this recipe entirely by hand. Mix the ingredients in a large bowl and knead the dough on a lightly floured surface until smooth and elastic.
Garlic Bread Sticks
Soft, tender on the inside, lightly golden on the outside, and brushed with a generous layer butter infused with herbs and garlic.
Ingredients
- 1/2 cup warm milk
- 1/2 cup warm water
- 2 Tablespoons sugar
- 1 teaspoon dry-active yeast
- 1 egg
- 2 Tablespoons softened butter
- 3 1/4 cups all-purpose flour
- 1 teaspoon salt
- 1/4 cup butter
- 3 cloves garlic, minced
- 1 teaspoon dried parsley
- 1 teaspoon dried oregano
- 1/2 teaspoon dried thyme
- 1/2 teaspoon crushed red pepper flakes
- 1/2 teaspoon of salt
Instructions
1. In a large bowl, combine the 1/2 cup warm milk, 1/2 cup warm water. Mix in 2 Tablespoons sugar.
2. Sprinkle on top 1 tsp dry-active yeast. Allow the yeast to soften and become foamy. (This takes about 5 minutes)
3. Add in 1 egg, 2 Tbsp soft butter, 3 1/4 cups flour, and 1 tsp salt,
4. Knead the dough until it becomes smooth and elastic. This will take several minutes. The dough should feel soft, smooth, and elastic.
5. Place the dough in a bowl and cover it with a damp kitchen towel or plastic wrap. Allow it to rise in a warm spot until doubled in size. Depending on the temperature of your kitchen, this should take about 1 hour.
6. Once the dough has doubled in size, tip it out onto a lightly floured surface. Divide the dough into 12 equal portions.
7. Roll each piece into a long breadstick shape. Make sure it is thinner than you want your finished bread sticks. They will rise again before baking.
8. Arrange the breadsticks on a parchment-lined baking sheet, leaving a little space between each one for them to rise.
9. Allow them to rise until almost doubled again, approximately 30 minutes.
Garlic Butter
1. In a pan on medium-heat, melt 1/4 cup butter.
2. Stir in 3 cloves minced garlic. Cook until you see the butter lightly brown and the garlic starting to colour.
3. Remove from the heat and stir in 1 teaspoon dried parsley, 1 teaspoon dried oregano, 1/2 teaspoon dried thyme, 1/2 teaspoon crushed red pepper flakes, and 1/2 teaspoon of salt or your favourite herbs.
4. Stir to combine.
Baking
1. Preheat your oven to 375°F (190°C).
2. Brush the tops of each bread stick gently with the melted garlic butter mixture.
3. Bake the breadsticks 20 - 25 minutes or until they are lightly golden and cooked through.
4. As soon as the breadsticks come out of the oven, generously brush the tops with the garlic butter again.
5. Serve warm and enjoy!
Notes
You can replace the fresh garlic in this recipe with 1 teaspoon of garlic powder.
Nutrition Information
Yield
12Serving Size
1Amount Per Serving Calories 196Total Fat 7gSaturated Fat 4gUnsaturated Fat 3gCholesterol 31mgSodium 352mgCarbohydrates 29gFiber 1gSugar 2gProtein 5g
Nutrition information is not always accurate.