
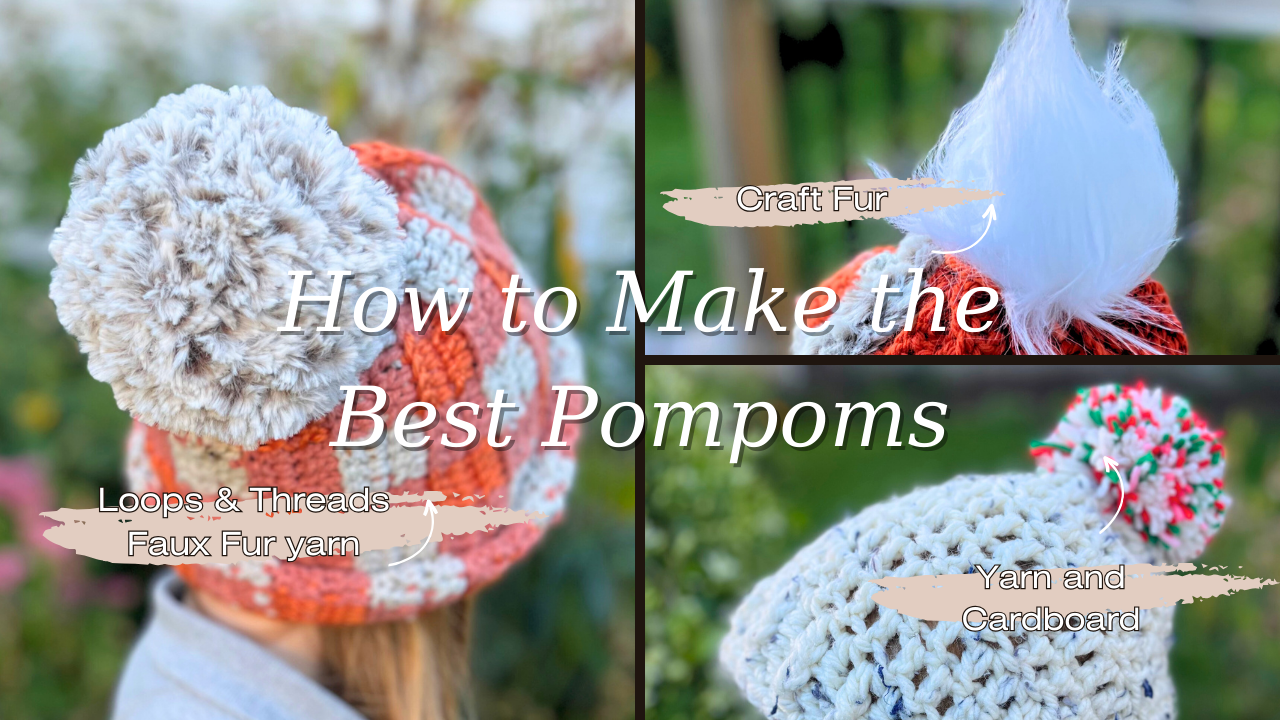
My Very Favorite Pompoms
These are my favourite ways to make pompoms. I have made pompoms using all of these methods. They all have plusses and minuses. Depending on what look I am going for, I may use different pompoms.
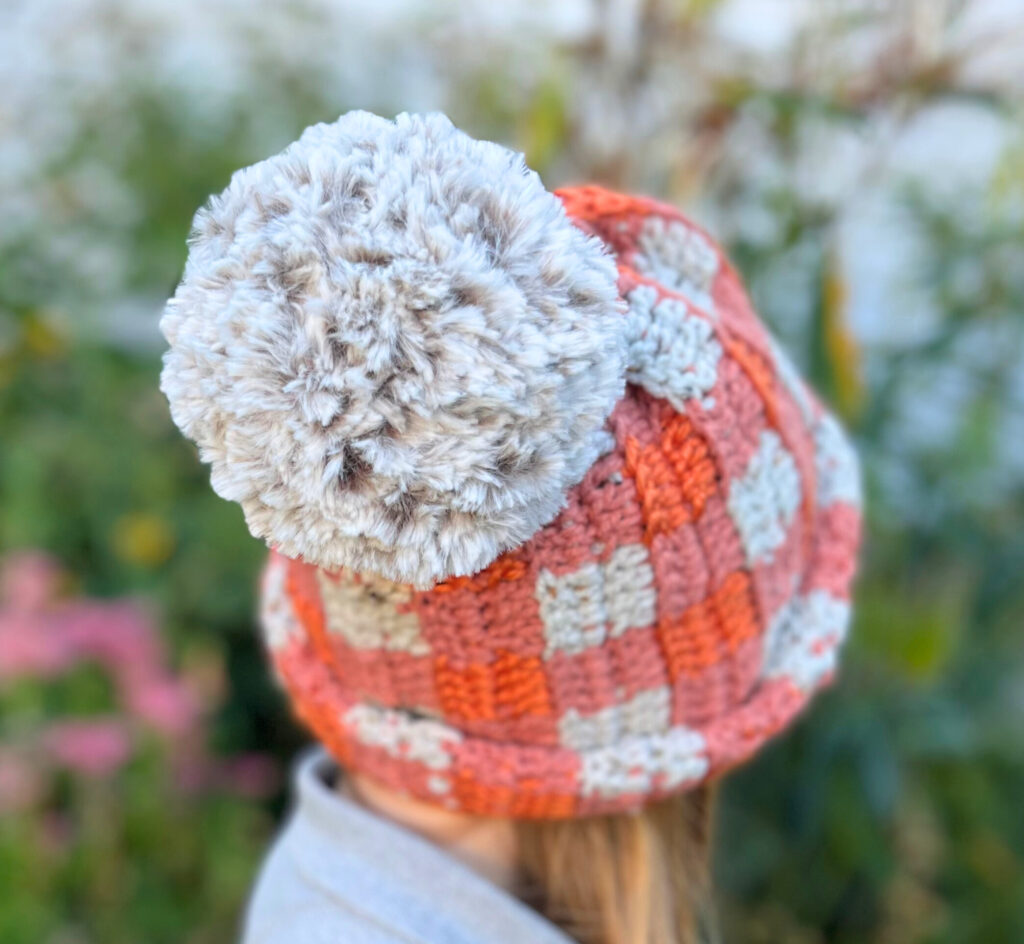
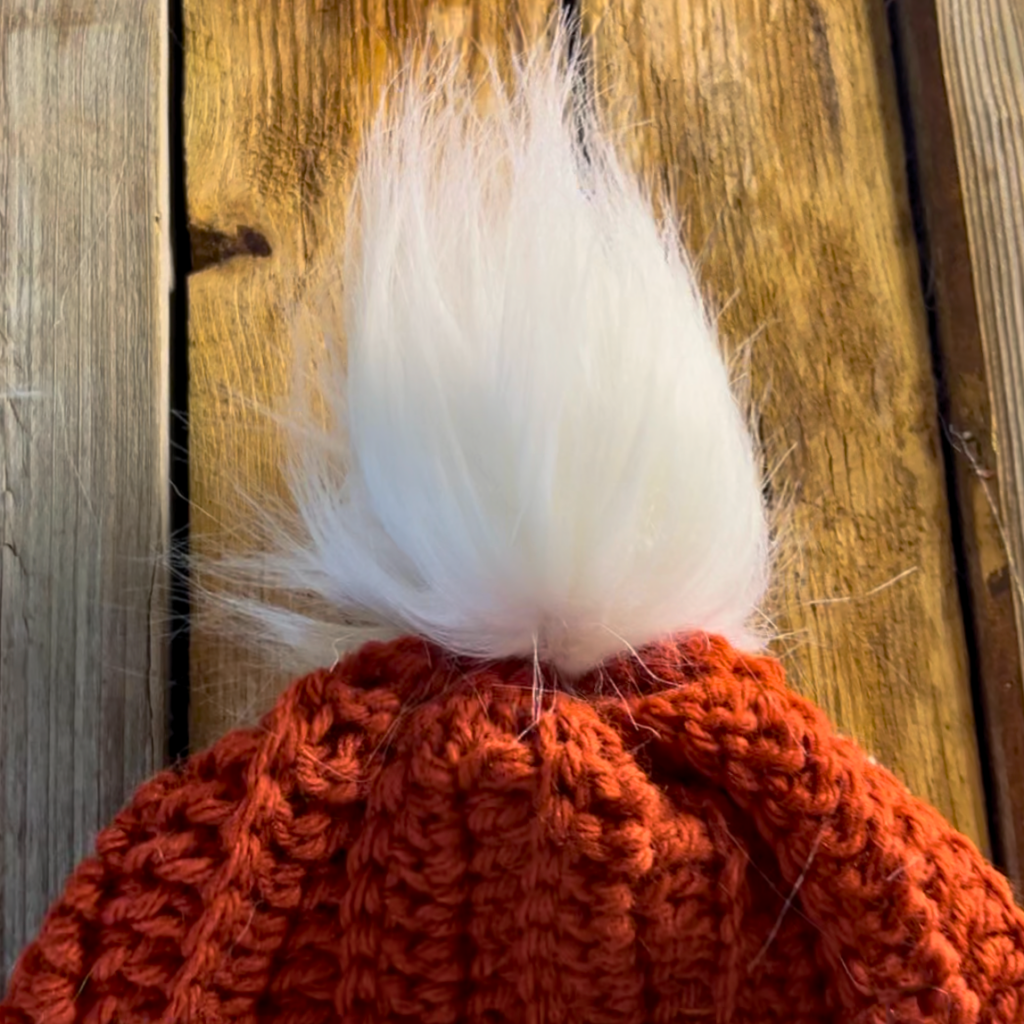
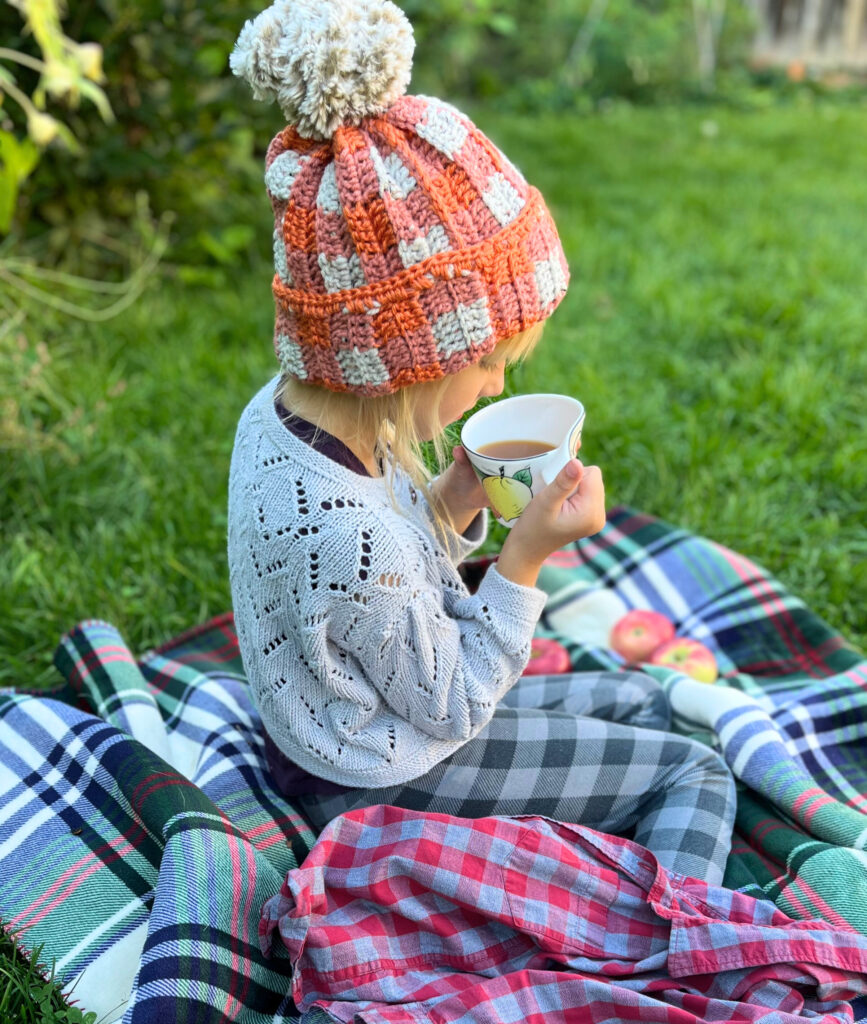
I think my go to pompom is using the faux fur yarn. This method is not the easiest one, but it is a really nice full pompom. It has a great look, and is the softest. It’s only downfall, is that it is the heaviest out of all of them. This is the pompom I used for the child and adult versions of the Autumn Moon Cozy Crochet Hat. For the baby/toddler versions, I used the yarn and cardboard method.
If you are looking for a new way to make pompoms, give one of these a try!
Yarn and a Pompom Maker
That’s right, you can buy a tool that makes perfect pompoms! Take one of your yarn colours, or a bunch of colours, and the size of pompom maker you would like for your project. Follow the instruction for your specific pompom maker. Make sure to leave a long end to sew it onto your project.
Fluff up your pompom and trim any long pieces.
Secure your pompom tightly to your project. Trim and sew in any ends of yarn.
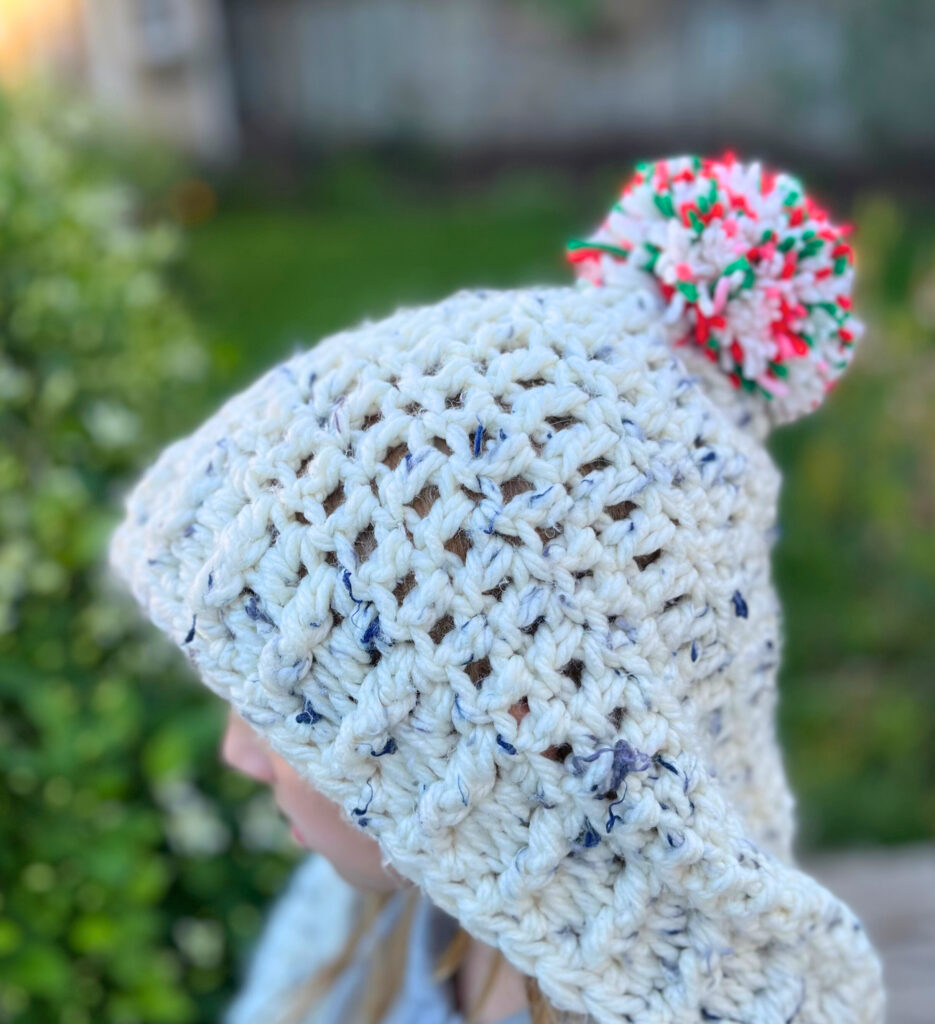
Yarn and Cardboard
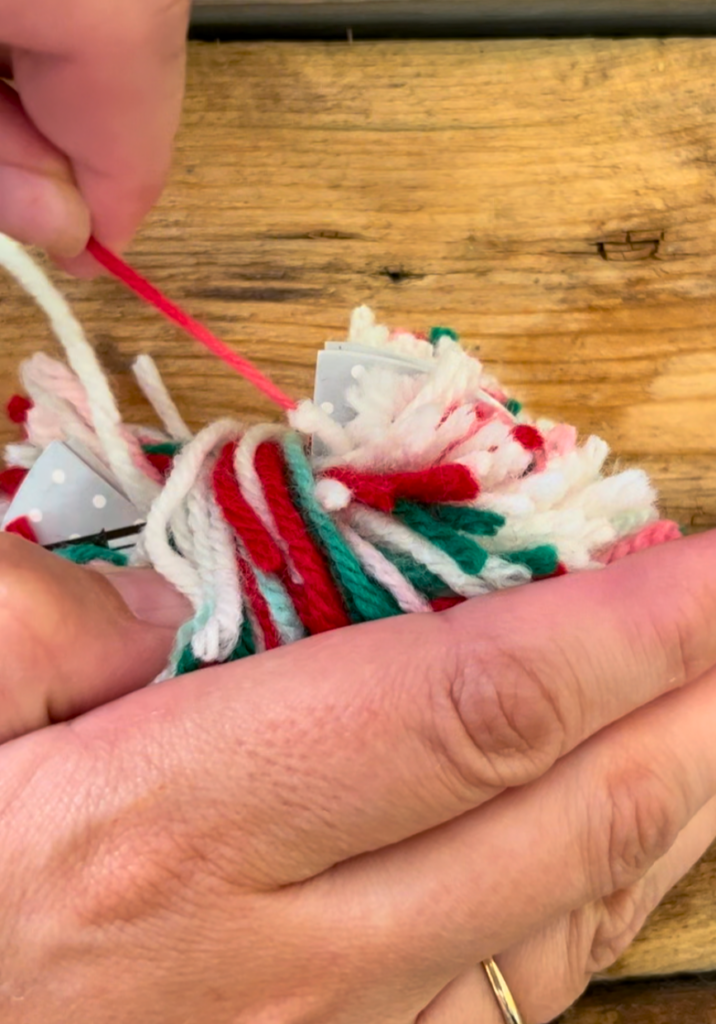
For this we are simply going to make a pompom maker out of cardboard. Trace two circles (the size you would like your pompom). Both should be the exact same size. Trace two smaller circles out of the centre of both, to leave an opening. This should look like a ‘C’.
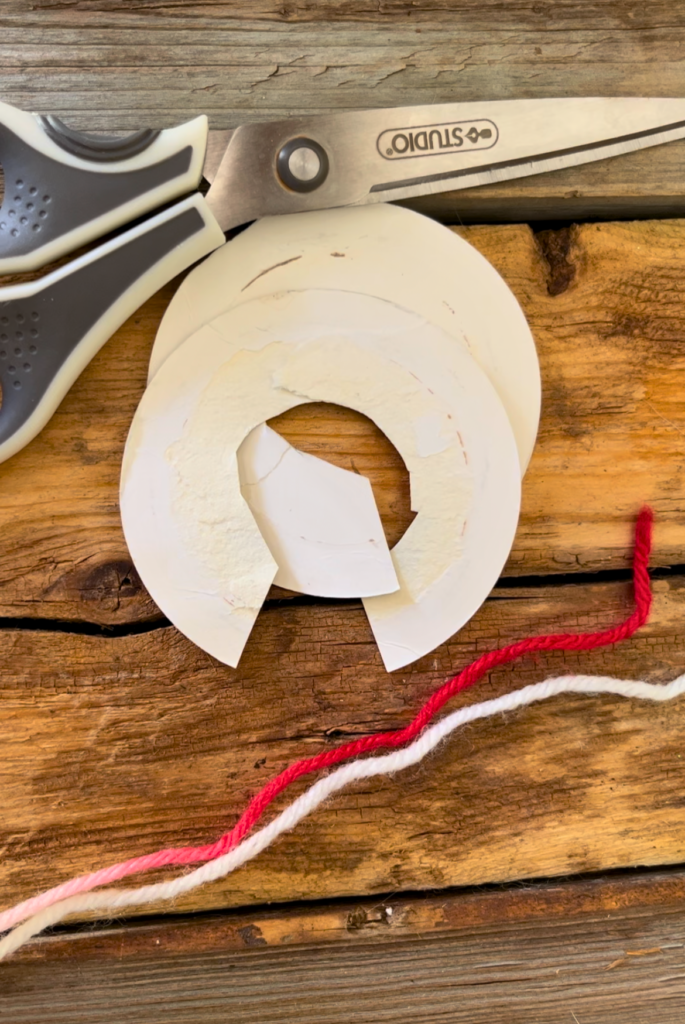

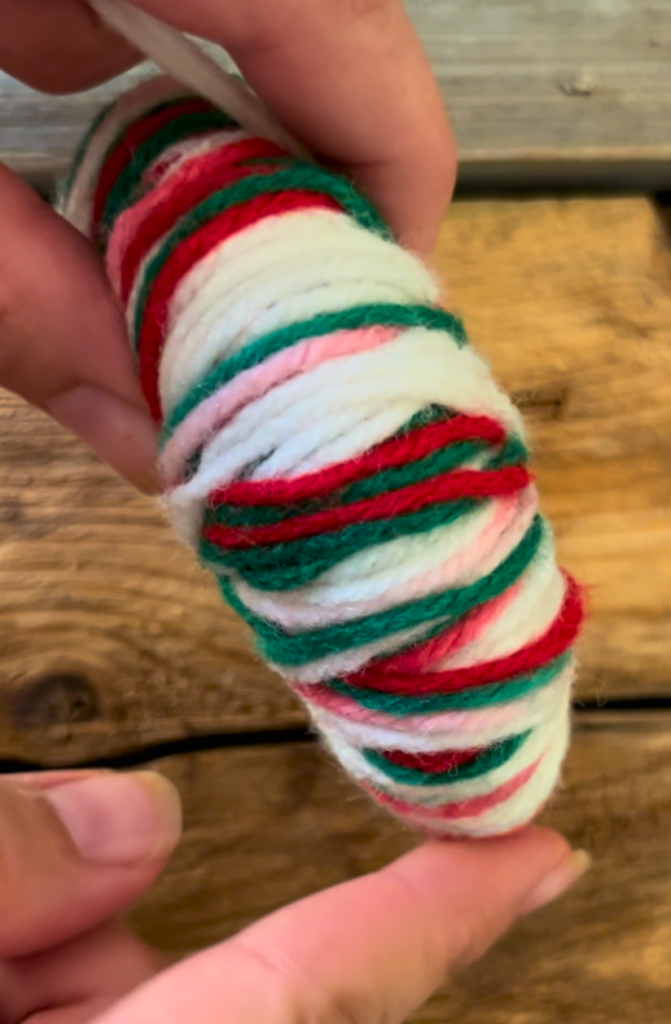
With the two pieces of carboard held together, wrap the yarn, all the way around the ‘C’. Wrap the yarn several times around the cardboard, until it is quite fat. You will have to wrap the yarn around even more than you think, to get a really full pompom. Once you have it to the desired fullness, cut the yarn on the outside of the ‘C’.
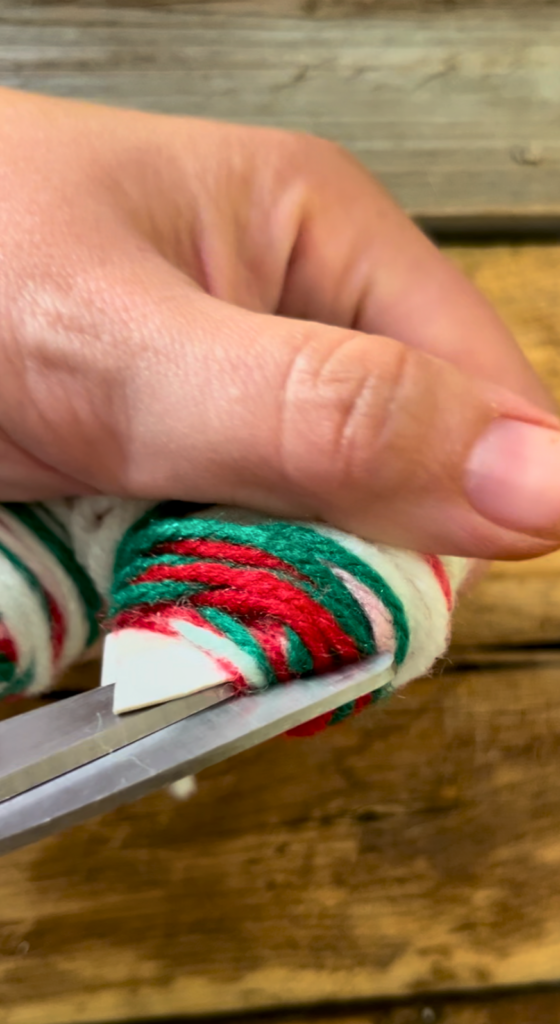
With a pair of sharp scissors, cut open the outer edges of the yarn. You do this by slipping your scissors in between the two pieces of cardboard.
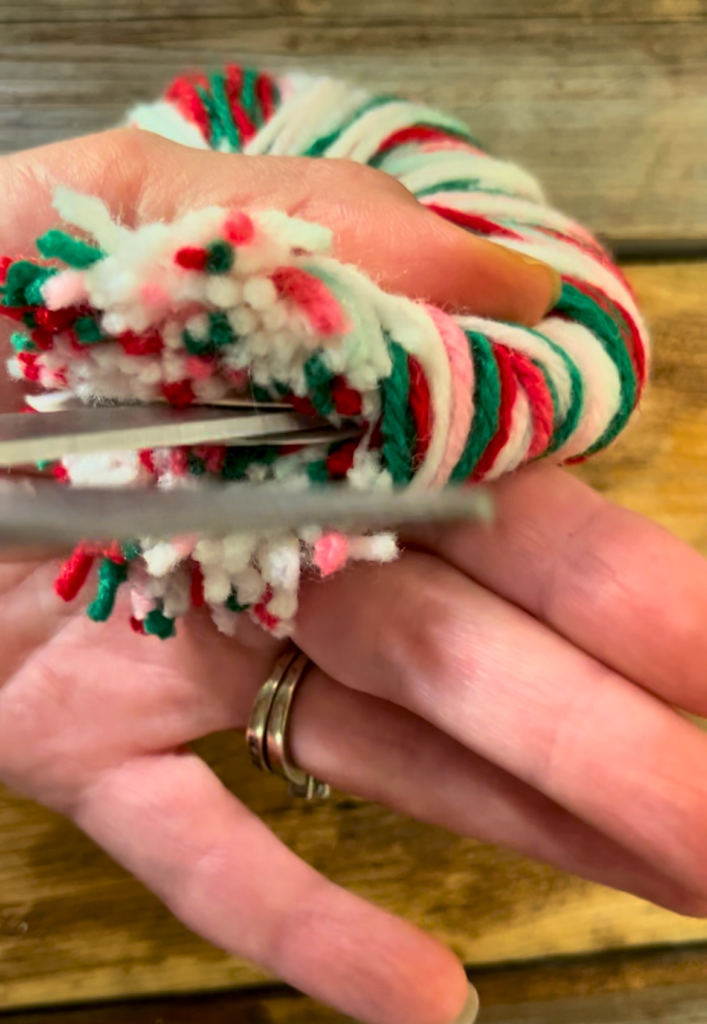
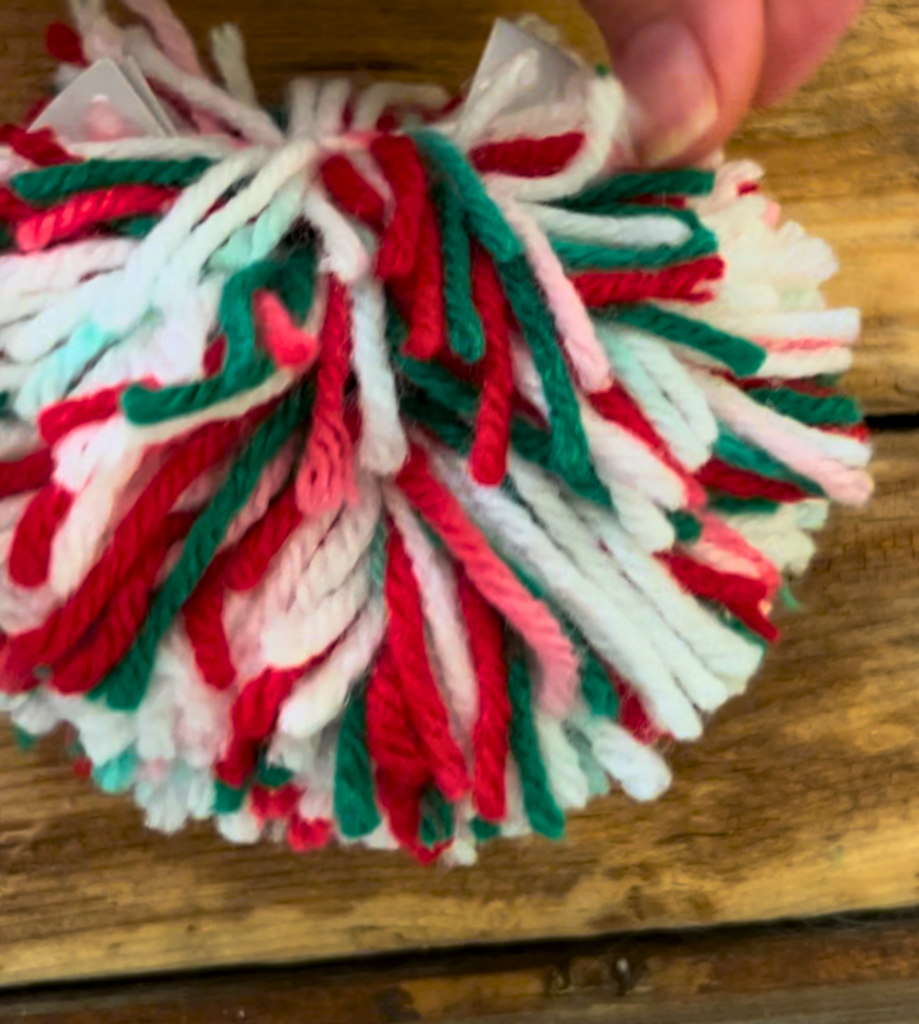
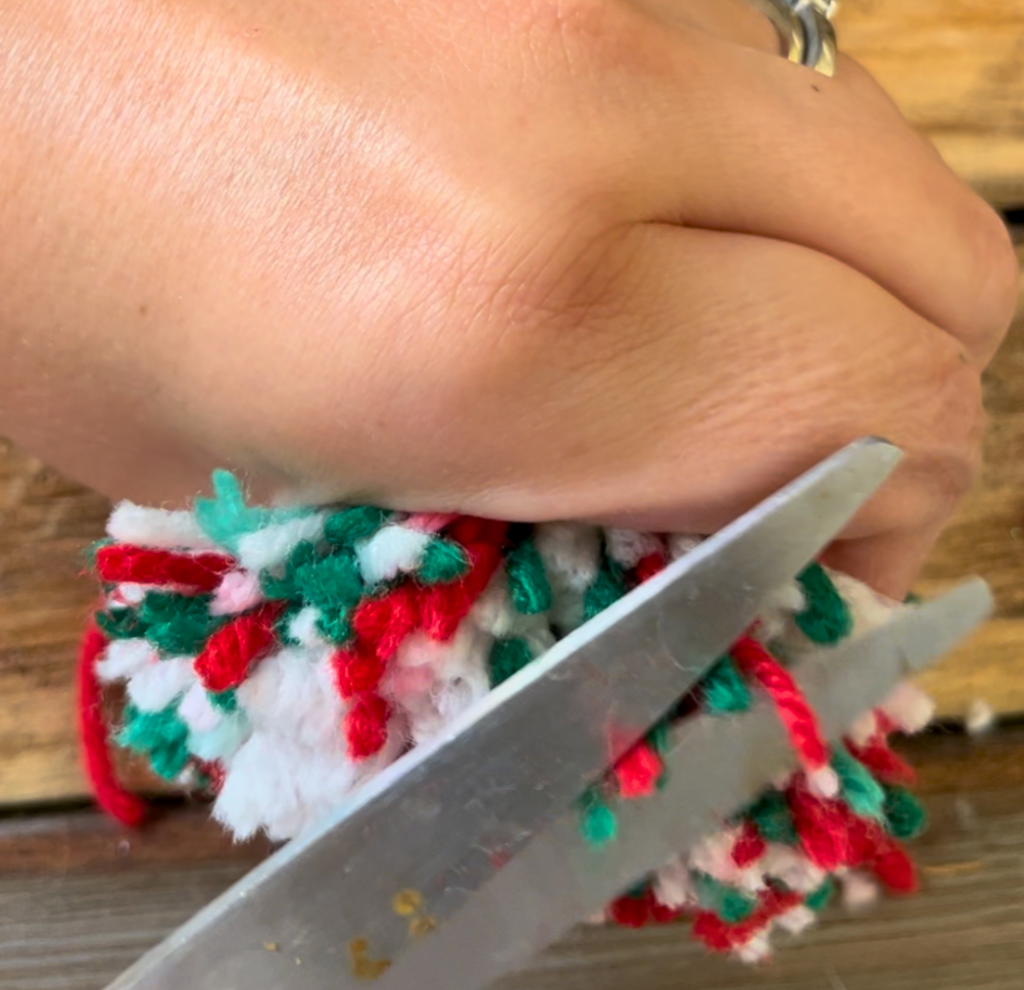
Cut a long piece of yarn. Slip it in between the two pieces of cardboard. This should now be in the centre of the yarn for your pompom. Tie it tightly, a few times. Remove the cardboard pieces, fluff up the pompom and trim any pieces that are too long.
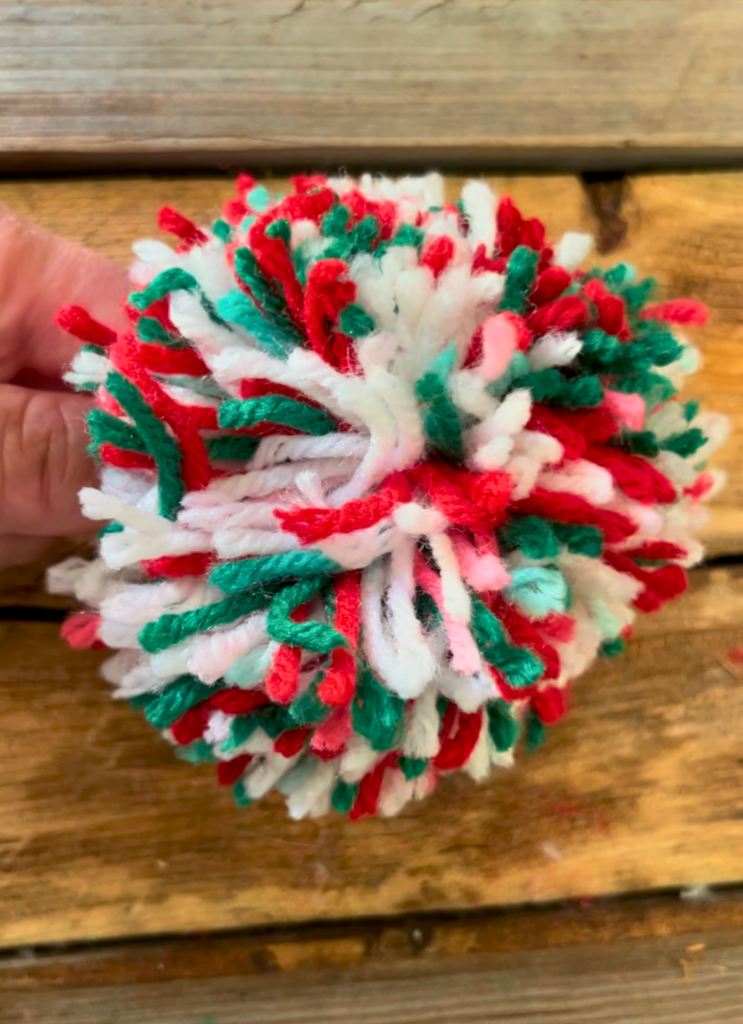
With the two pieces of yarn secure it to your project. Trim and weave in any pieces of left over yarn.
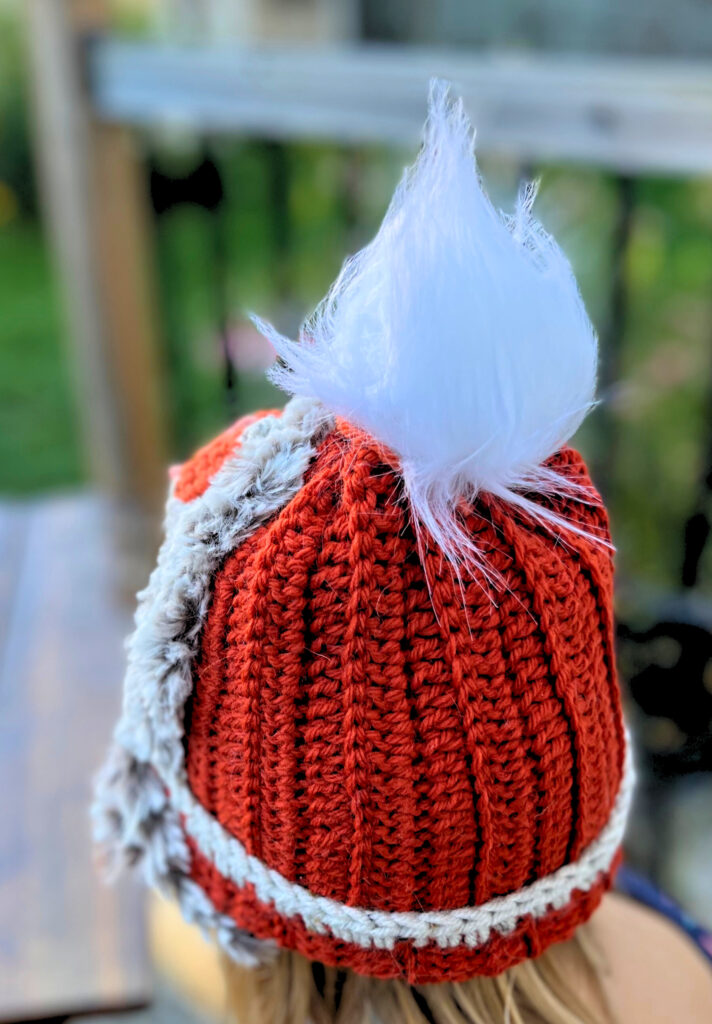
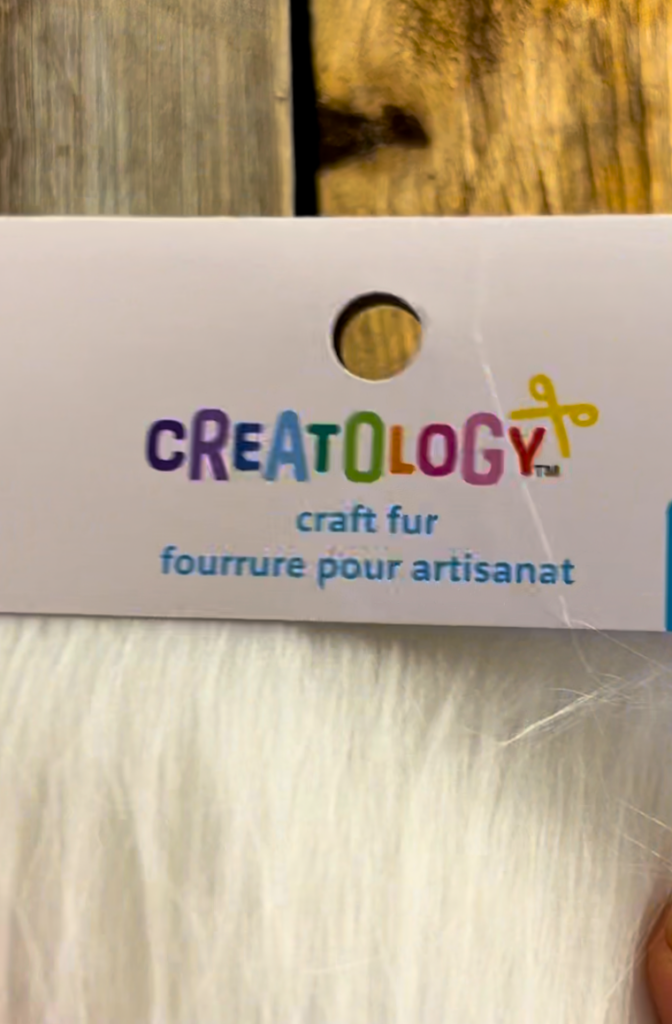
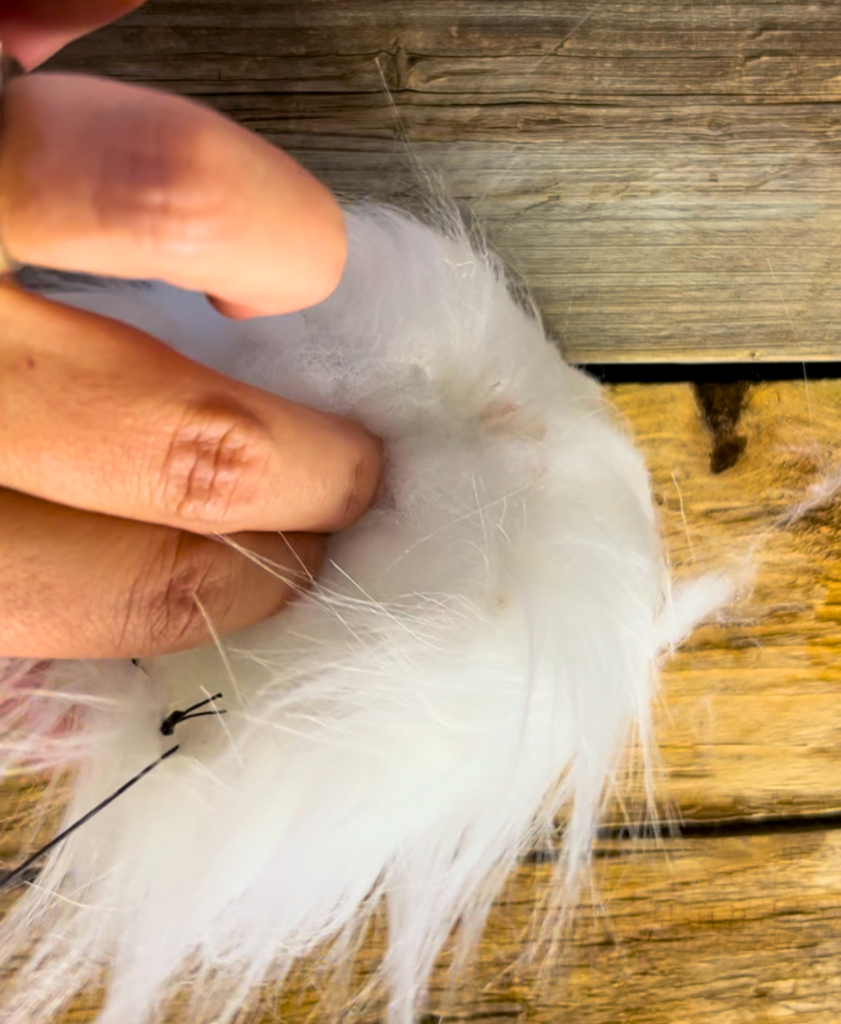
Faux Fur Fabric
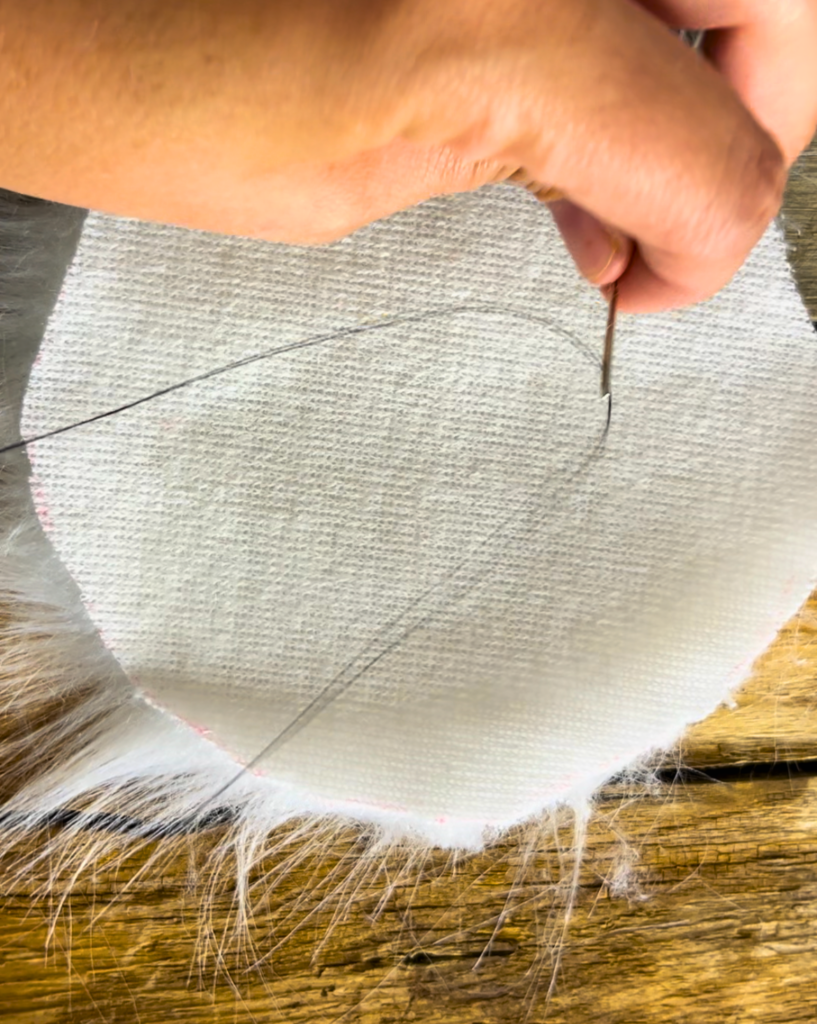
This is probably the simplest way to make a pom pom. You need Faux fur material, stuffing, and a needle and thread.
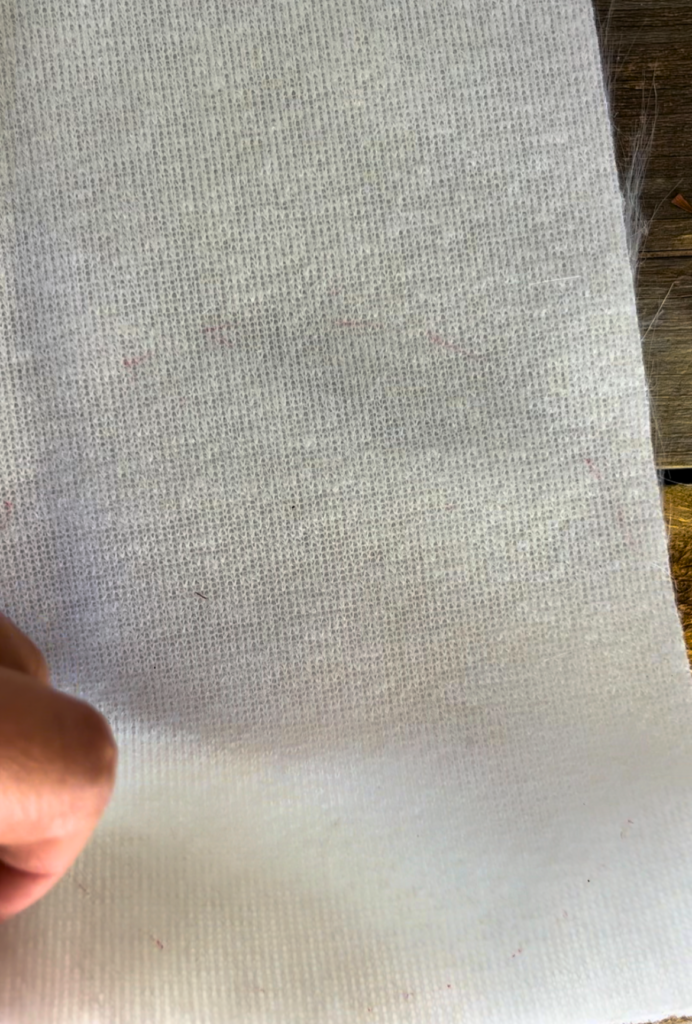
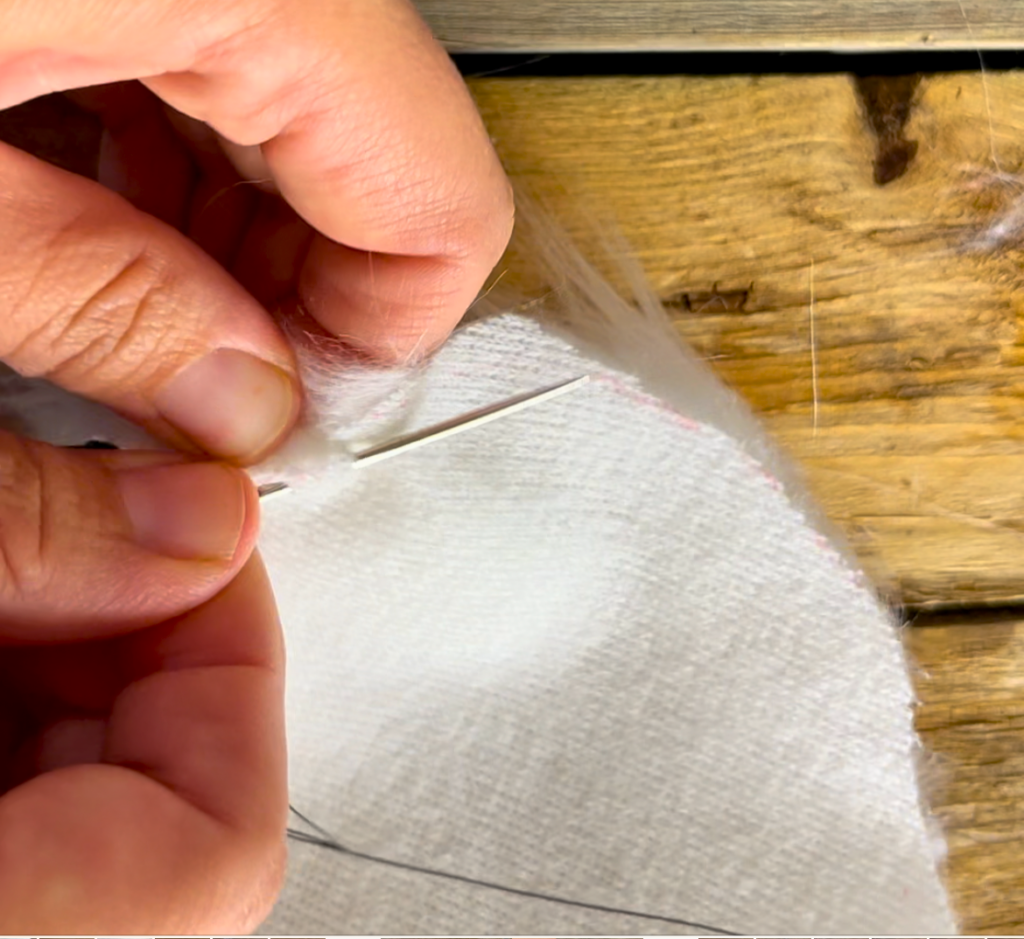
Cut the fabric into a circle the desired size of your pompom, making sure to part the fur on the opposite side to make room for your scissors. This will insure you do not cut the fur along with the fabric.
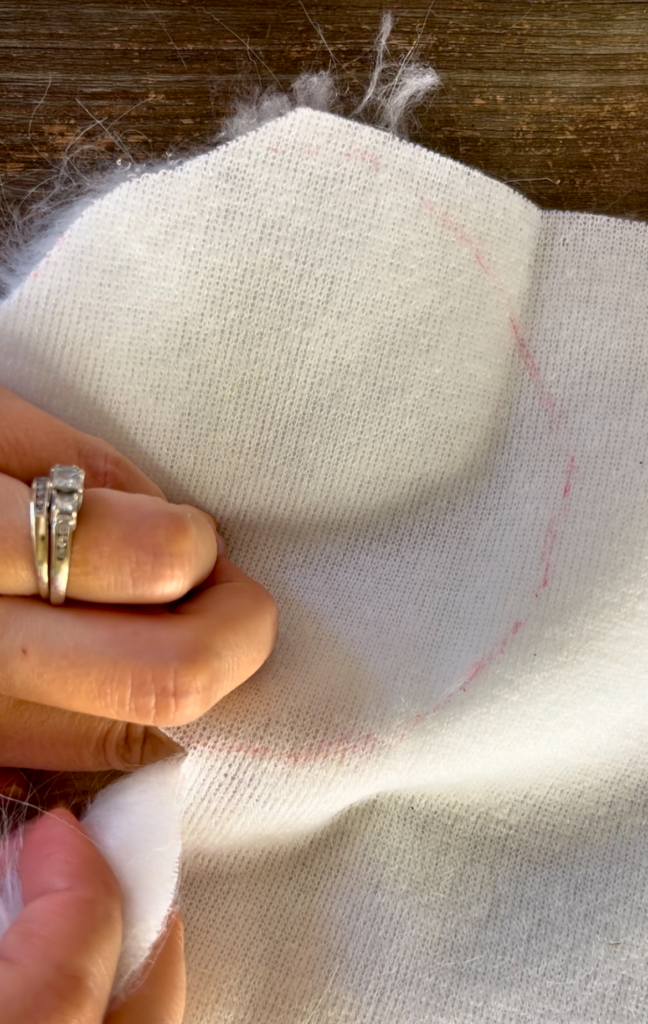

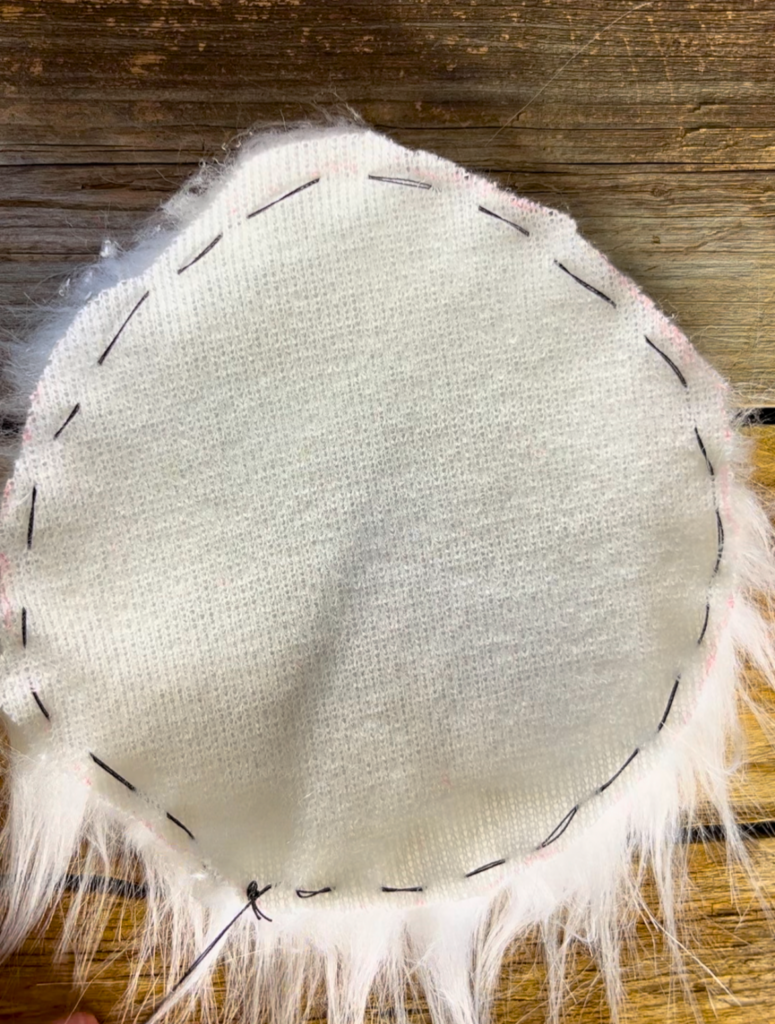
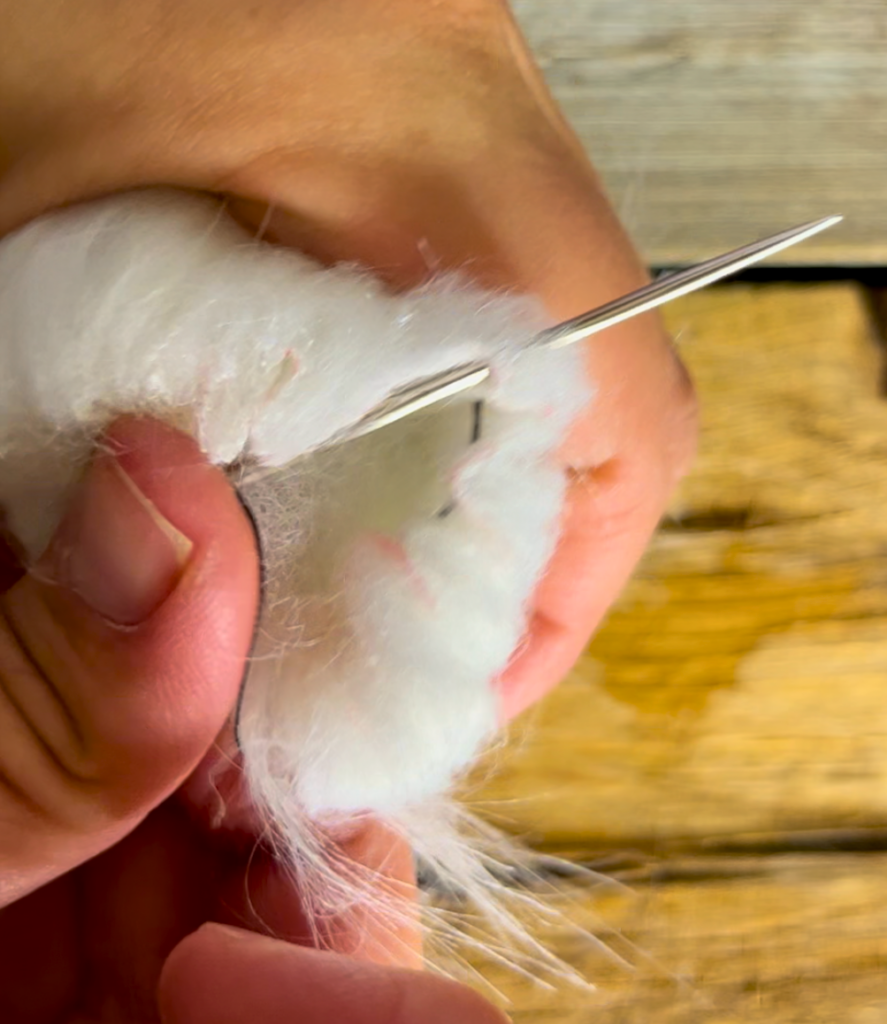
With a sturdy thread and your needle. Sew, back-and-forth, around the circumference of your circle. In this way when you pull the string tight it will cinch it together.
Once you are all the way around the fabric, then pull the yarn about half way, and stuff the inside of your pompom tight with stuffing.
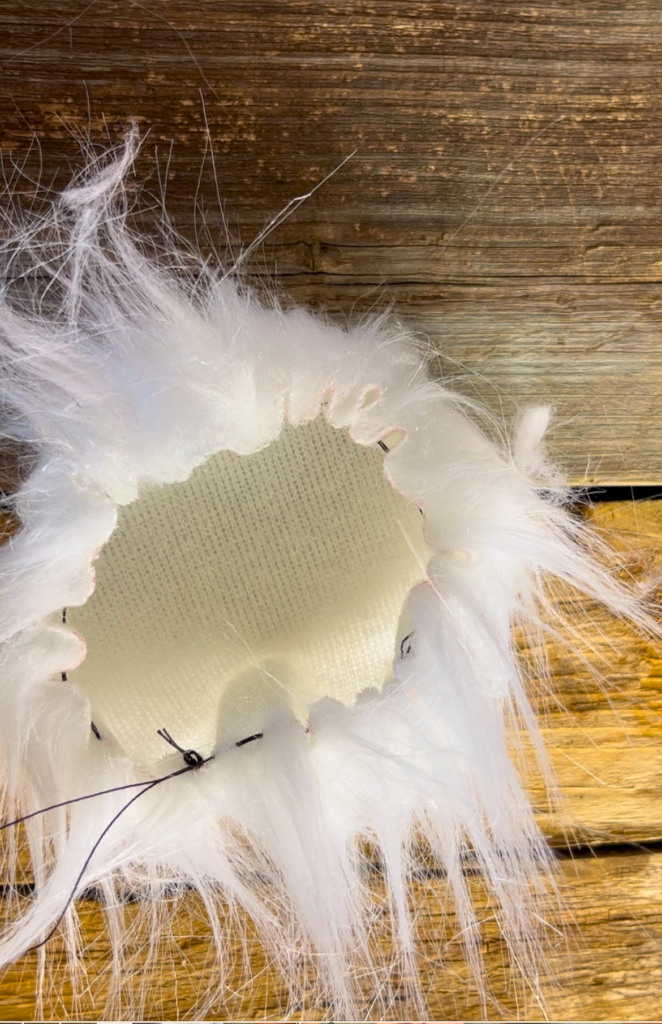
Once it is full, you can then pull the thread tight. Sew any openings closed and tie off the string.
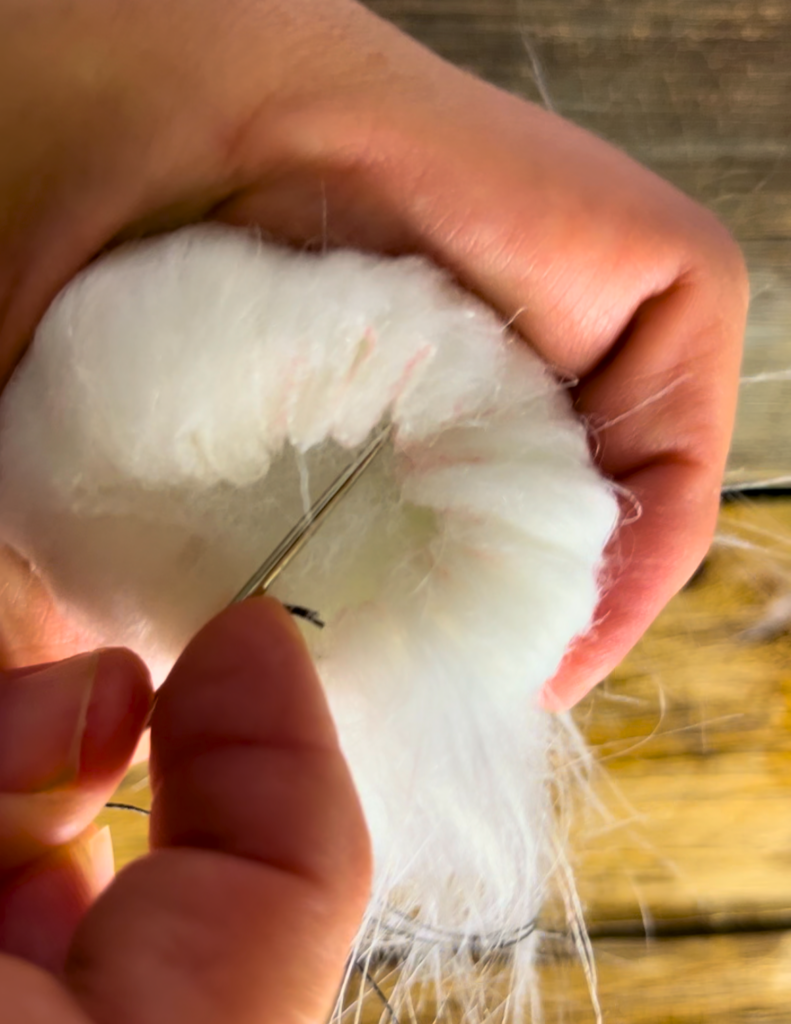
Sew a piece of yarn through the bottom of the pompom and sew it onto the top of your hat, (or desired project). Cut and weave in any extra yarn.
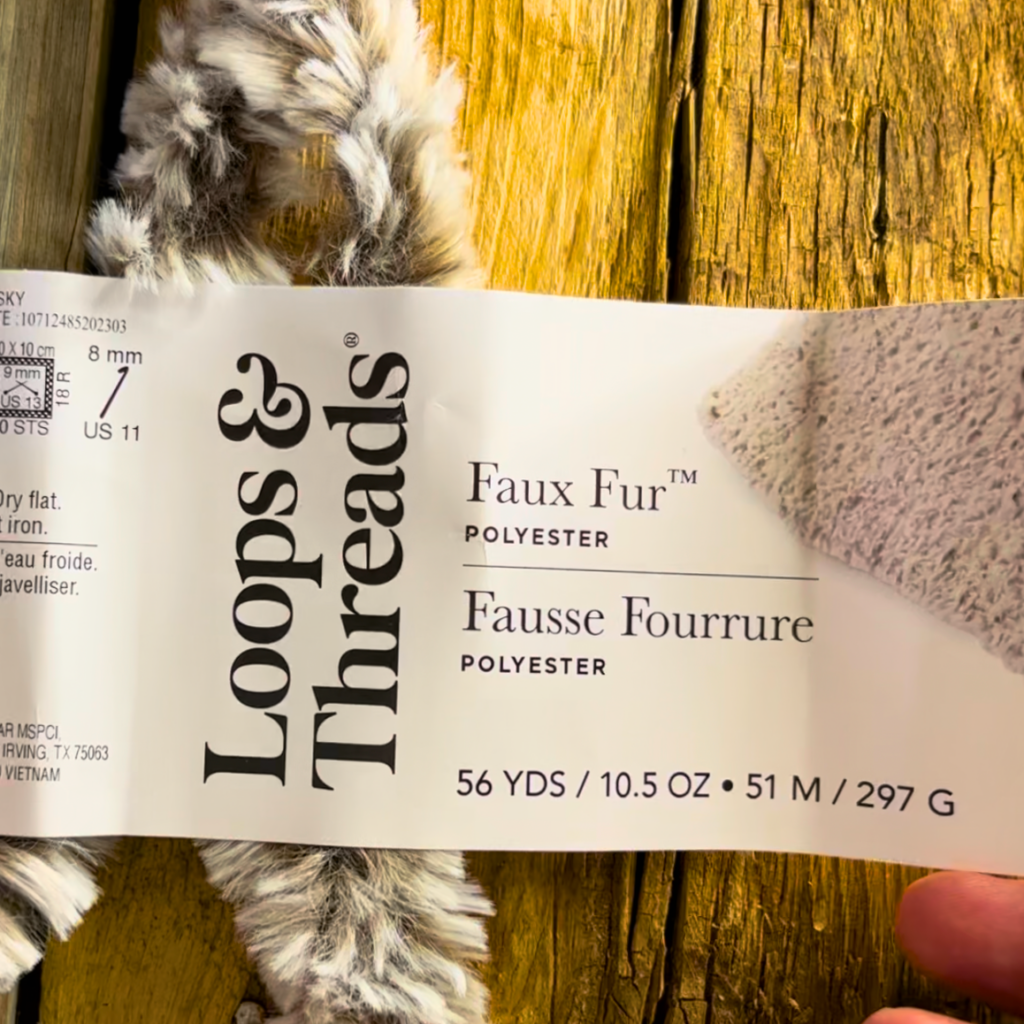
Go For Faux or Faux Fur yarn
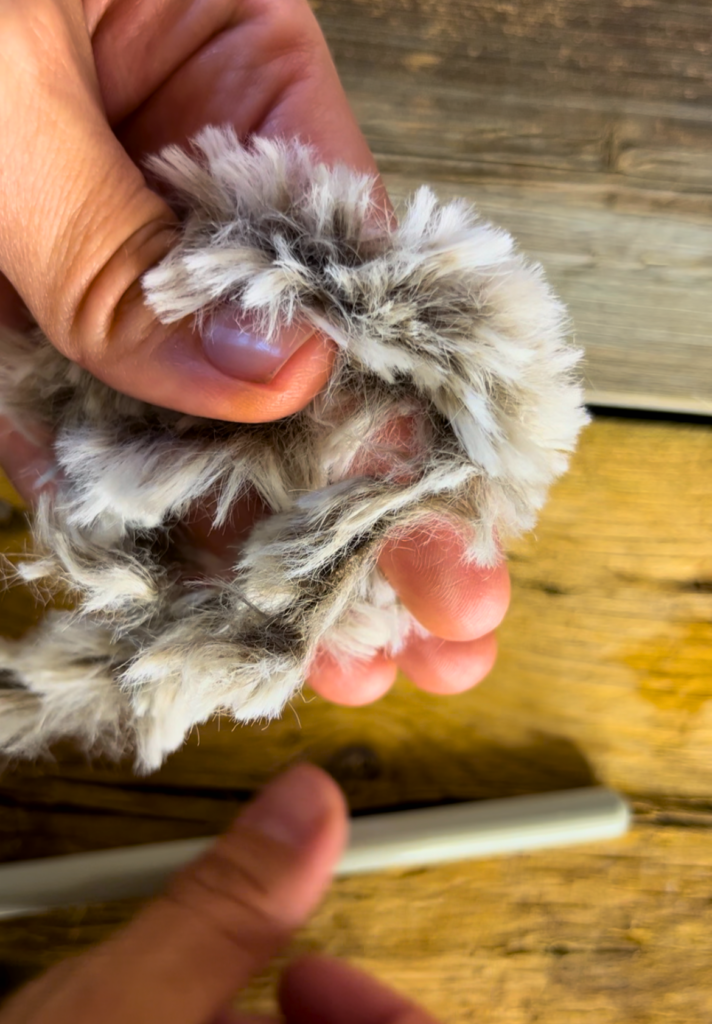
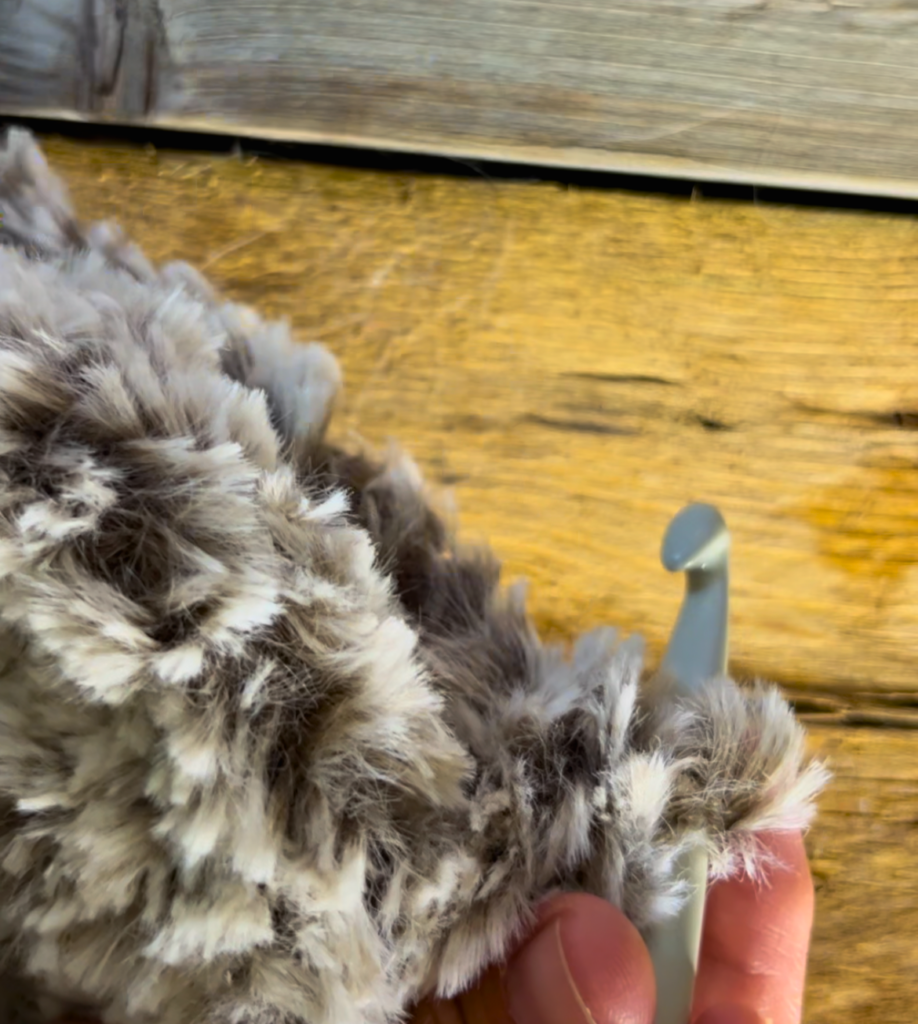
(This is what I used in the Autumn Moon Cozy Crochet Hat) This is a type of yarn that is very fluffy and furry looking. Use a crochet hook (I used a size 9), but any large crochet hook should be fine.
If you are a beginner to crochet, this method will be challenging. You are not really able to see what you are doing. You need to, feel what you are doing. Since the yarn is so fluffy, if you are doing it by looks alone, it kind of looks like a big pile of fur.
Crochet Two half-sphere shapes, the desired circumference for your pompom.
To do this:
- Start with a magic ring. Chain 2.
- 4 Hdc into the magic ring. Pull the magic ring tight. Sl st to the top of the ch 2.
- Ch 2. Hdc into the first st. 2 hdc into each of the next 3 sts. Sl st to the top of the ch 2. Turn.
- Ch 2. Hdc into the first st. *(1 hdc into the next. 2 hdc into the next st).* Continue from * to* until the end of the round. Sl st into the beginning ch 2. Turn.
- Ch 2. Hdc into the first st. *(1 hdc into the next two stitches. 2 hdc into the next stitch.)* continue from *to* until the end of the round. Sl st to the beginning Ch 2. (this is where I ended for my pompom.)
- Ch 2 Hdc into the first st. *(1 hdc into the next 3 stitches. 2 hdc into the next stich.)* continue from *to* until the end of the round. Sl st to the beginning ch 2.
- Continue doing increases like this until you reach the desired size of your circle. Leave a long tail of yarn and tie off.
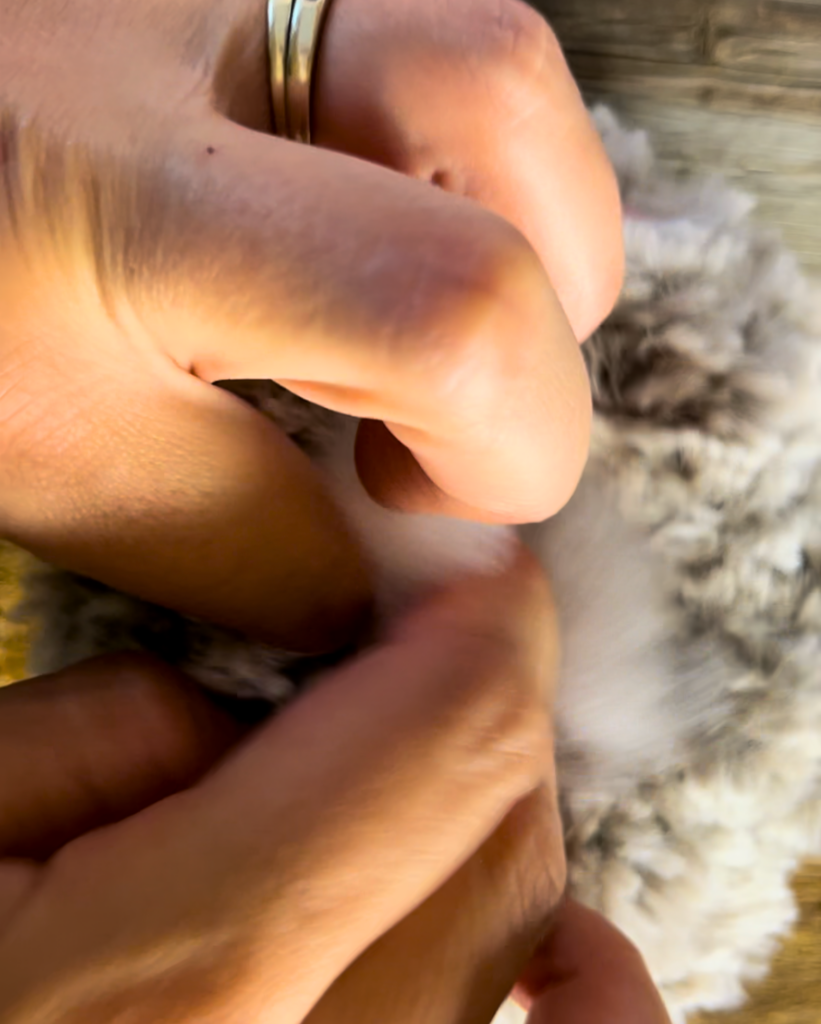
Place a piece of sponge cut into a sphere, or some batting that will not easily make its way out of the spaces in the yarn, into the centre of the half sphere. Weave the long string of the Faux Fur yarn, in and out around the circumference of the circle.
Once you are back at the beginning, you can then cinch the yarn to pull it into a ball shape. Secure the yarn and attach to the top of your hat. I use a regular piece of yarn for this. The fur yarn is quite slippery.
One Comment