Flaky French Bakery Butter Croissants
Croissants are a French bakery indulgence you can make at home. That’s right, you have everything you need at home to make the best, pillowy-soft, bakery croissants!

I make croissants relatively often. My oldest daughter LOVES them! So they are on our main ‘breads’ rotation. I always make the same three types of croissant. All from the same main dough. We have regular croissants, cheese croissants, and pain au chocolat (glazed chocolate croissants).

Croissants are relatively simple to make. They just take time. It is not really something you can make and serve the same day. You make a bread dough, place a layer of butter in between, do a series of folds, turns, and rolling out.
You could even make everything ahead of time, roll them into croissants and freeze them. That way you can bake them anytime you would like! Perfect!
I think I fell in love with croissants when traveling in Paris, a little over 10 years ago. Ever since, I have been making, and tweaking, this recipe. For me, it is the perfect croissant dough. Light and pillowy, with a golden, flaky outside.

Croissant Variations
I’ve already shared my family’s staple croissant variations, the pain au chocolat and the cheese croissant.
Almond croissants – Which are made by placing frangipane in the centre of the croissant before you bake it. With a dusting of powdered sugar and sliced almonds.
Cinnamon sugar- Another popular croissant recipe is sort of a croissant cinnamon roll, using cinnamon and sugar to roll in between the croissant before baking.
Other than that you can really do most anything you do with any bread.
Tips,tricks, and words you should know for making Croissants
Détrampe – This is the main bread dough
Beurrage – This is the butter layer that you will be folding inside of the détrampe.
Take your time- It takes a few days to make croissants. You really cannot rush the process and expect to get a perfect croissant at the end.
Use butter– The best croissants, in my opinion, are made with a high-fat butter. Anything low fat will not make the best croissants
Chill the dough and butter- When rolling out the dough you need it to be chilled. If you have soft butter, it will ooze out everywhere when you are trying to get it to layer in between the dough.
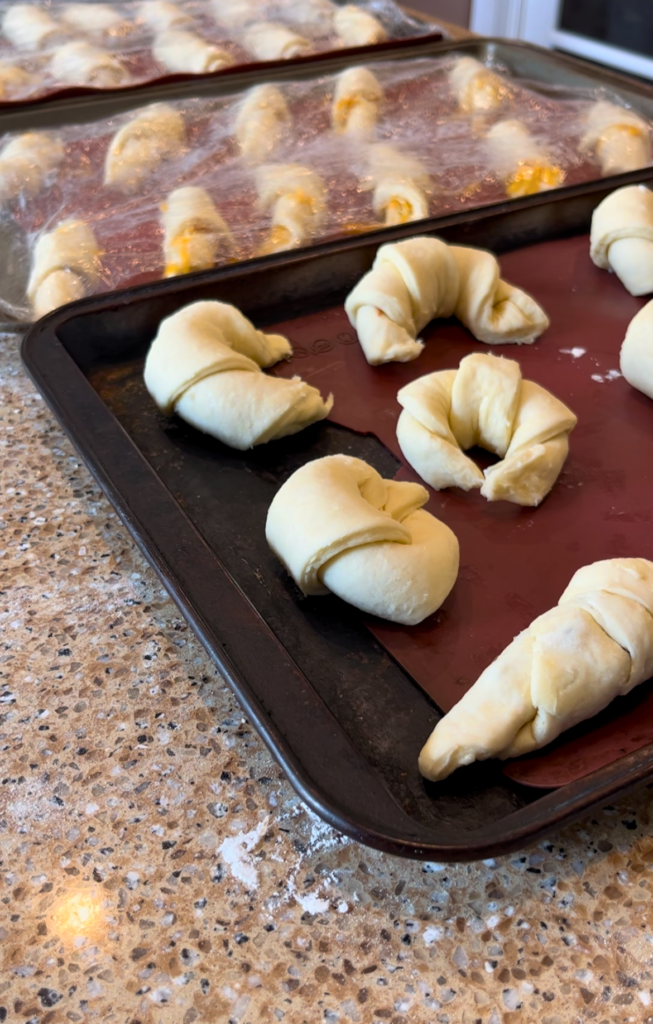
Proofing your croissants- The final step, before baking, is to proof the croissants. It is important to give them enough time to rise. The temperature of your environment can make the proofing time vary quite a bit. It it a good idea to go by look not just time alone. Your croissants should about double in size.
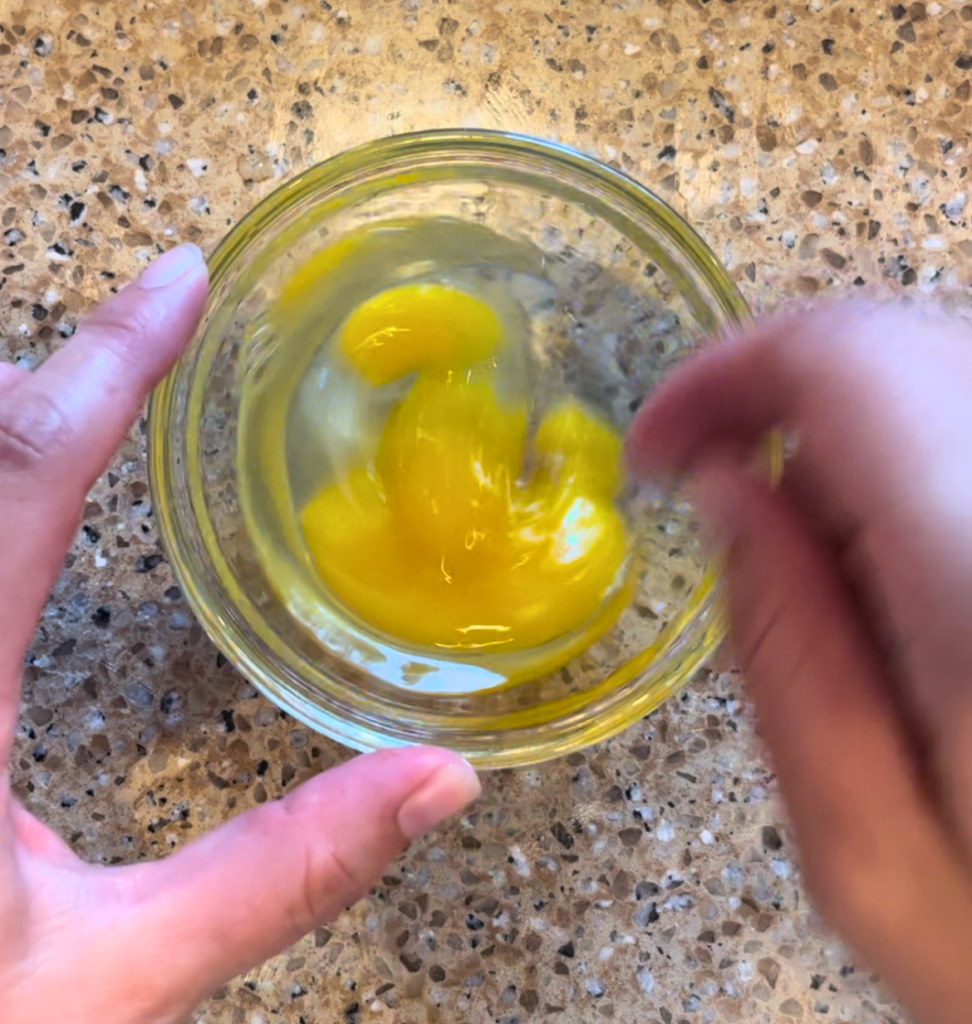
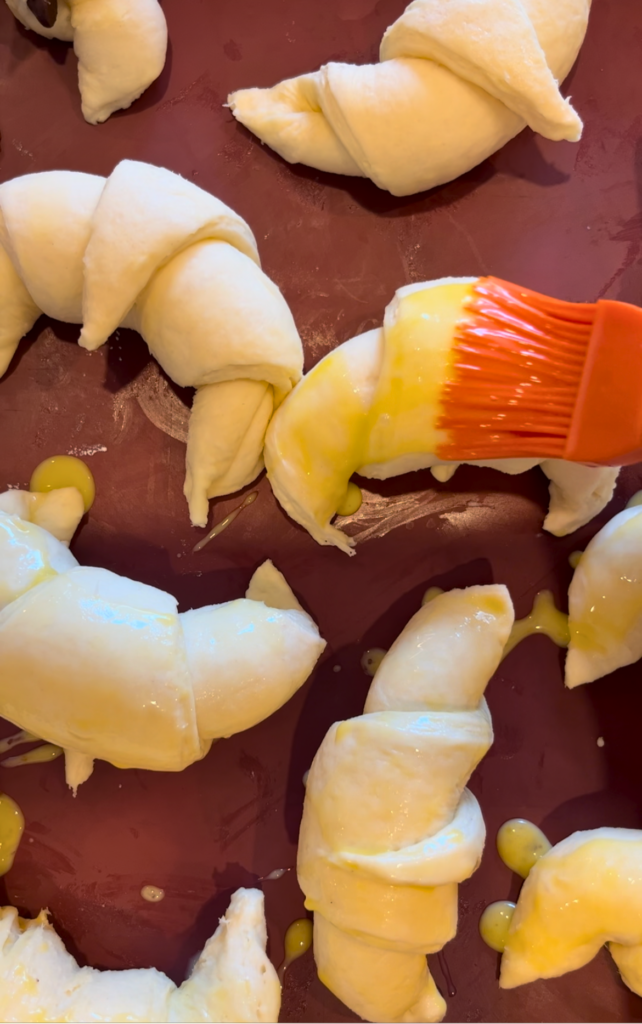
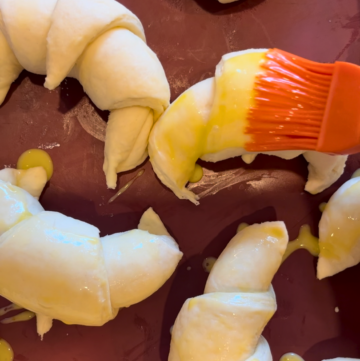
Egg wash– This really makes a difference on the glossy golden-brown on the outside of your croissants. I have made it with, and without, an egg wash. If you want that nice golden brown, bakery fresh, croissant look; you need to use an egg wash.
The roll– Don’t roll them too tightly. At the beginning, I rolled my croissant dough pretty tightly when I was forming them. This really made it hard for them to fully expand and make all those light pillowy layers on the inside.
Have Fun- Once you are comfortable with the basic process of croissant making, have fun with different variations you and your family might like. Croissant dough is a puff pastry, so you can use it for other things. There are so many sweet and savory puff pastry recipes out there!

Ingredients for Butter Croissants
Détrampe
1½ cups room temperature water
2 Tablespoons dry milk powder
¼ cup sugar
2¼ teaspoons active dry yeast
1 teaspoon salt
3½ cups all-purpose (or pastry) flour
3 tablespoons butter, softened
Beurrage
1¼ cups butter
Extras
1 egg
semi-sweet chocolate
cheese (I use cheddar)
1 recipe vanilla glaze
chocolate melts
Method
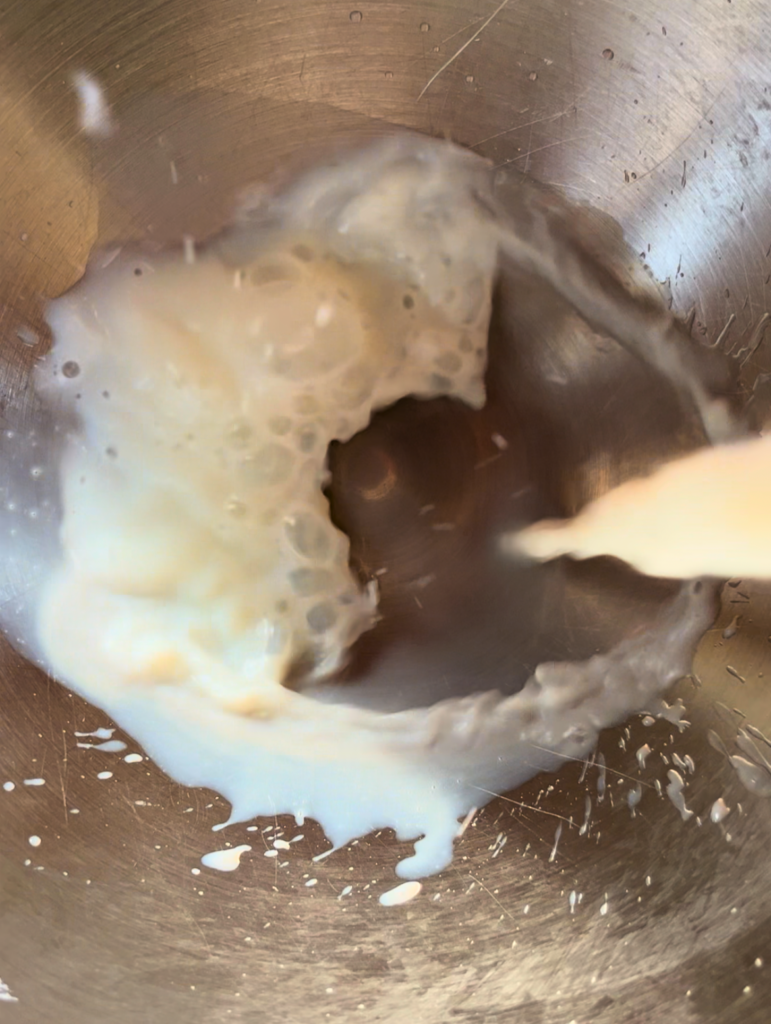
- In the bowl of the stand mixer, fitted with the dough hook, place the warm water, milk powder, sugar. Mix to dissolved the powder and the sugar.
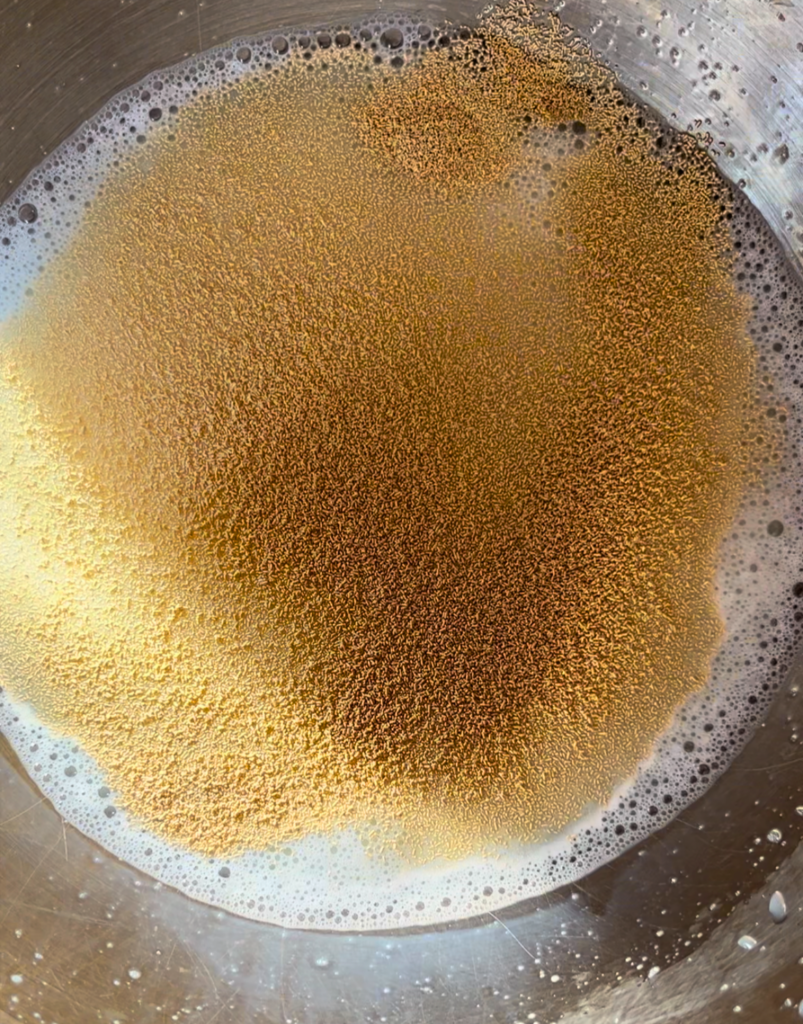
- Add the yeast, by sprinkling it evenly over top of the water mixture.
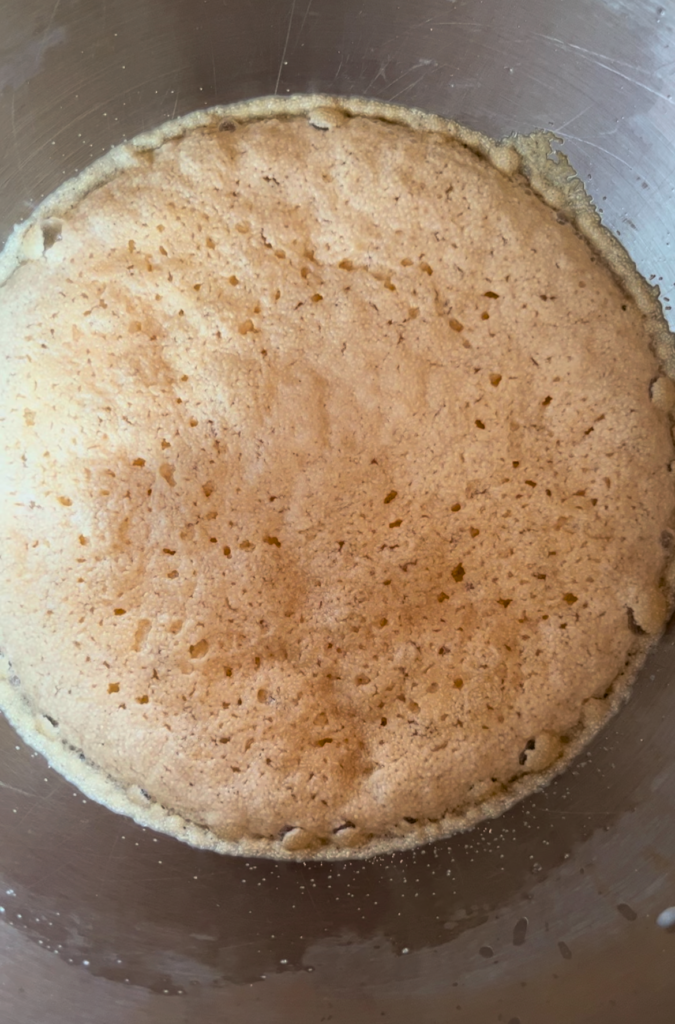
- Wait a few minutes and the yeast should become foamy on top. (I always do this step, becuase I am used to it. However, I recently learned it is not necessary to do this with yeast.)
- Add the salt and the flour. Mix with the dough hook until a smooth dough forms.
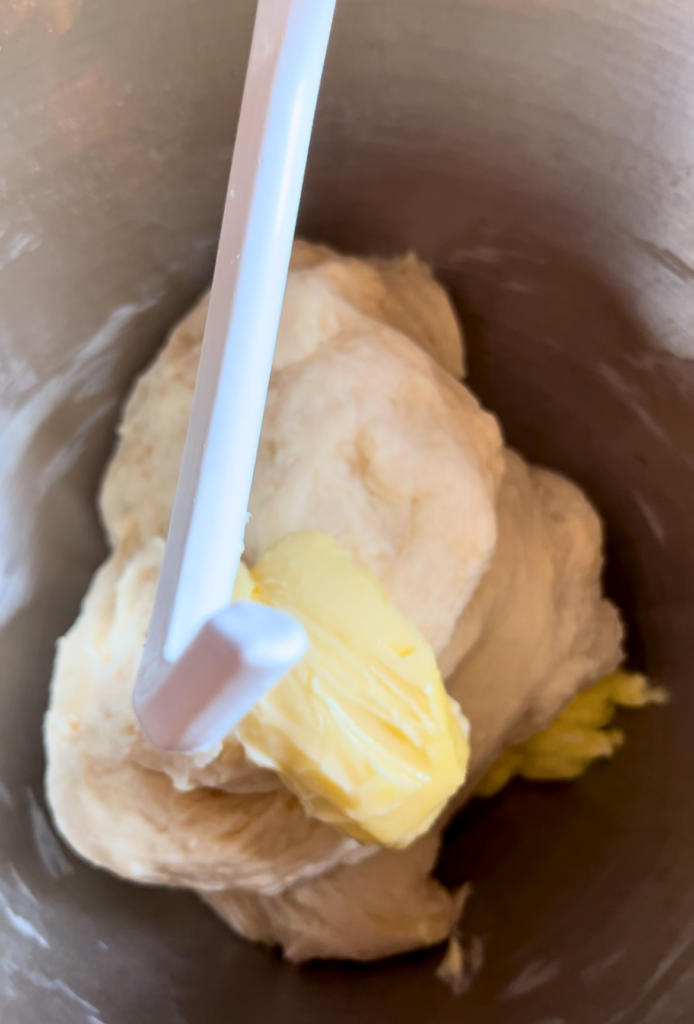
- Add in the butter. Mix. It will seem like it will not come together, but it will. Mix a few minutes to form a smooth dough. (I alternate between the slowest speed of my mixer, to one or two speeds up to mix the dough fully.) It should not take longer than 5 minutes.
- Cover and let the dough rest 30 mins.
- Onto a rectangular cookie sheet, lined with cling film,( or parchment paper,) spread the dough out with your hands to form a rectangle. Cover and let rest on the counter for 1½ hours. (It will start to rise)
- Place in the refrigerator to chill for 1 hour.
- Meanwhile you can prepare your beurrage. Using softened butter, form the butter into a square. (I place cling film inside of a 8in. square casserole dish and squish the butter out evenly into the dish to form the square.
- Place the butter in the refrigerator. Be sure to pull it out about 10 minutes before you are ready to roll it with your détrempe. This way they will both be about the same consistency, for easier rolling.
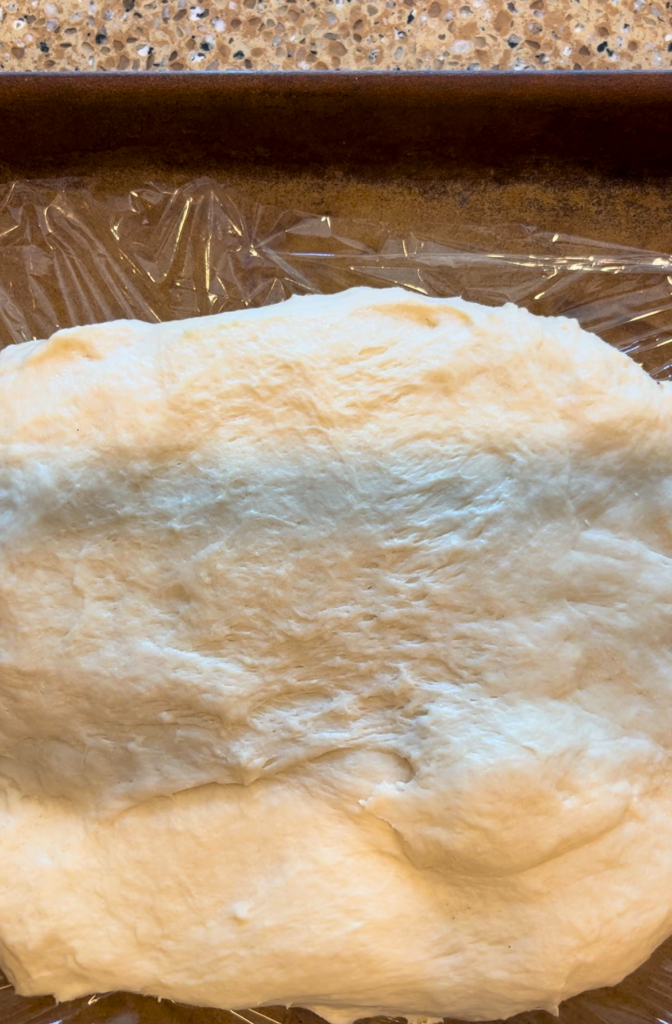
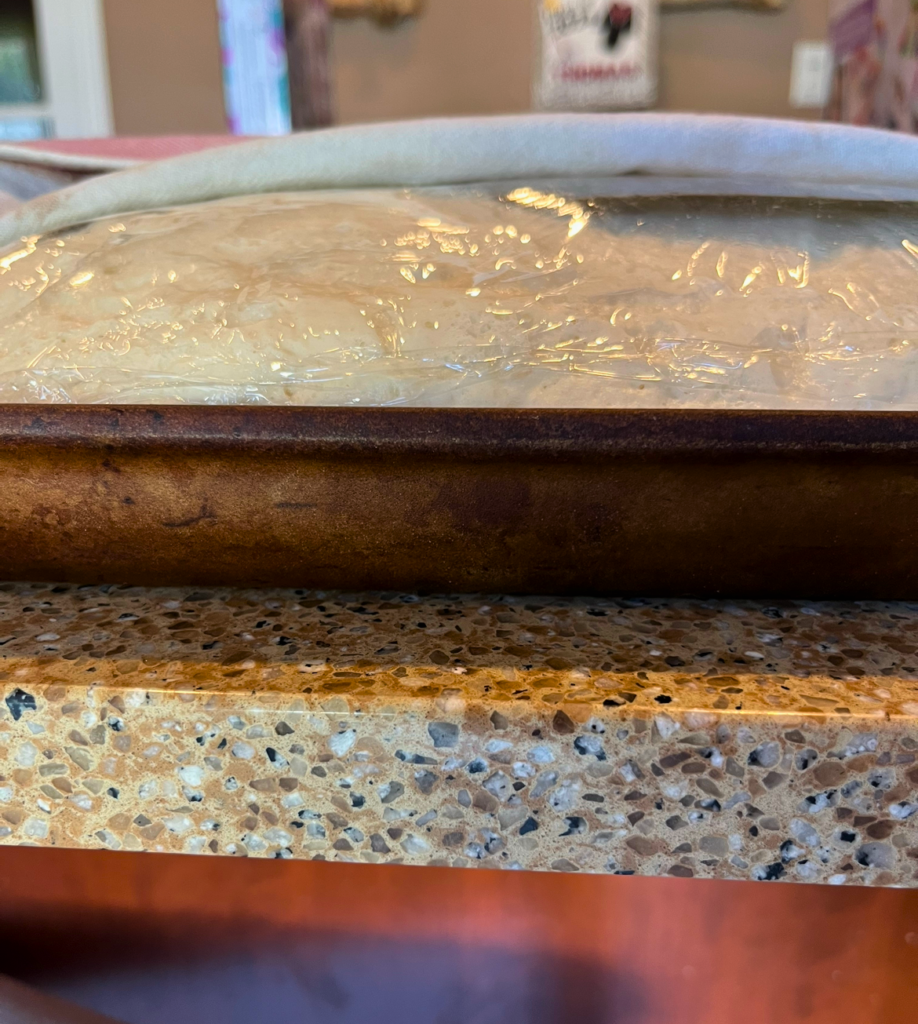
The first roll
- Remove the dough from the refrigerator. On a lightly floured surface, roll it into a square, slightly bigger than your beurrage.
- Place your, slighly less chilled, beurrage in the centre of the dough square, but turned so it is in a diamond shape.
- Fold the corners of the dough over the butter layer and press to seal it in.
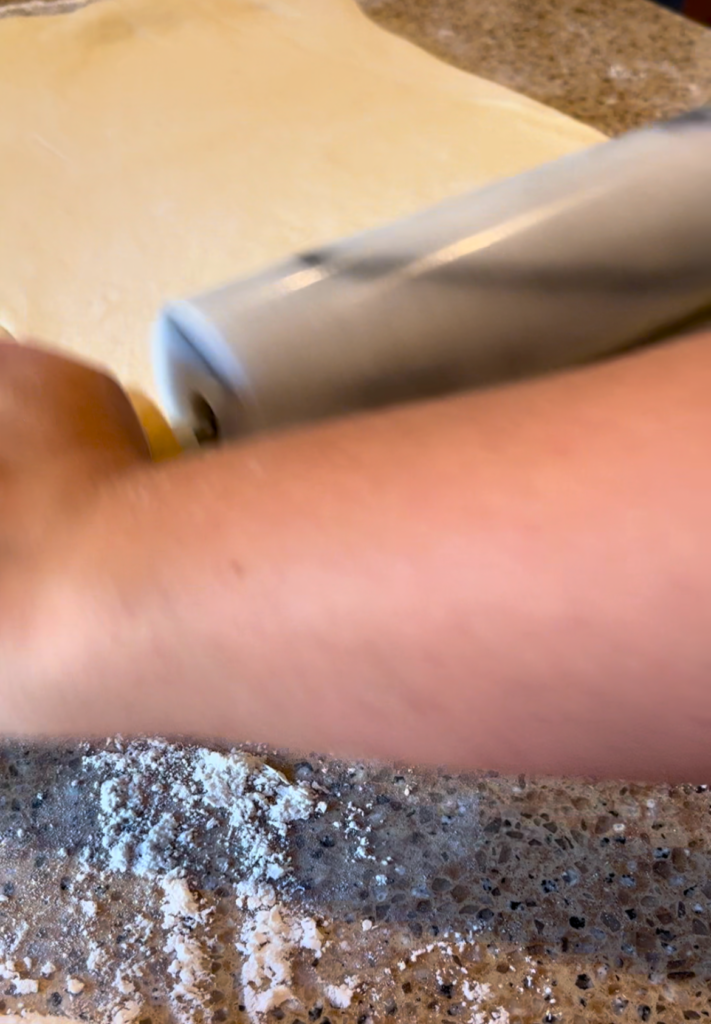
- Roll the dough out into a long rectangle. (It should be about three times the width of the cookie sheet you are resting it on.)
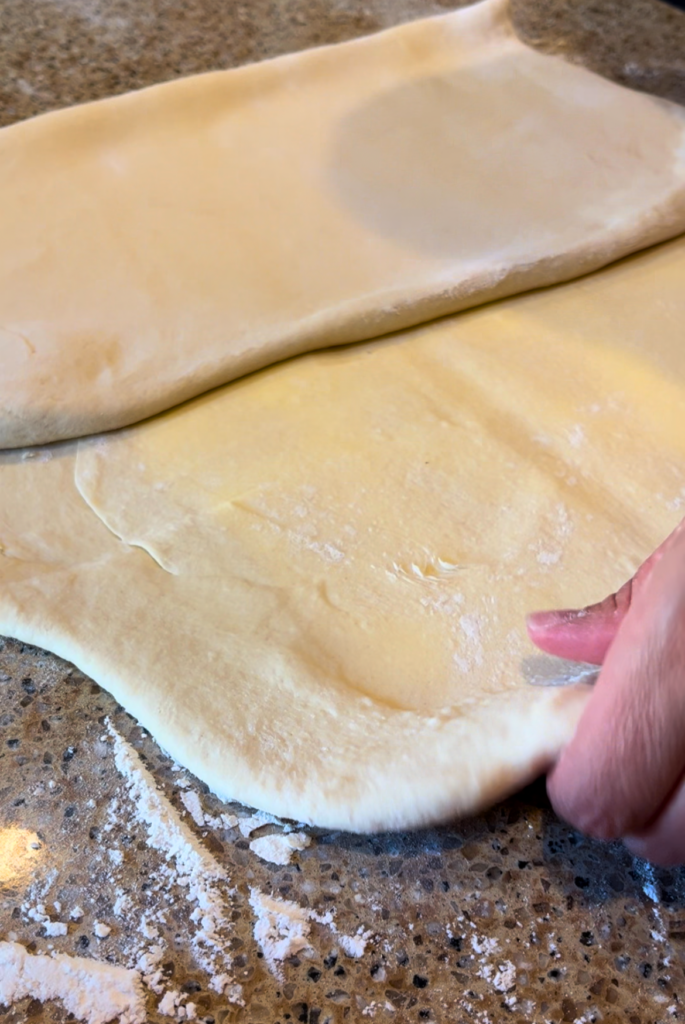
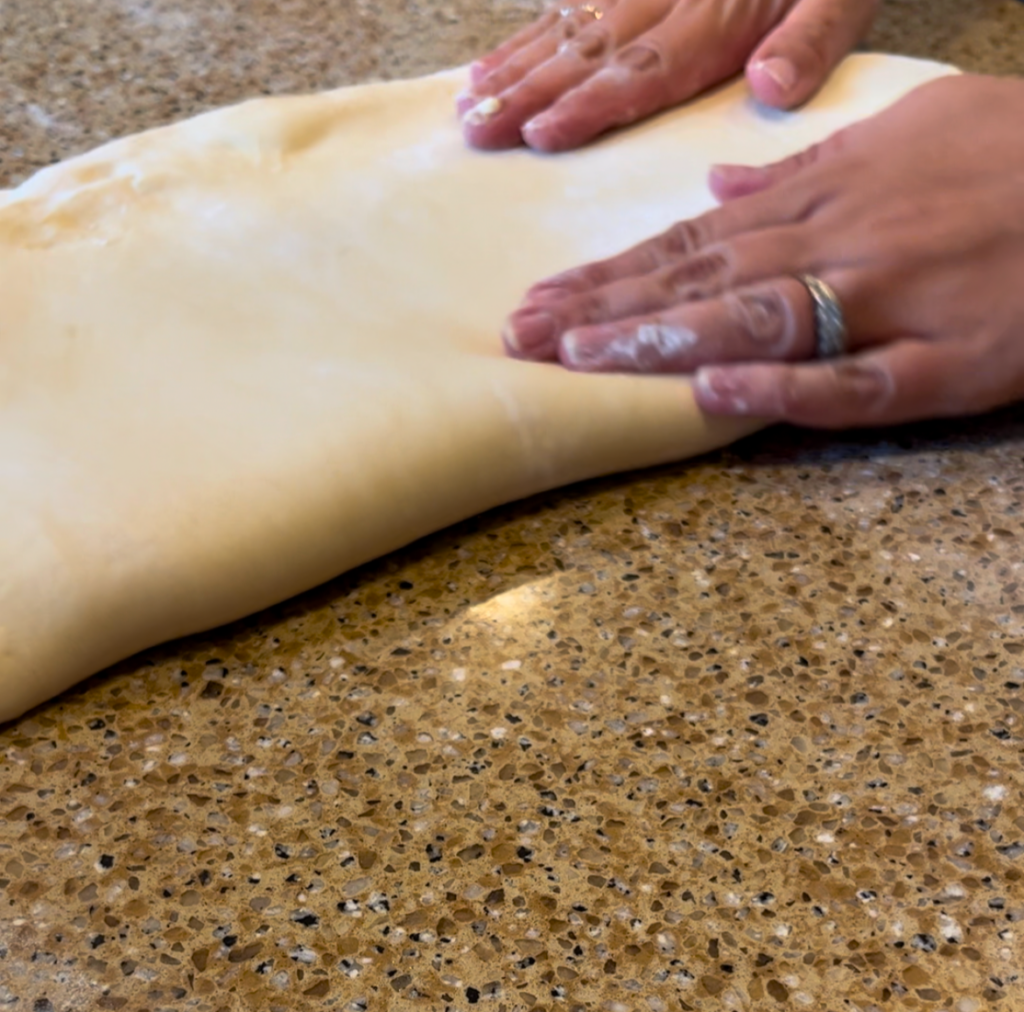
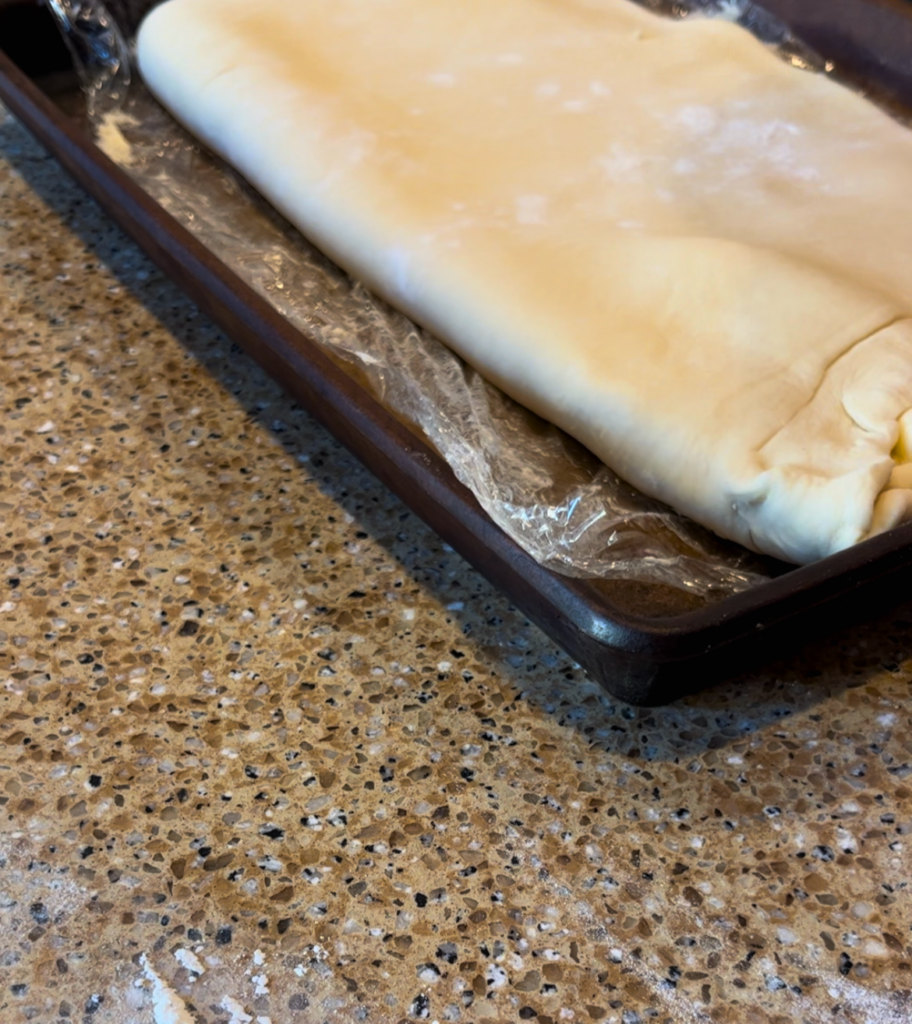
- Fold the dough into thirds. (This will give you three laminated layers of butter and dough. Place back onto the cookie sheet. (it should fit the dimensions perfectly if you rolled it out enough) Cover and place back into the refrigerator for 4-8 hours.
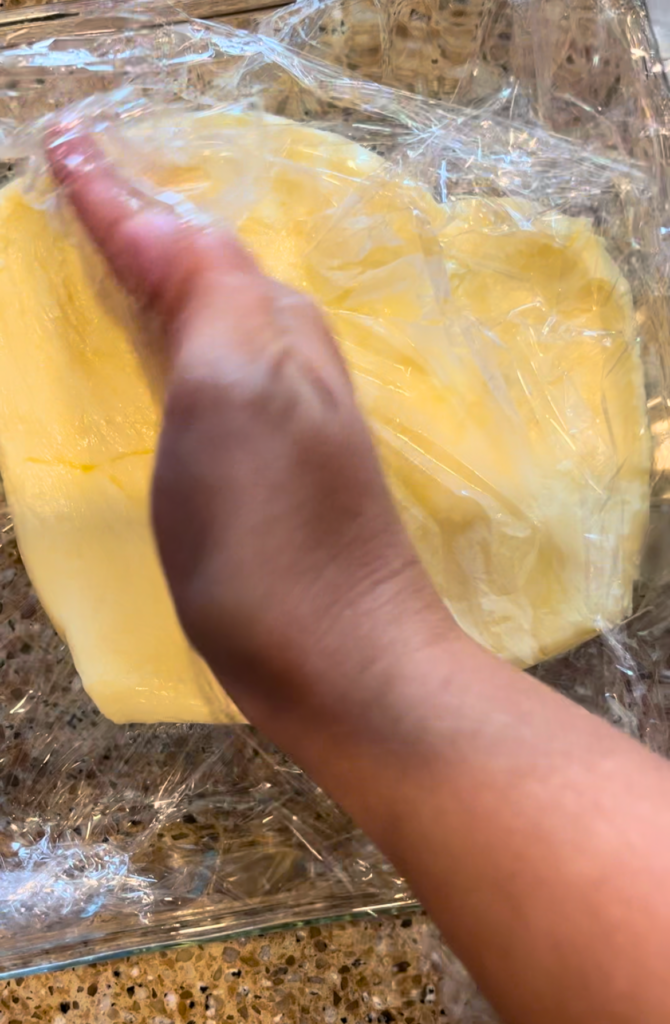
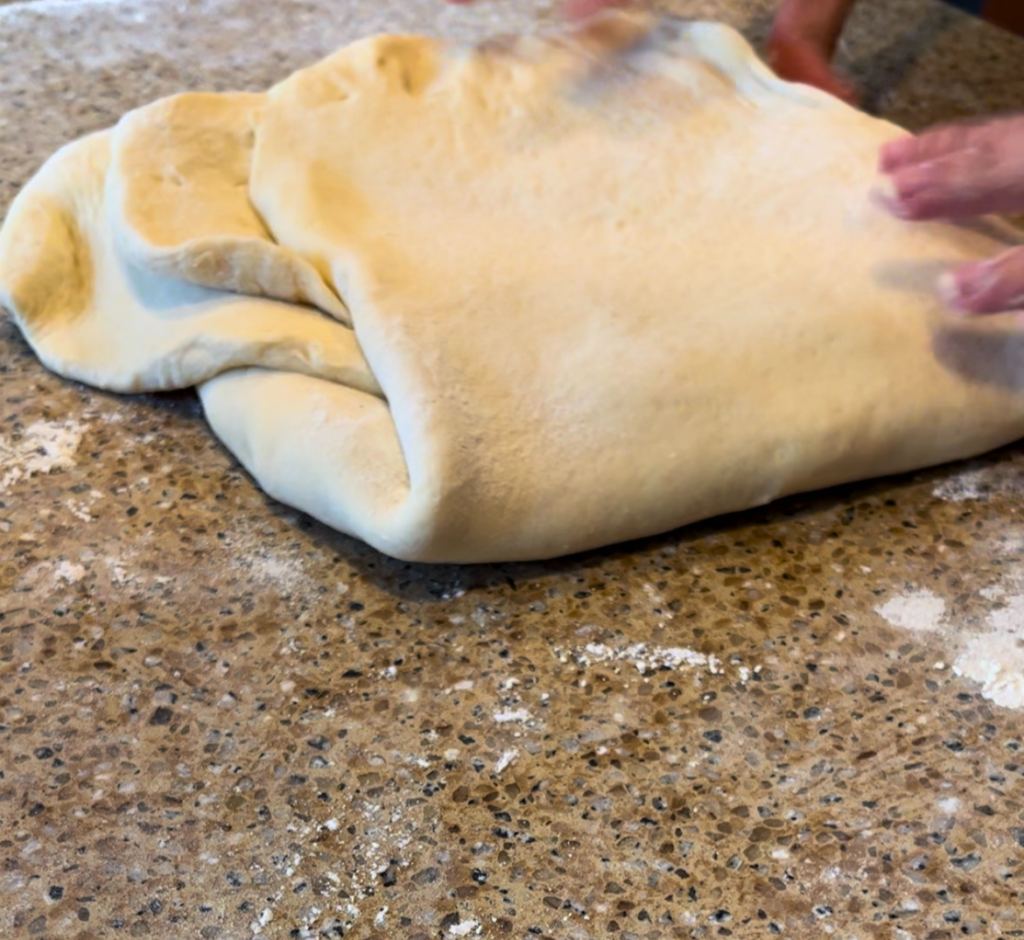
The next folds
- Remove the dough from the refrigerator. You will now roll it out the opposite way you did last time. Roll it out into a long rectangle. (About three times the width of your cookie sheet.)
- Fold the dough in thirds and place back on the cookie sheet. (I sometimes roll mine out extra long and fold it in four to get a bonus layer)
- Cover and place back into the refrigerator for 4-8 hours.
- Remove from the refrigerator and roll out in the opposite direction from your previous roll.
- Roll into a long rectangle. (About three times the width of your cookie sheet.)
- Fold the dough into thirds and place, covered, back into the refrigerator 4-8 hours. ( I have left mine for 12-16 hours in the refrigerator and it has been completely fine, the time is just a guideline)
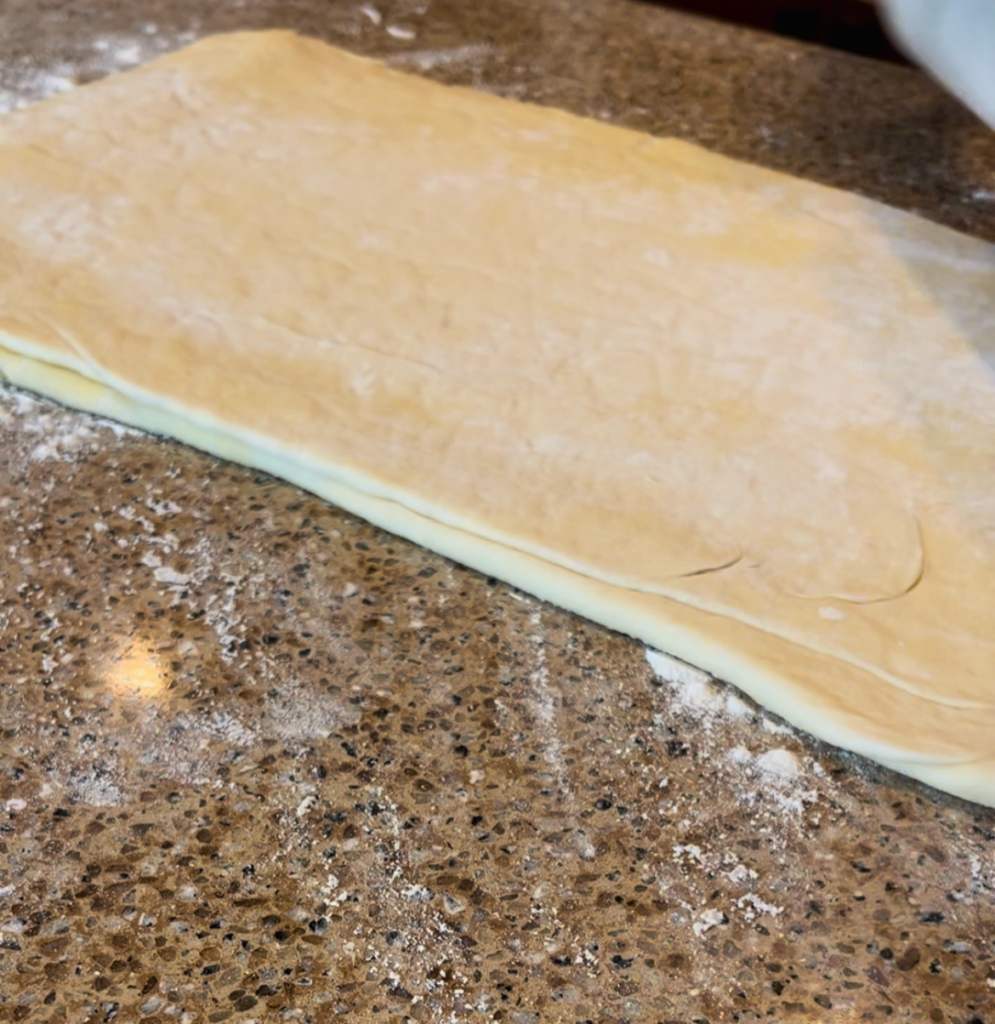
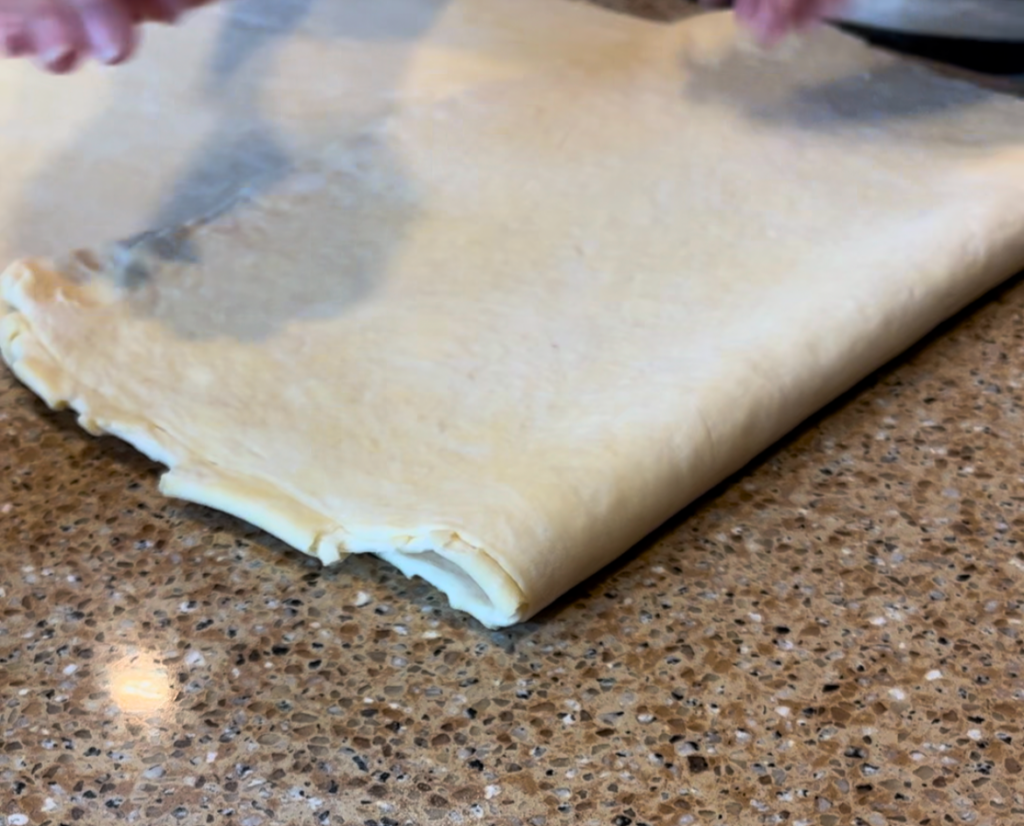
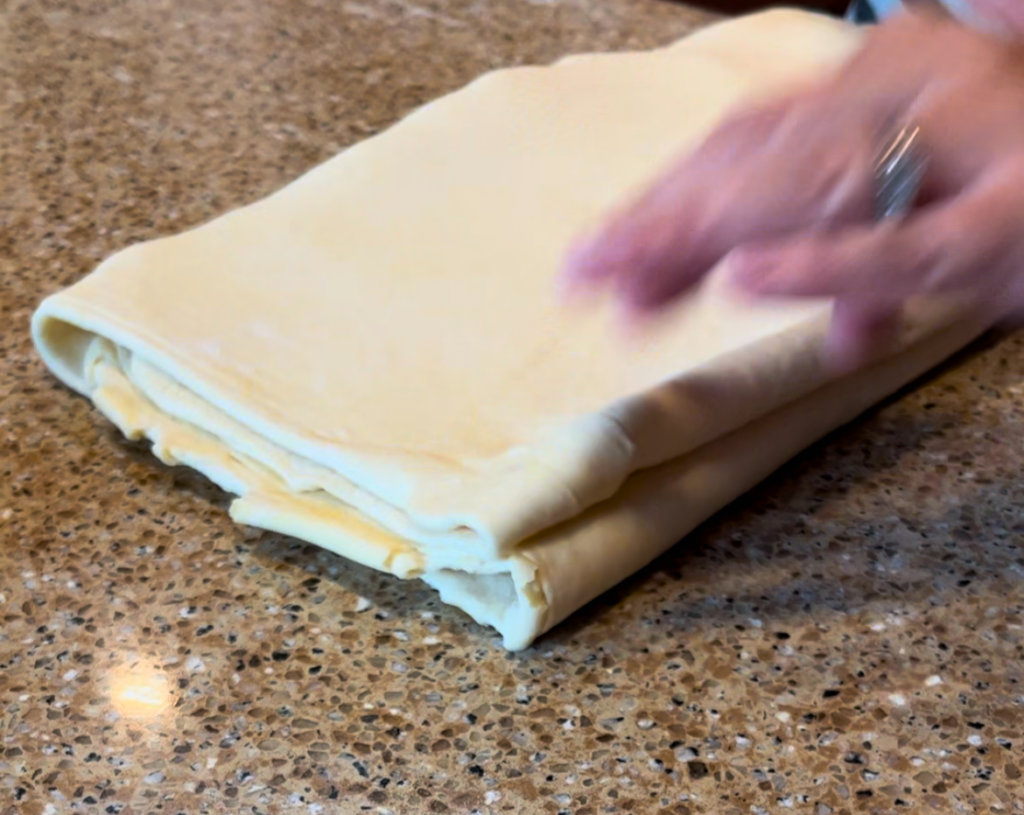
This is an adequate amount of layers to make a perfect croissant, but you can make one more fold if you would like.
Final roll-out
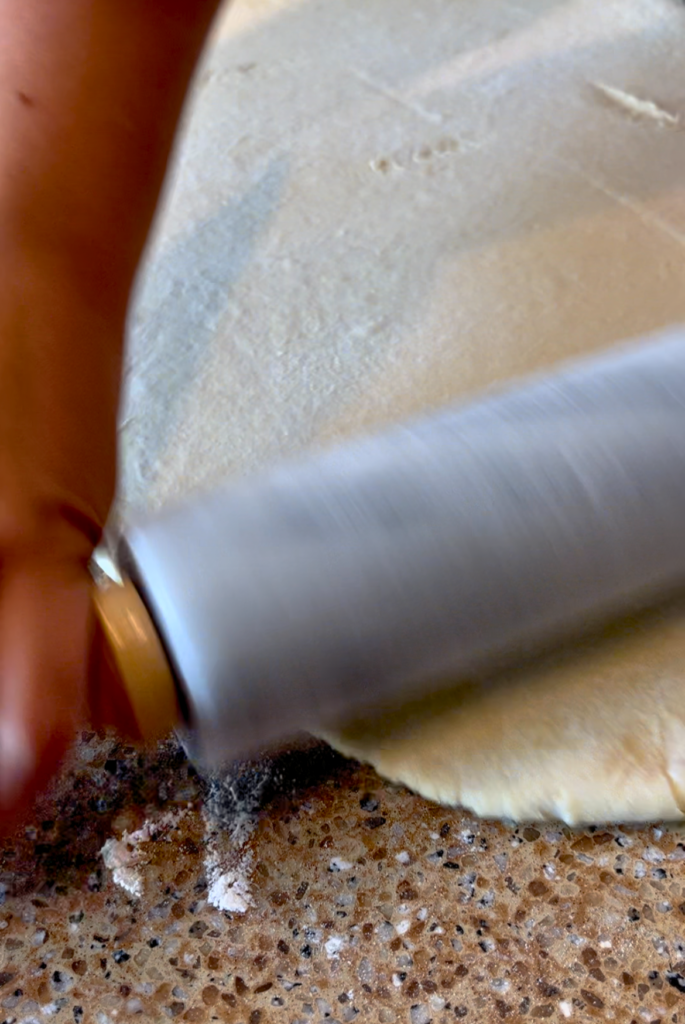
- Remove the dough from the refrigerator, and on a lightly floured surface roll out the dough into a very large rectangle. (Approx 18 inches tall and about the same length you had been rolling the dough for the folds) It is not necessary to measure it.
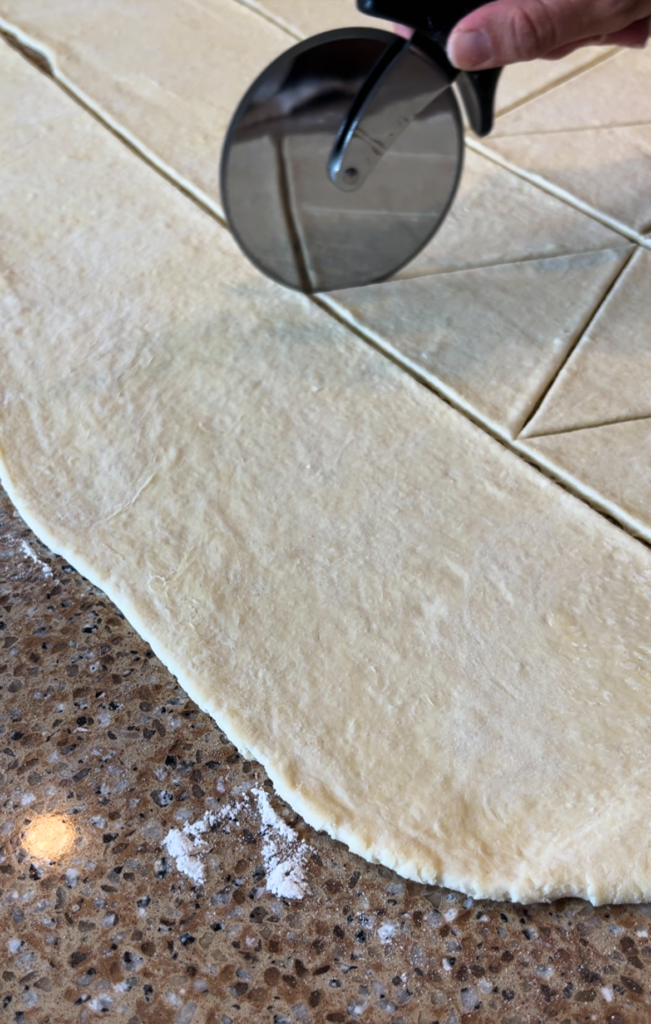
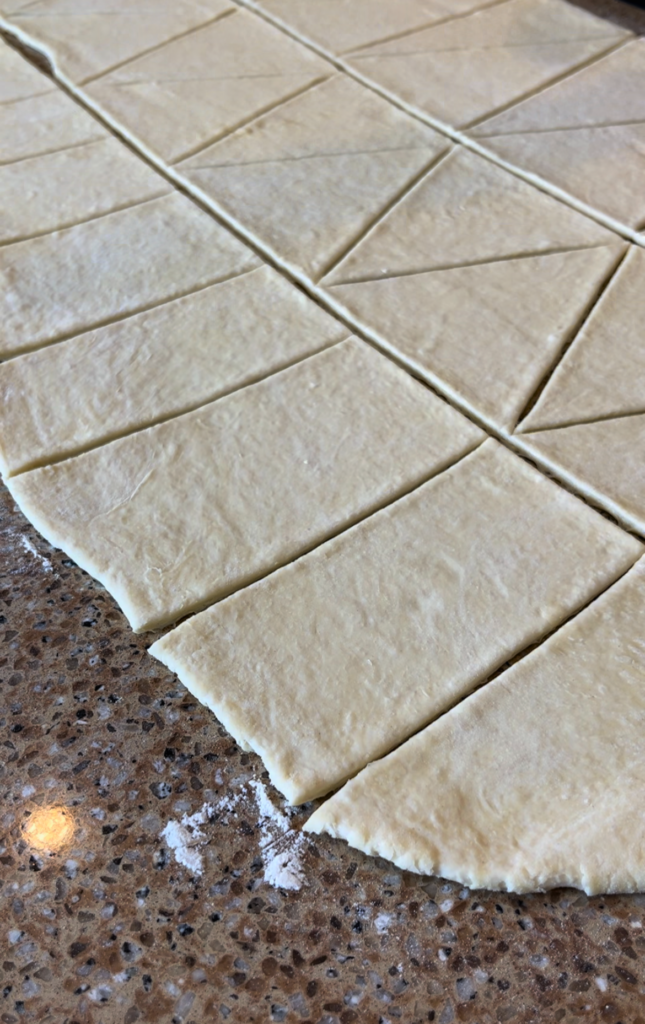
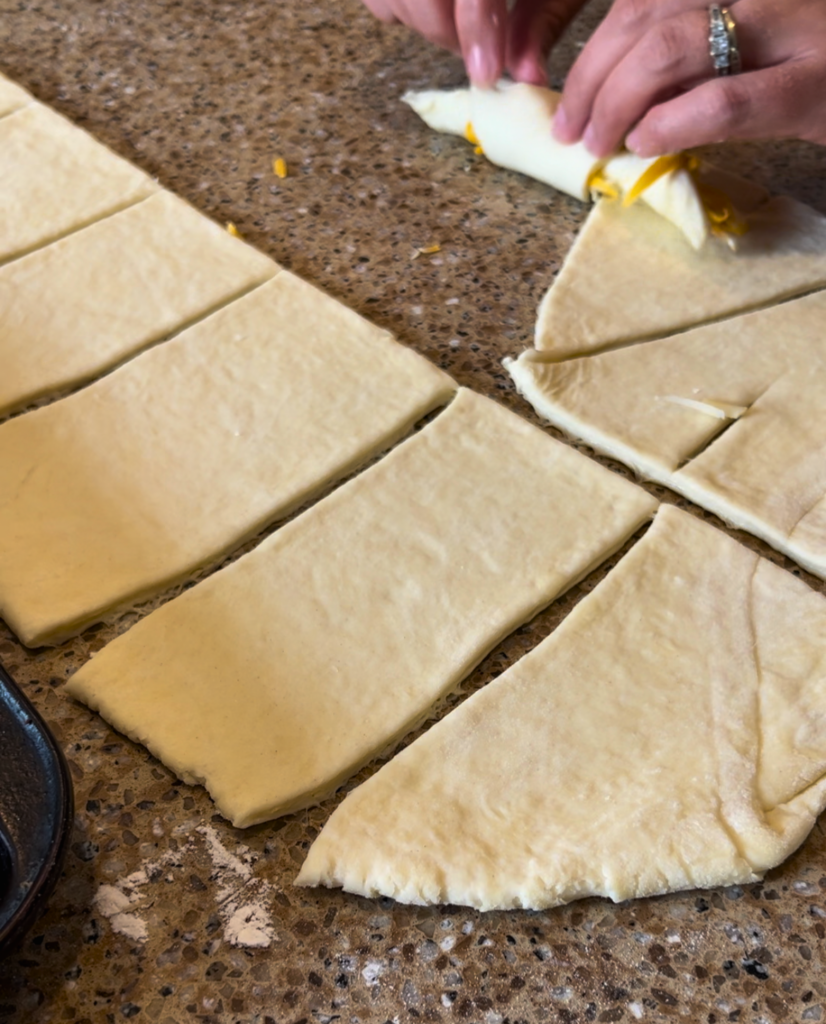
- With a pizza cutter, or a knife, cut three equal strips lengthwise. (Since I make three different kinds of croissants I do it this way) Cut the first two strips out into triangles, and the final strip into rectangles. (I get about 12 per strip of triangles and 10 rectangles) So about 32-36 croissants in total.
- In the bottom on the triangles cut about an inch slit upwards.
Forming the Croissants
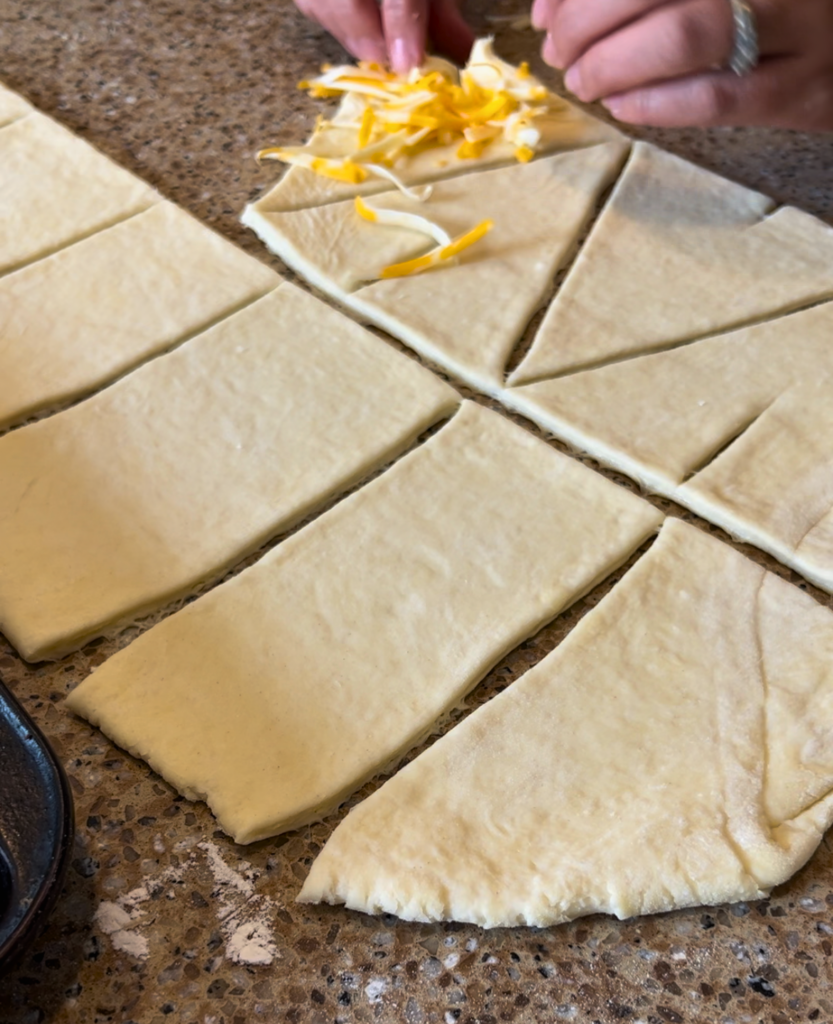
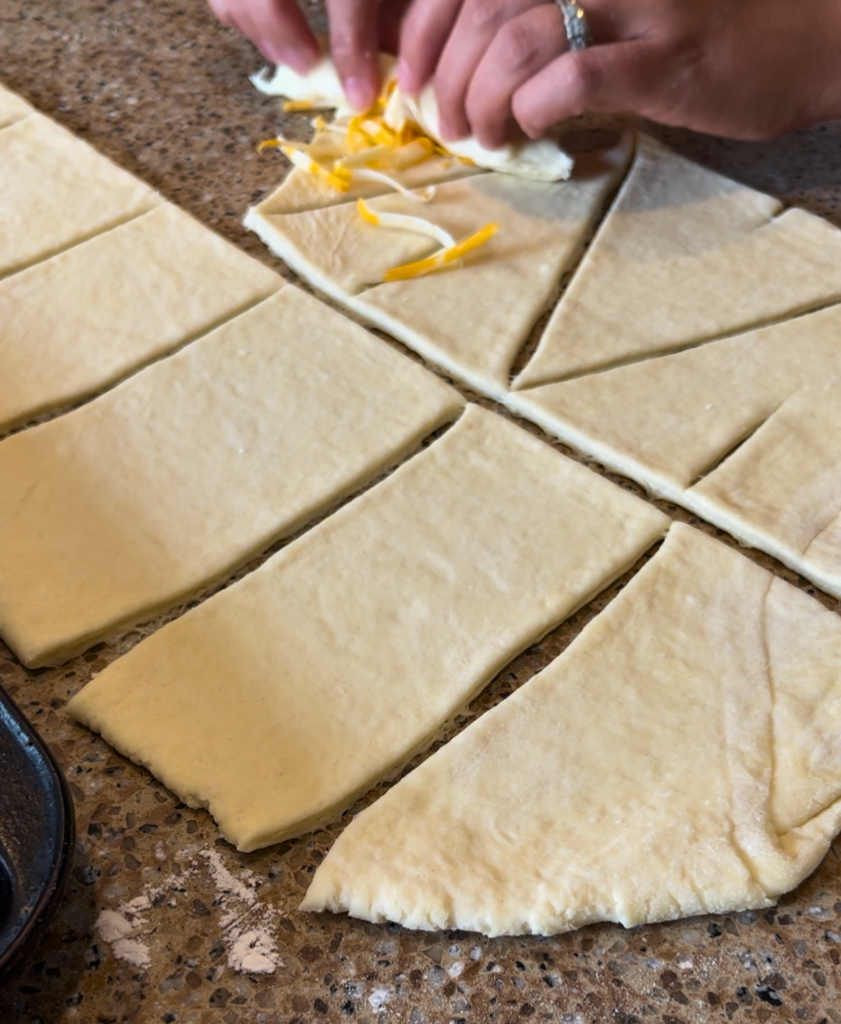
- Take a triangle and slightly pull apart the centre slit. Gently roll it upwards onto itself to form a croissant. Continue for all of the triangle croissants.
- If you are adding ingredients, such as cheese or frangipane, add it to the centre of the croissant as you are rolling it.
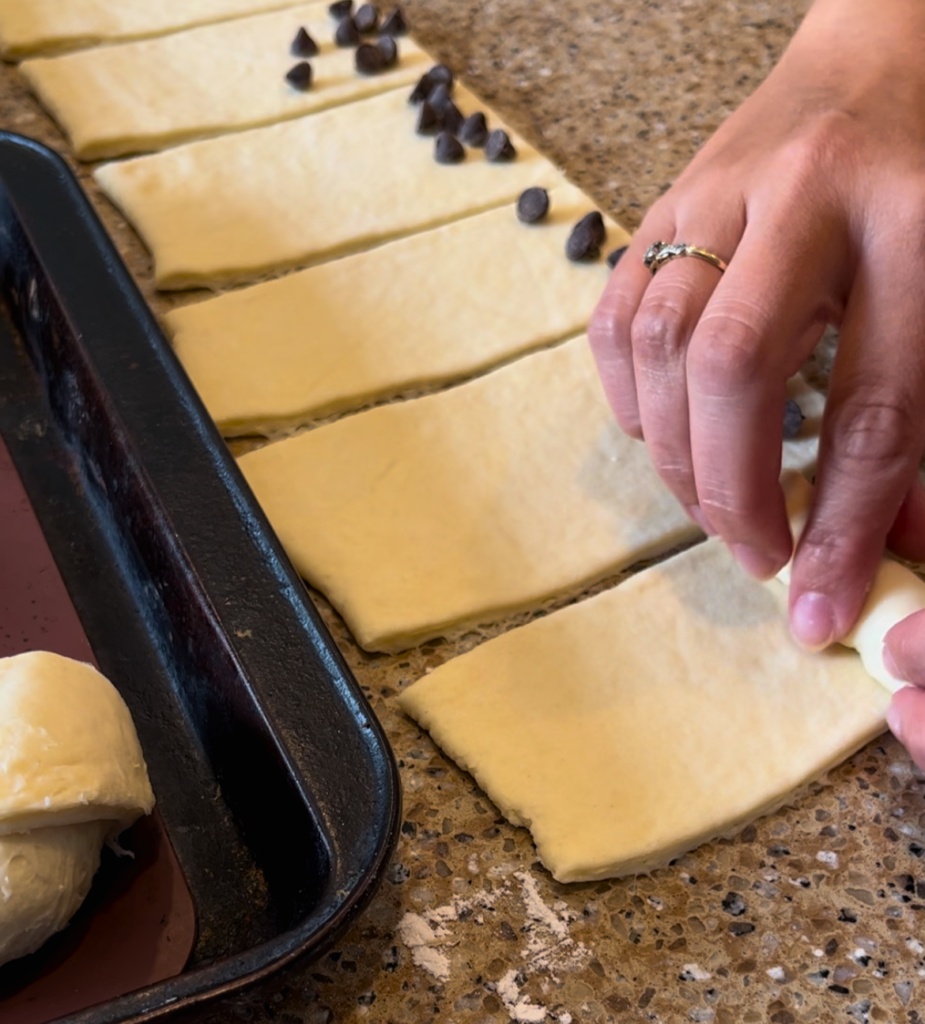
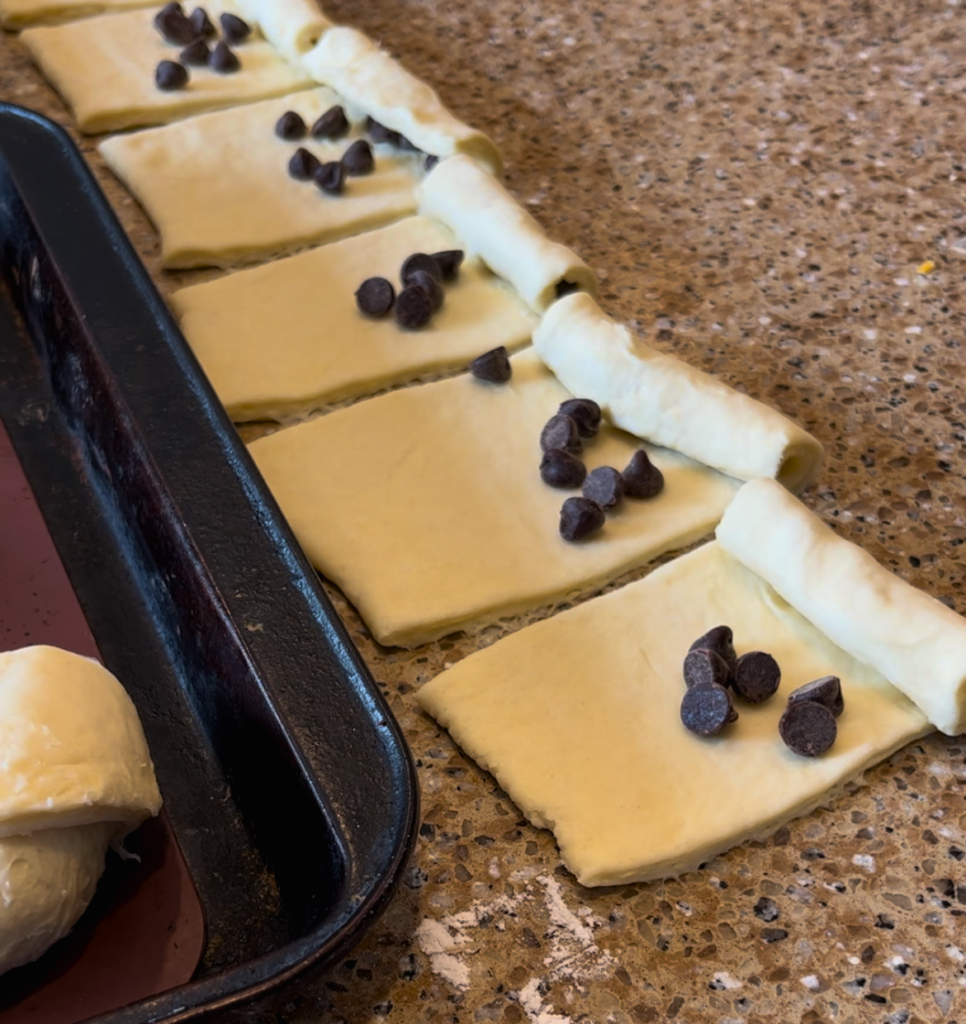
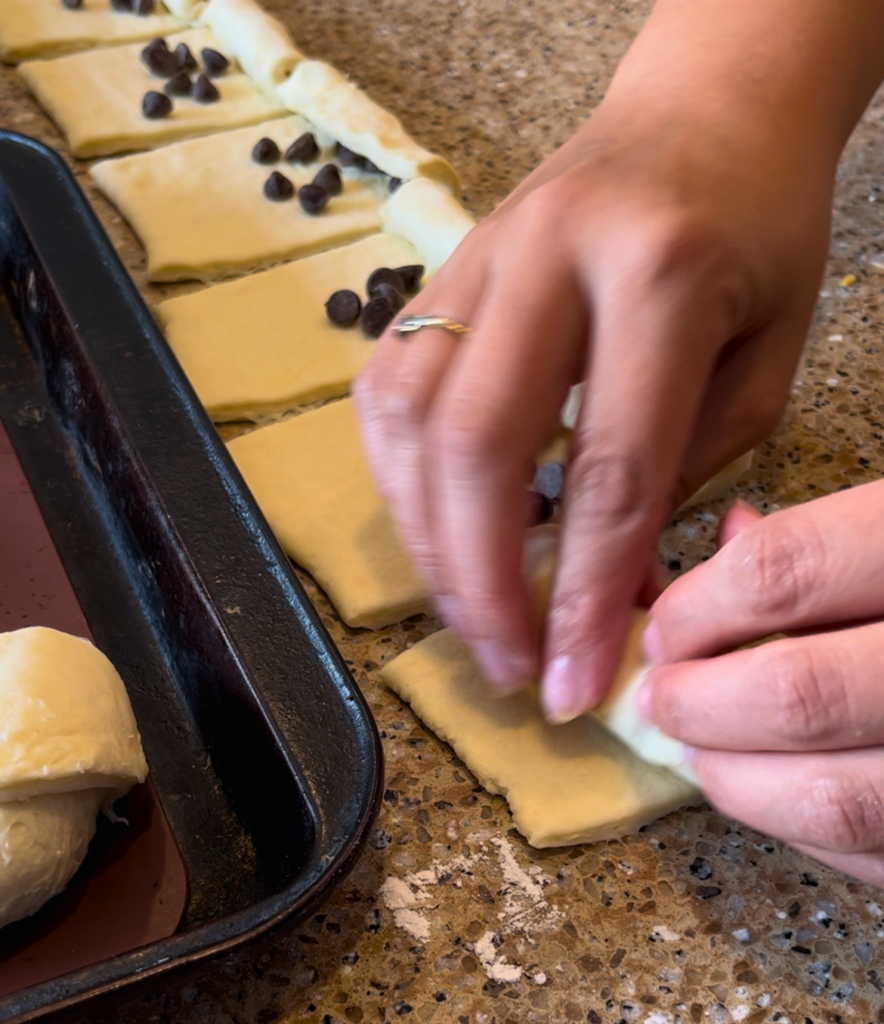
- For the rectangular shapes, I make the pain au chocolat. I layer a small amount of semi-sweet chocolat as I roll them into a rectangular shape.
- Place all of the croissants spreadout onto lined cookie sheets. Cover and let rise for about 2 hours, depending on the temperature of your kitchen.
Baking the Croissants
- Preheat oven to 375 degrees F (190 degrees C).
- In a small bowl, mix the egg with a tablespoon of water. Brush on the top of the croissants.
- Bake for 12-15 minutes. Or until golden.
- If using, while the croissants are baking prepare the vanilla glaze.
Pain au Chocolat
- Remove from oven and glaze the tops with the vanilla glaze, using a brush or the back of a spoon. (It is important to do this while they are still warm, so the glaze goes on smoothly.)
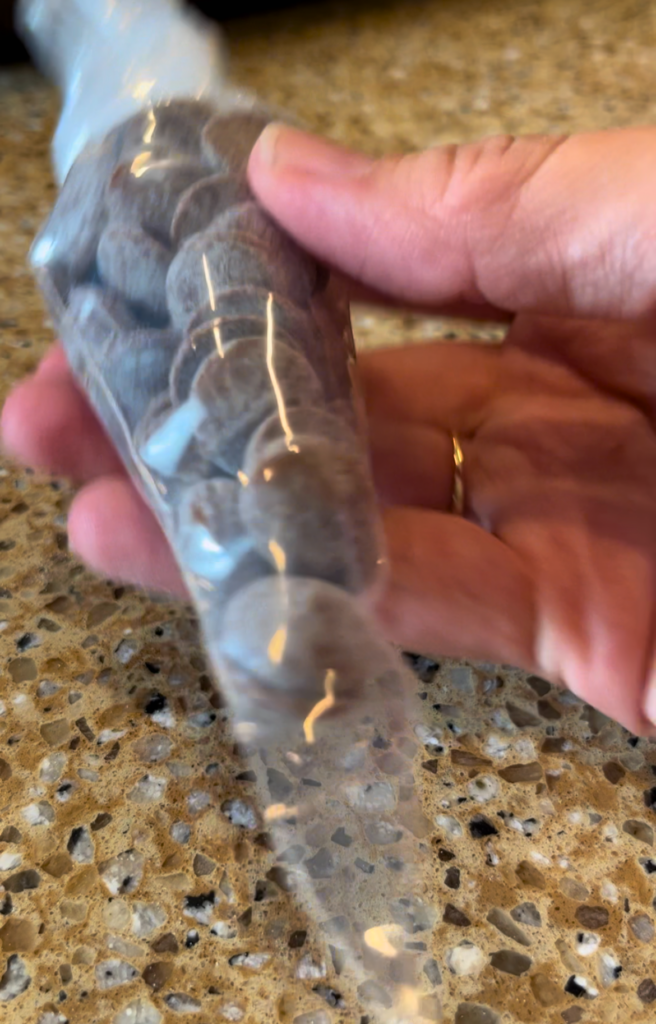
- Place melting chocolates in a pastry bag and place it in a mug of hot tea water.
- Once melted, snip the tip off the pastry bag and drizzle over top of the pain au chocolat. (If you do not have a pastry bag, you can simply use a spoon to drizzle the chocolate over top.)


Serve warm and fresh! Enjoy!
What is your favourite way to enjoy croissants? Have you made them before? Is there another filling that is your go-to?
Flaky French Bakery Butter Croissants
Ingredients
Détrampe
- 1½ cups room temperature water
- 2 Tablespoons dry milk powder
- ¼ cup sugar
- 2¼ teaspoons active dry yeast
- 1 teaspoon salt
- 3½ cups all-purpose or pastry flour
- 3 tablespoons butter softened
Beurrage
- 1½ cups butter
Extras
- 1 egg
- semi-sweet chocolate
- cheese I use cheddar
- 1 recipe vanilla glaze
- chocolate melts
Instructions
Détremp
- In the bowl of the stand mixer, fitted with the dough hook, place warm water, milk powder, sugar. Mix to dissolved the powder and the sugar.
- Sprinkling yeast evenly over top the liquid.
- Wait a few minutes and the yeast should become foamy on top.
- Add salt and flour. Mix with the dough hook until a smooth dough forms.
- Add butter. Mix. Mix a few minutes to form a smooth dough. (I alternate between the slowest speed of my mixer, to one or two speeds up to mix the dough fully.) It should not take longer than 5 minutes.
- Cover and let the dough rest 30 mins.
- Onto a rectangular cookie sheet, lined with cling film,( or parchment paper,) spread the dough out to form a rectangle. Cover and let rest on the counter for 1½ hours. (It will start to rise)
- Place in the refrigerator to chill for 1 hour.
Beurrage
- Using softened butter, form the butter into a square. (I place cling film inside of a 8in. square casserole dish and squish the butter out evenly into the dish to form the square.
- Place the butter in the refrigerator. Be sure to pull it out about 10 minutes before you are ready to roll it with your détrempe. This way they will both be about the same consistency, for easier rolling.
First Roll
- Remove the dough from refrigerator. On a lightly floured surface, roll it into a square, slightly bigger than your beurrage.
- Place your, beurrage in the centre of the dough square, but turned so it is in a diamond shape.
- Fold the corners of the dough over the butter layer and press to seal it in.
- Roll the dough out into a long rectangle. (It should be about three times the width of the cookie sheet you are resting it on.)
- Fold the dough into thirds. (This will give you three laminated layers of butter and dough. Place back onto the cookie sheet. Cover and place back into the refrigerator for 4-8 hours.
Subsequent Folds
- Remove the dough from the refrigerator. You will now roll it out the opposite way you did last time. Roll it out into a long rectangle. (About three times the width of your cookie sheet.)
- Fold the dough in thirds and place back on the cookie sheet.
- Cover and place back into the refrigerator for 4-8 hours.
- Remove from the refrigerator and roll out in the opposite direction from your previous roll.
- Roll into a long rectangle. (About three times the width of your cookie sheet.)
- Fold the dough into thirds and place, covered, back into the refrigerator 4-8 hours.
Final Roll Out
- Remove the dough from the refrigerator, and on a lightly floured surface roll out the dough into a very large rectangle. (Approx 18 inches tall and about the same length you had been rolling the dough for the folds) It is not necessary to measure it.
- With a pizza cutter, or a knife, cut three equal strips lengthwise. Cut the strips into triangles for croissants and rectangles for pain au chocolat (I get about 12 per strip of triangles and 10 rectangles) So about 32-36 croissants in total.
- In the bottom on the triangles cut about an inch slit upwards.
Forming Croissants
- Take a triangle and slightly pull apart the centre slit. Gently roll it upwards onto itself to form a croissant. Continue for all of the triangle croissants.
- If you are adding ingredients, such as cheese or frangipane, add it to the centre of the croissant as you are rolling it.
- For the rectangular shapes. Layer a small amount of semi-sweet chocolate as you roll them into a log shape.
- Place all of the croissants spreadout onto lined cookie sheets. Cover and let rise for about 2 hours, depending on the temperature of your kitchen.
Baking
- Preheat oven to 375 ℉ (190 ℃).
- In a small bowl, mix the egg with a tablespoon of water. Brush on the top of the croissants.
- Bake for 12-15 minutes. Or until golden.
- If using, while the croissants are baking prepare the vanilla glaze.
Pain au Chocolat
- Remove from oven and glaze the tops with the vanilla glaze, using a brush or the back of a spoon. (It is important to do this while they are still warm, so the glaze goes on smoothly.)
- Place melting chocolates in a pastry bag and place it in a mug of hot tea water.
- Once melted, snip the tip off the pastry bag and drizzle over top of the pain au chocolat. (If you do not have a pastry bag, you can simply use a spoon to drizzle the chocolate over top.)
- Serve fresh and warm!


4 Comments