How to Naturally Dye Easter eggs
Natural Easter egg dye is quick and easy to make at home, using just simple kitchen ingredients! This is a fun project to get the whole family involved in!
Every Easter my kids cannot wait to decorate Easter eggs! We have coloured Easter eggs in so many different ways over the years!
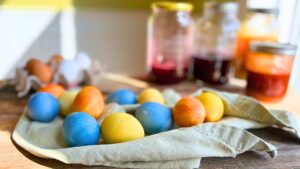
This year we are making our own natural DIY Easter egg dye out of things we have around the kitchen! This is actually a pretty simple process and the eggs come out beautifully!
What makes the best natural Easter egg dye?
There are so many plants and spices that have deep vibrant colours. Some are better than others at releasing their natural colour to become a homemade Easter egg dye.
I tried a few different kitchen ingredients. These were the favourites!
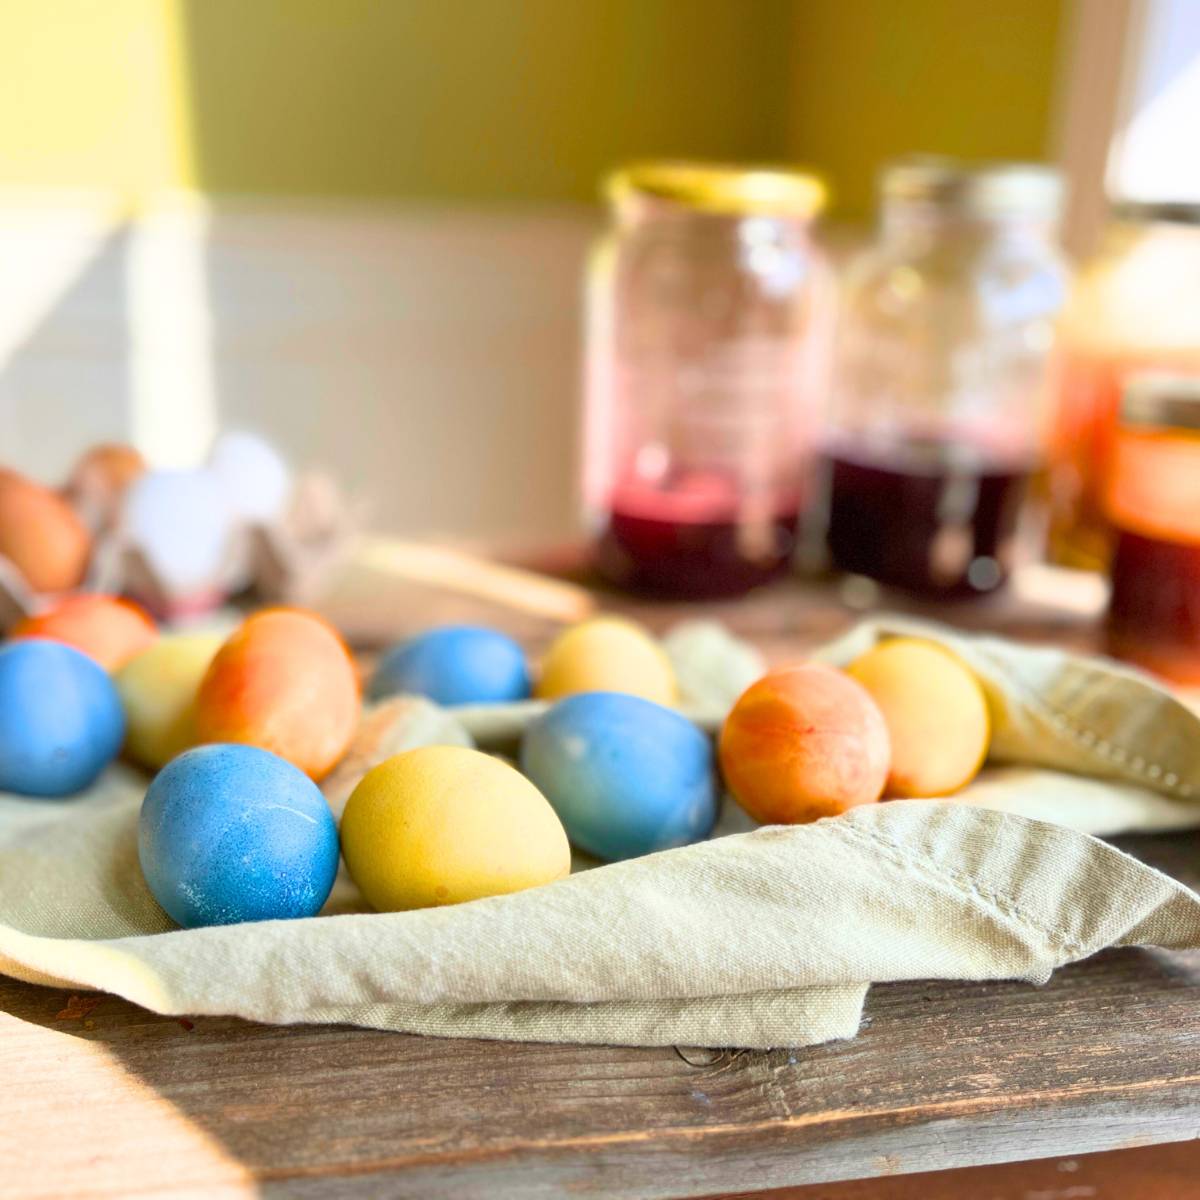
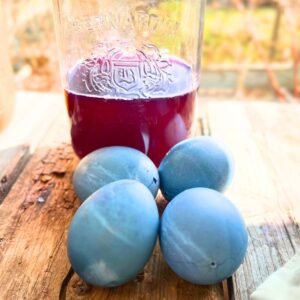
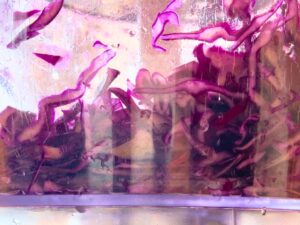
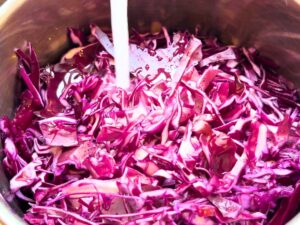
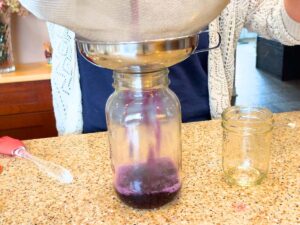
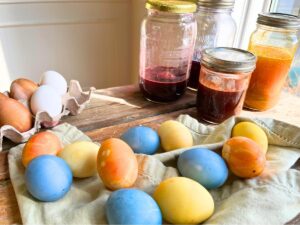
Red cabbage – Even though this cabbage starts off an intense reddish purple, it will colour your eggs a beautiful vibrant blue!
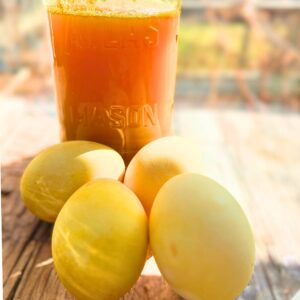
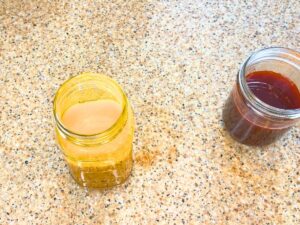
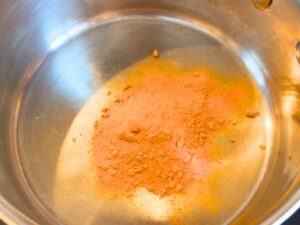
Turmeric – This common fragrant spice will stay true to colour when it comes to dying eggs. The eggs will stay a lovely creamy yellow.
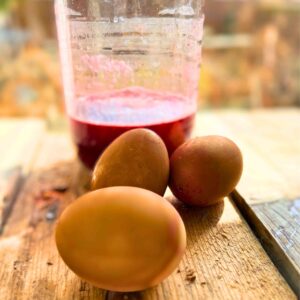
Onion skins – Love some ways to use up kitchen scraps! This will also lend it’s lovely colour to your Easter eggs. Use either red or yellow!
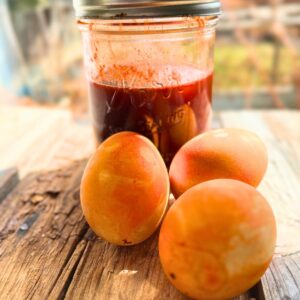
Paprika – This common kitchen spice will also stay true to colour, leaving your eggs a lovely warm rust colour.
Coffee – I would suggest this only for adding some brown flecks to your eggs. However, if you want brown eggs this is an inexpensive way to go!
Spinach – If you are looking for a lovely green egg cook down some leafy greens!
Berries like blueberries also work very well but since my family are huge berry eaters, I just couldn’t part with that many berries in the name of dying eggs.
Flower petals – You can actually get quite a bit of colour out of flower petals! However, since I live in a colder climate and we still had snow covering the ground, this was not a feasible choice for me!
What doesn’t work well to dye Easter eggs
I also had a few stinkers!
Carrots – Even though they have a beautiful orange colour, the pigment barely coloured the eggs.
Beets – You would think this deep vibrant red would be the perfect colouring for a homemade egg dye. However, it turns the eggs brown, not red. So, if you are looking for a brown colour this works great, but if you want a vibrant red, this is not the one.
Where to store natural Easter egg dye
After the dye is made store them in airtight containers in the refrigerator.

Since the dye is made from food products, especially the cabbage and berries, will start to mold on the counter top within a few days.
Keep the homemade liquid food dye chilled in the refrigerator for up to 1 week.
You can continue to colour eggs for Easter all the way up to the big day!
How to make natural liquid food dye
- First pick the foods and colours you want to use.
- For larger things like cabbage, shred them through a food processor.
- Add your food item to a medium pot. You will need about 1-2 cups of the fruit or vegetable. If you are using a spice like turmeric add 3-4 Tablespoons.
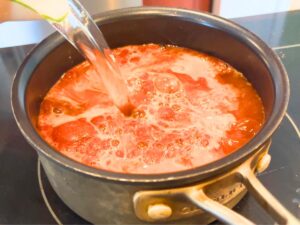
- Cover with 1½-2 cups of water for the spices, or enough to cover for the larger items.
- Simmer over medium heat until the liquid starts to reduce. (About 45 mins.)
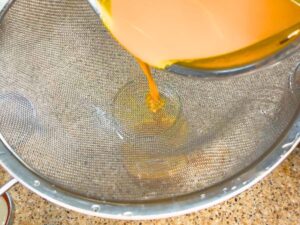
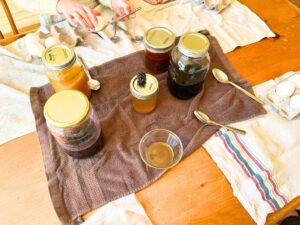
- Strain the liquid through a colander and place in deep containers (I used Mason jars). Deep enough to dunk the eggs fully under and also sealable for storage.
How to use natural liquid food dye for Easter eggs
- Set up your Easter egg station on a table lined with towel or newspaper. (You don’t want to colour your table!)
- Dunk the eggs in the dye for 1 – 8 hours.
- Remove the eggs and allow any excess liquid to drip off into the jar, (especially if you are using hollowed out shells. If you find the liquid is stuck inside, use a straw to blow it out).
- Place the eggs on a paper towel or on an egg carton to dry completely.
Preparing eggs for colouring
You can either dye your eggs whole, or remove the inside of the eggs and then dye only the shell.
The second option will last longer and can be stored outside of the refrigerator for decoration. This is what I typically do.
How to dye whole eggs
- Boil, to cook your eggs first. (If you dye the eggs before boiling them, some of the colouring will come off while they are cooking in the water afterwards.) If you plan to just crack the dyed eggs to cook later on, then the beautiful coloured shells will not be on display and that is just a waste in my opinion!
- After the eggs are cool enough to handle, gently place them in the jars with the liquid colouring. Use a large spoon to lower them into the liquid. If you drop them from the top, there is a chance that the shell will crack when it hits the bottom.
- Allow the egg shells to soak up the liquid. Seal the container and store in the refrigerator for 1 – 8 hours.
- Remove from the liquid with a spoon. Allow some of the liquid to drip off. Then place on some paper towel or back in the egg carton to dry.
- Store the cooked coloured eggs in the fridge until ready to eat.
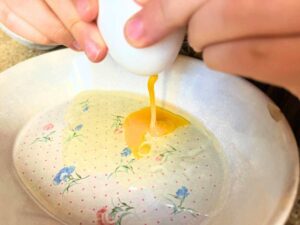
How to dye hollowed shells
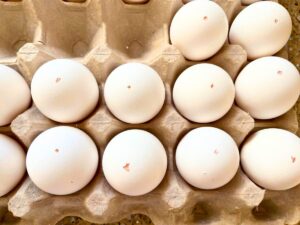
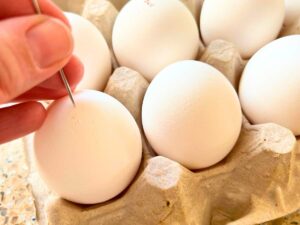
- Using a sharp pin/sewing needle, pierce a small hole in the top of the egg shell. Leave the egg in the carton. Place the needle on the top of the egg and gently hammer the needle in with something hard, like a coffee mug, until it just pierces the shell. Gently widen it with the tip of the needle.
- Do the same thing with the bottom of the egg.
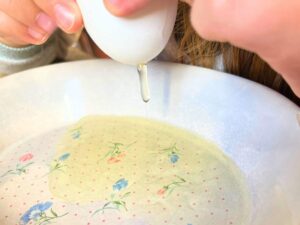
- Blow through one hole. The inside of the egg should come out the opposite hole.
- Make sure to have a bowl placed under the egg to catch the liquid from the egg.
- Let some water run into the hole, shake it up and blow the water out. This should clean out the inside of the shell.
- The shells are now hollow and ready to be coloured.
*I learned this technique as a child in girl guides! We blew the eggs into little sealable sandwich bags. Shake up the eggs. Then, boiled the bags to cook and eat!
Easter Fun
This is a fun and festive way to get the kids involved in the Easter festivities! Make sure to experiment with dipping your eggs in multiple colours, adding dots and splashes, or designing the eggs with wax first to show fun patterns after they are dyed.
Feel free to experiment with different natural ingredients you have around your home!
Happy decorating!
Need some ways to use up eggs?! Make ahead Breakfast Strata Classic Asparagus and Swiss Quiche Hometown Potato and Ham Frittata
Join the vintage living community and gain access to the free printables library! Receive emails that you’ll love and recipes straight to your inbox!
Creating you own family recipe book has never been easier! Print fun recipe cards like this one at home for free!