Best Nanaimo Bars Recipe 🇨🇦 Easy Homemade Canadian No-Bake Dessert
By Rebecca St. Clair
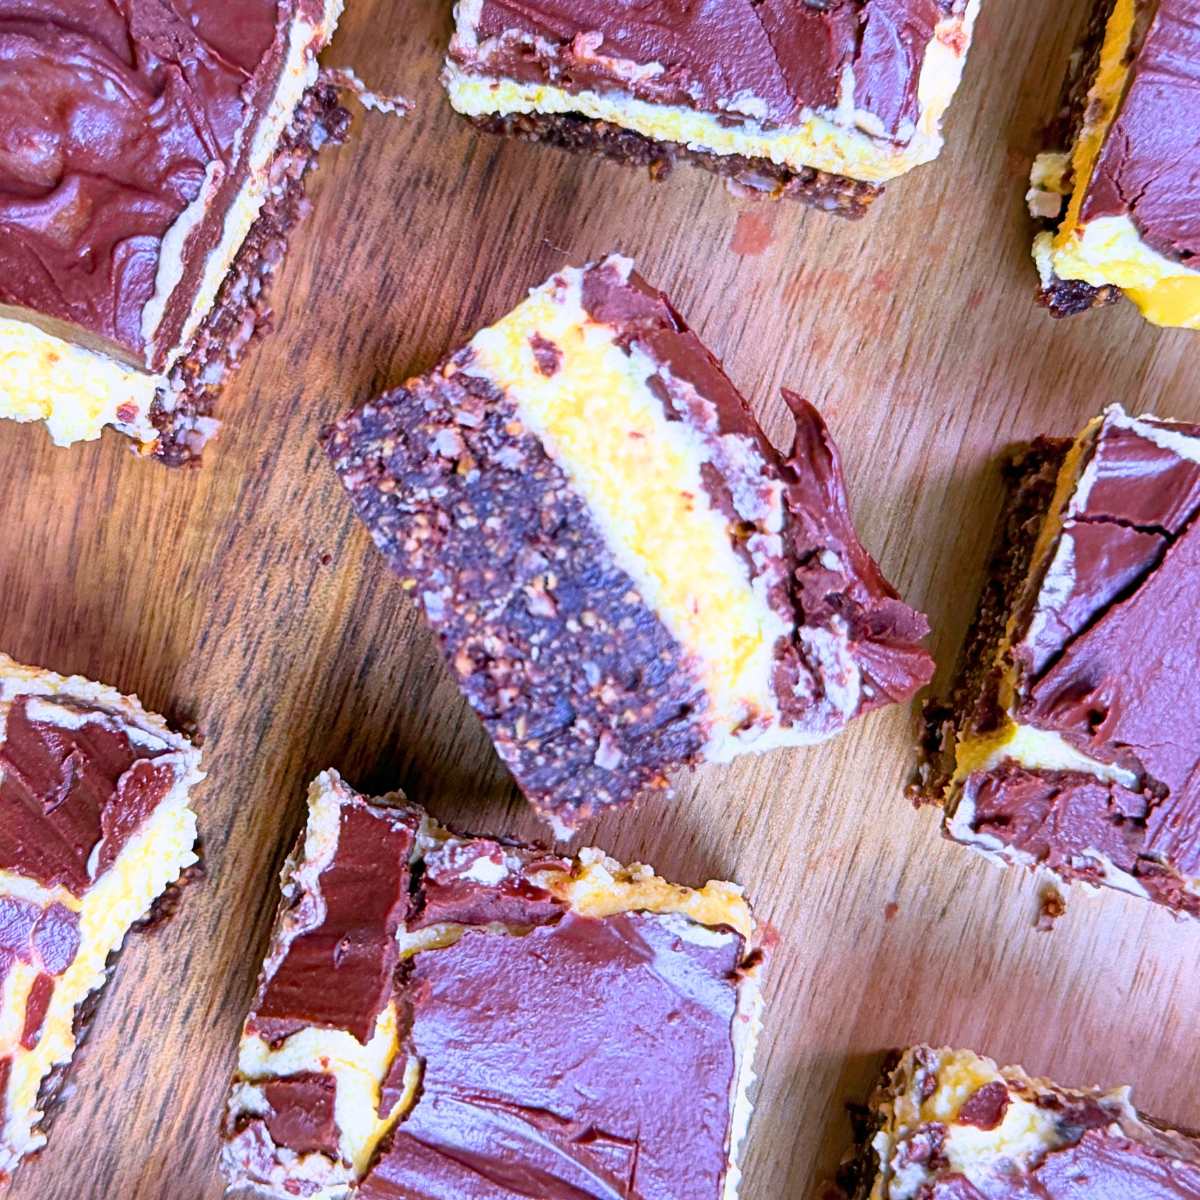
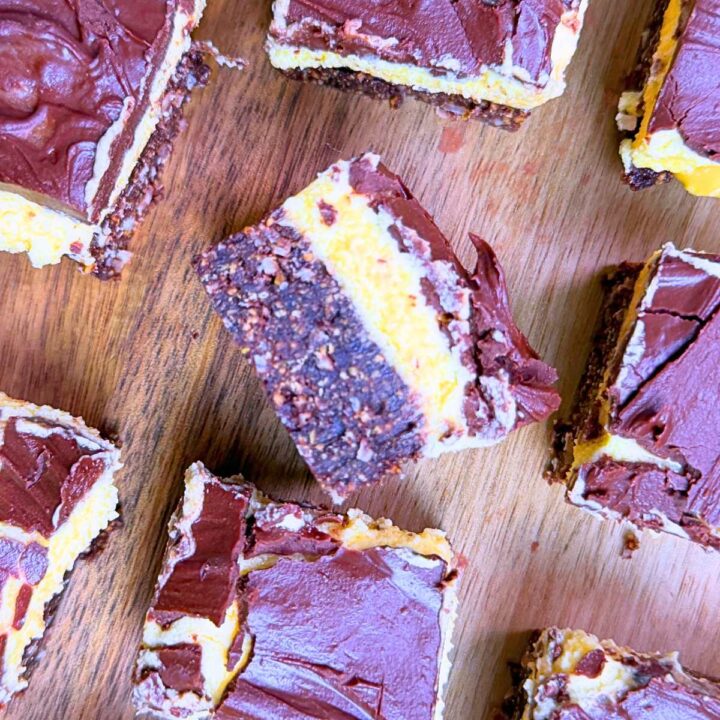
These classic Nanaimo Bars are one of Canada’s most beloved desserts. They are made with a thick chocolate-coconut base, a creamy custard filling, and a rich chocolate topping, this authentic Nanaimo bars recipe is easy to make and requires no baking. So if you’re looking for a traditional Canadian dessert for Canada Day, a potluck favourite, or an easy no-bake treat, these homemade Nanaimo bars are exactly what you’ve been looking for.
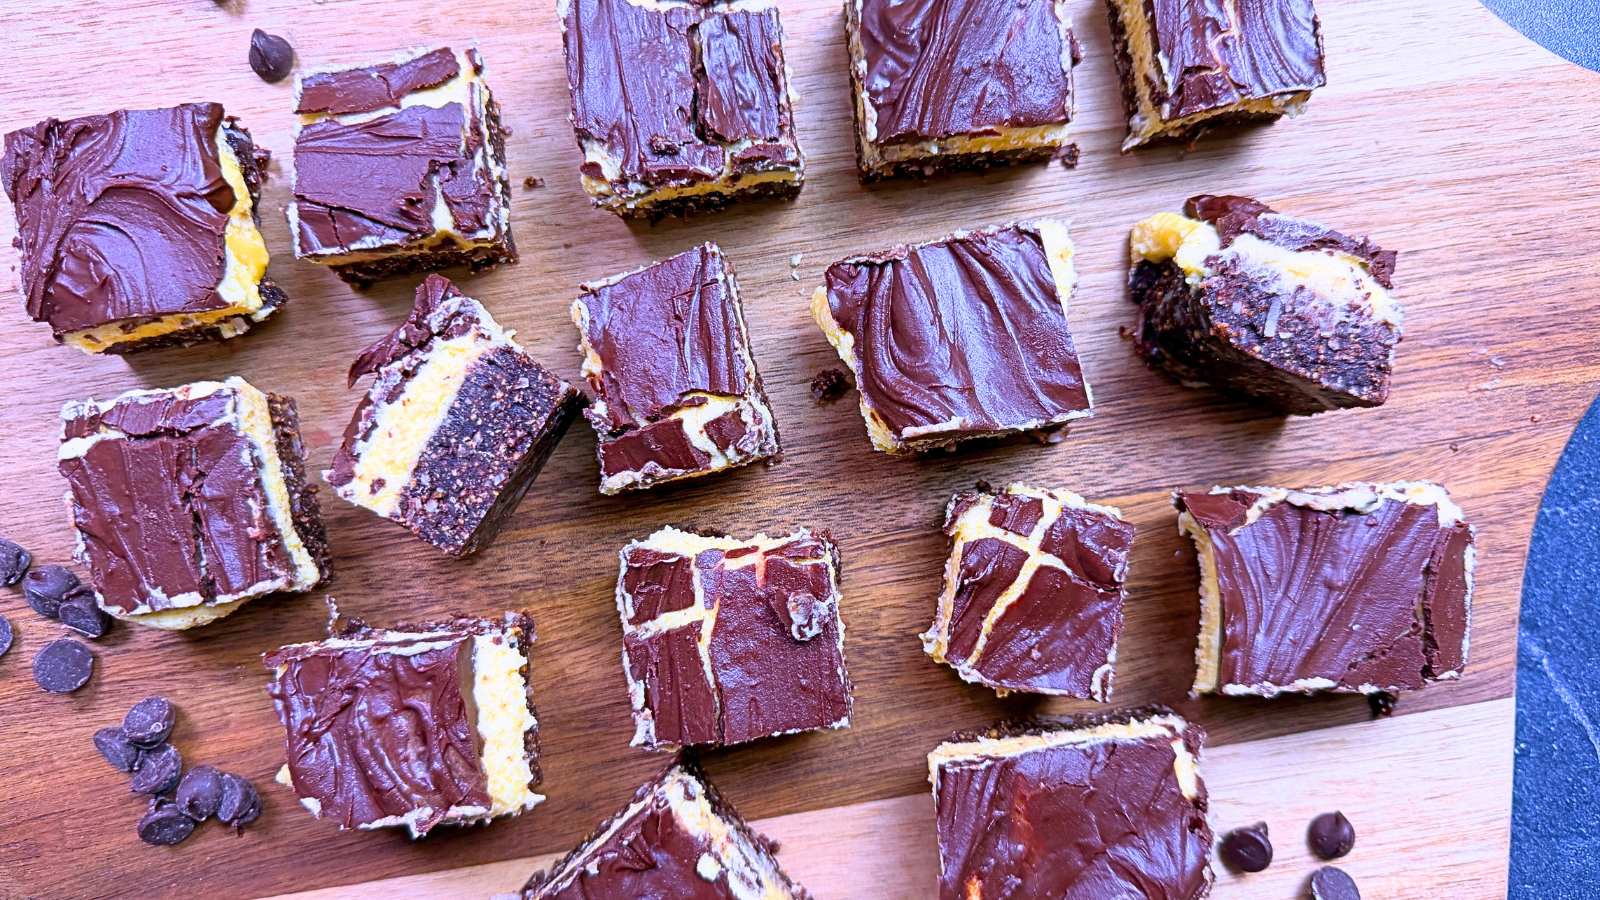
You would be hard pressed to find a Canadian who hasn’t heard or indulged in these legendary Canadian treats.
Similar to other no-bake layer bars, these dreamy chocolate confections have been popular since the 1950’s and few bars have gained the popularity as the Nanaimo Bar.
So, if you’ve never had a Nanaimo Bar before, you’re missing out on a culinary simple pleasure!
Why You’ll Love This Recipe
Easy no-bake dessert
Perfect make-ahead treat
Authentic Canadian recipe
Rich chocolate and custard flavour
Great for holidays and potlucks
Freezer-friendly
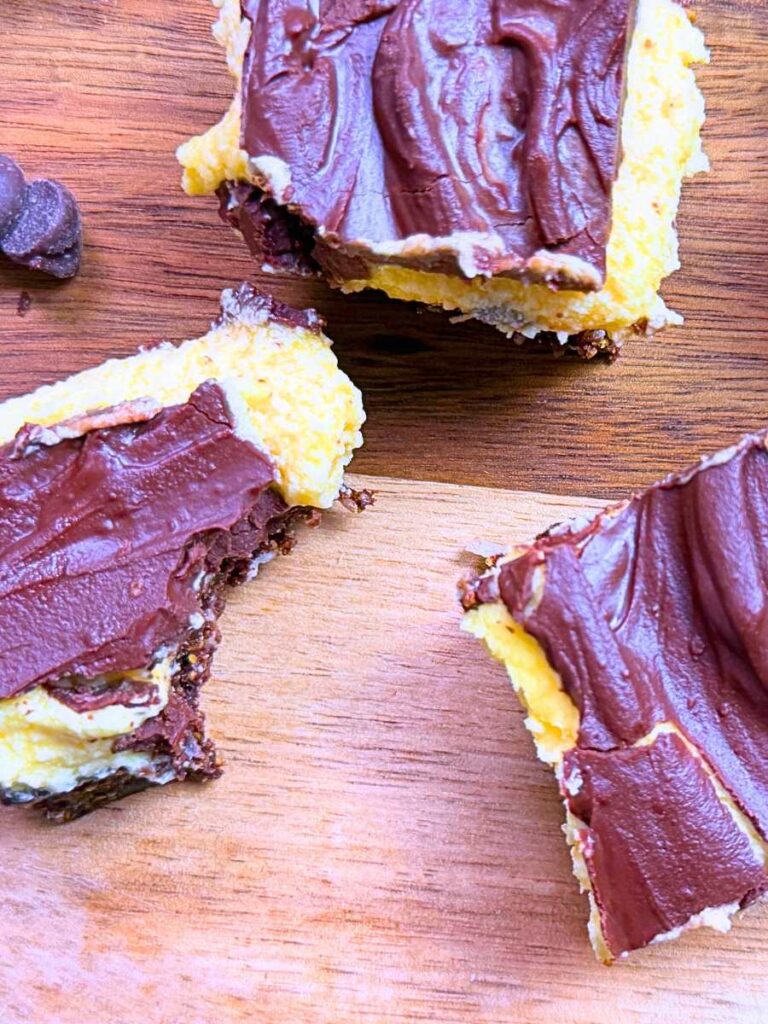
Where is the Nanaimo bars recipe from?
Like the name would suggest, Nanaimo Bars originated in Nanaimo, British Columbia, and became popular across Canada during the 1950s and 1960s. Though the exact origin and original recipe creator seems to be a mystery, these sweet treats are popular and well known throughout the country of Canada and beyond.
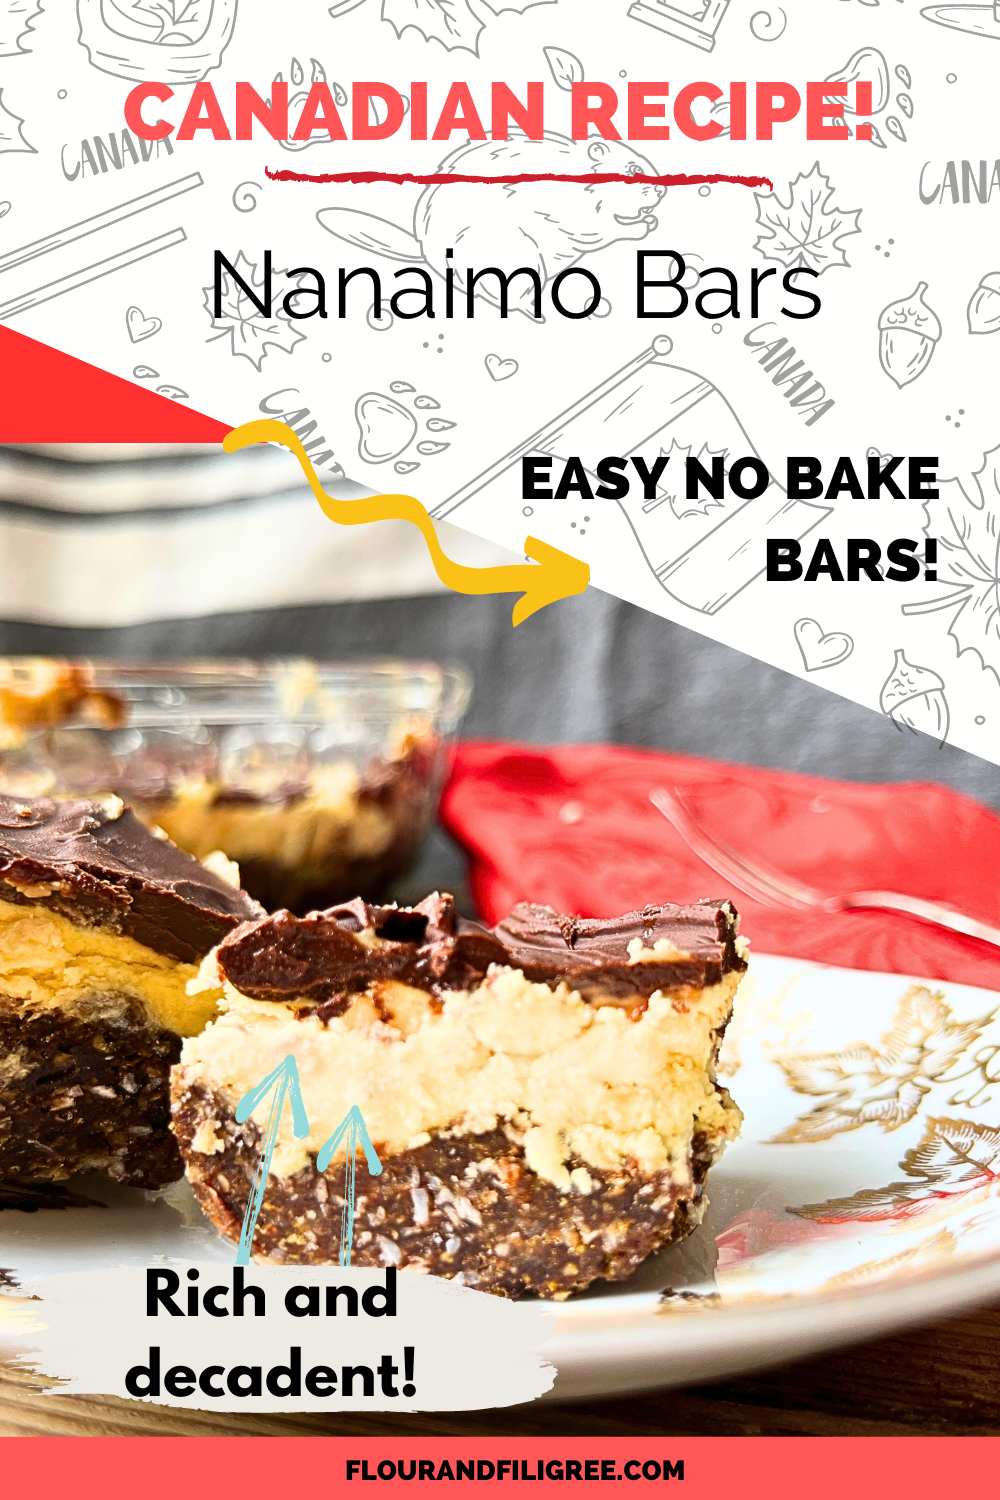
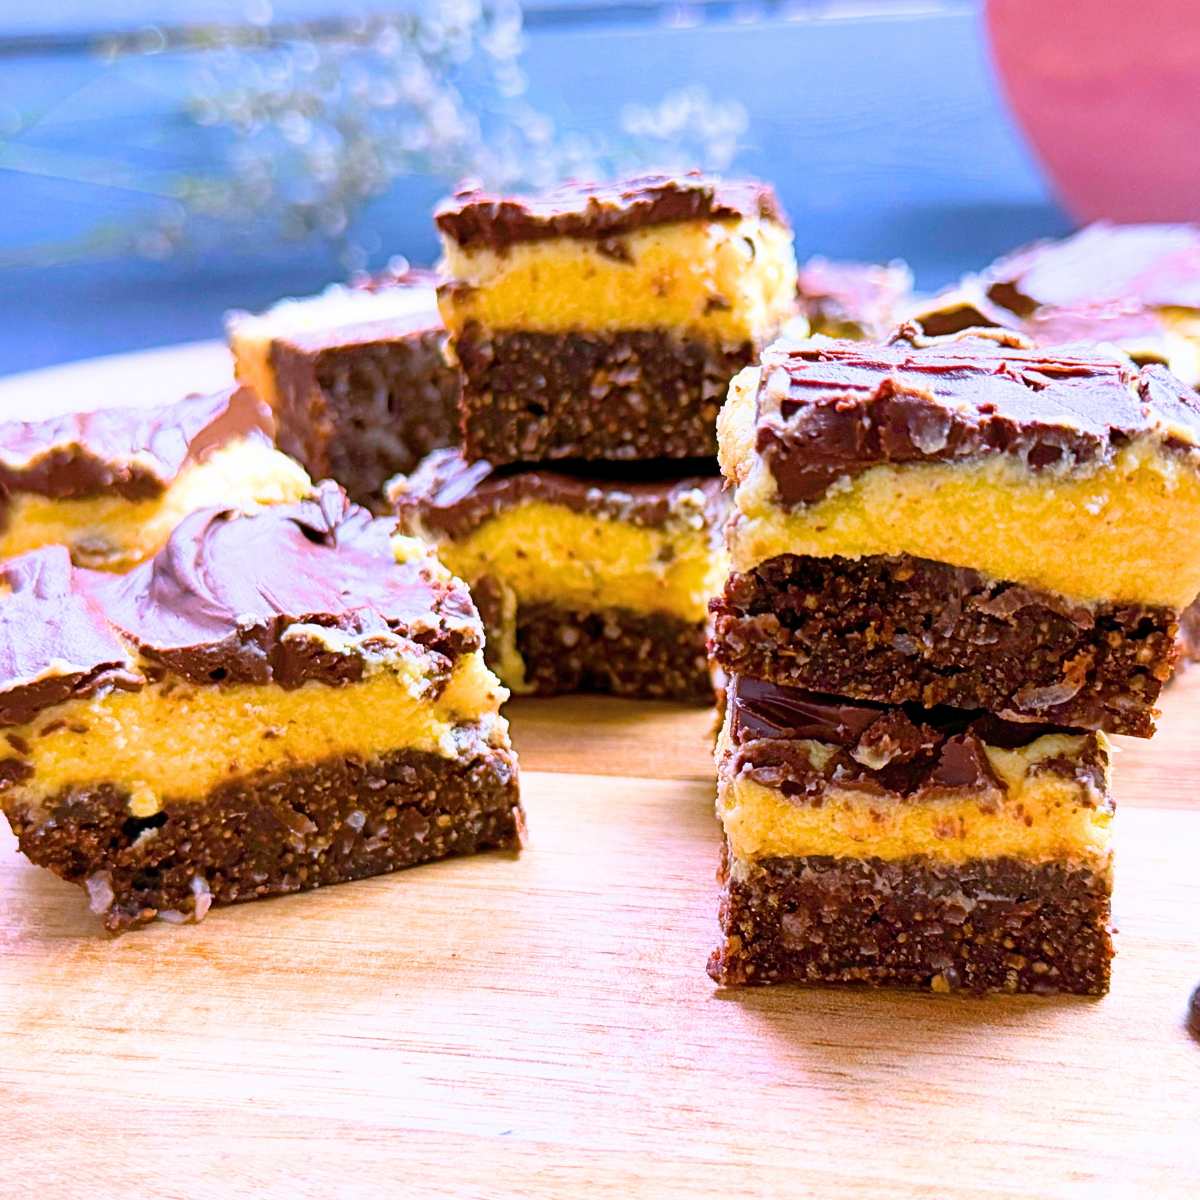
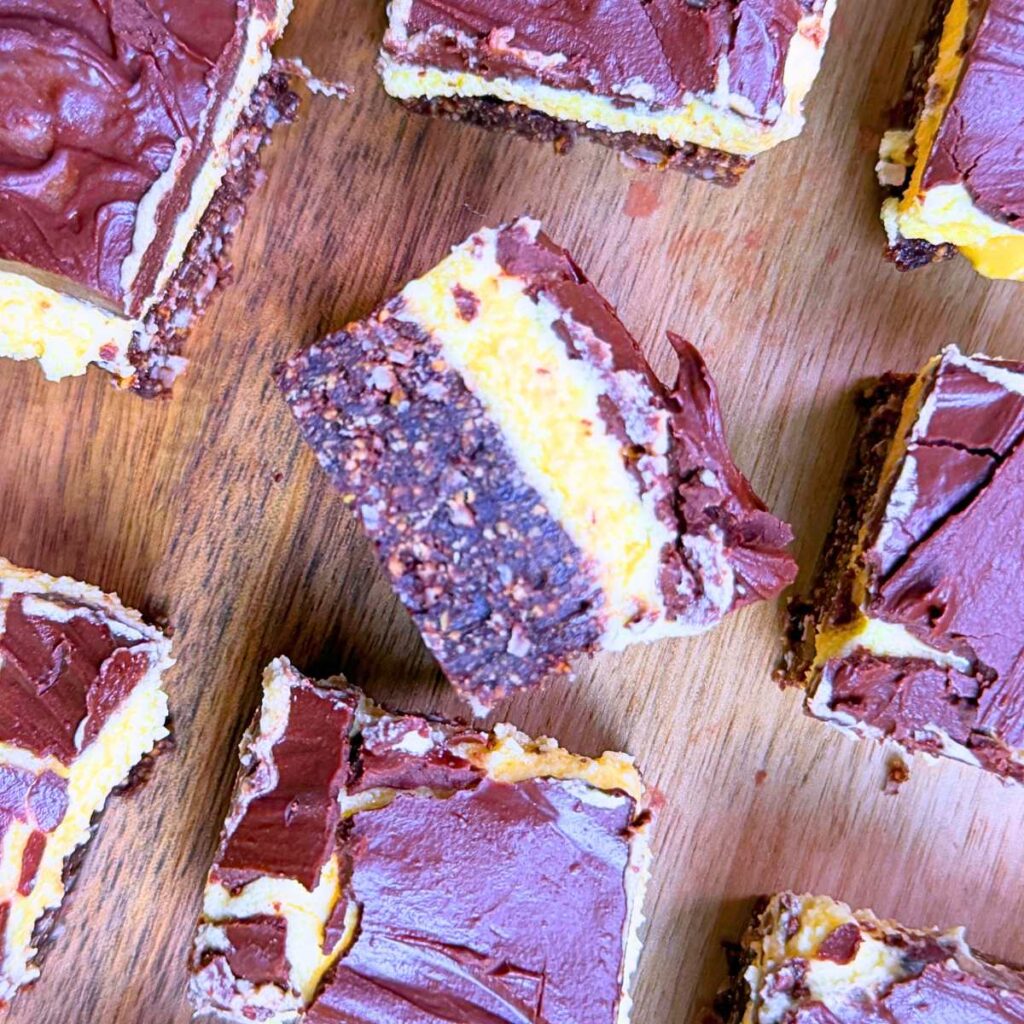
Nanaimo Bars are a classic Canadian no-bake dessert made with three layers: a chocolate-coconut crumb base, a creamy custard-flavored center, and a rich chocolate topping.
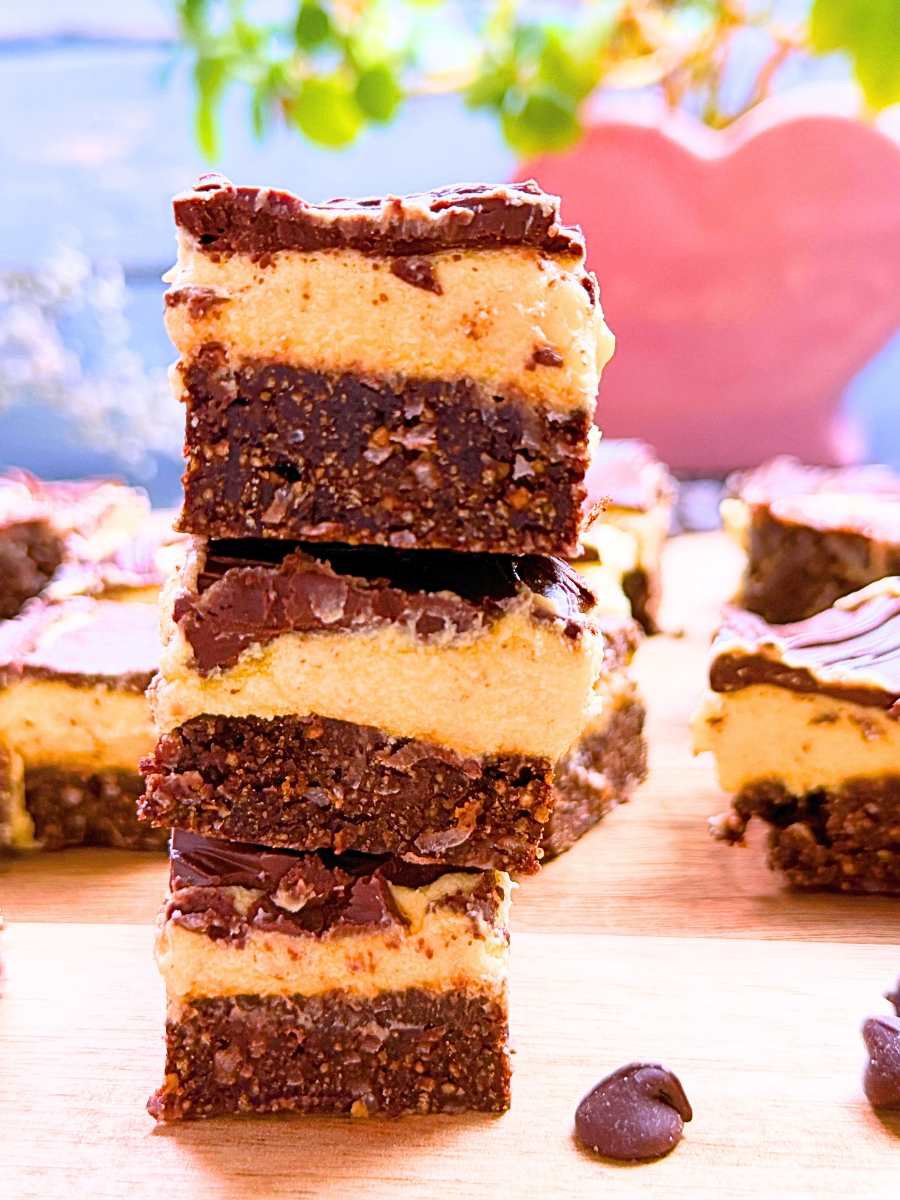
Tips for Perfect Nanaimo Bars
- Store chilled for clean slices.
- Chill each layer before adding the next.
- Use room-temperature butter for a creamy, thick custard layer.
- Score the chocolate topping before it fully sets.
- Use high-quality chocolate for the best flavour.
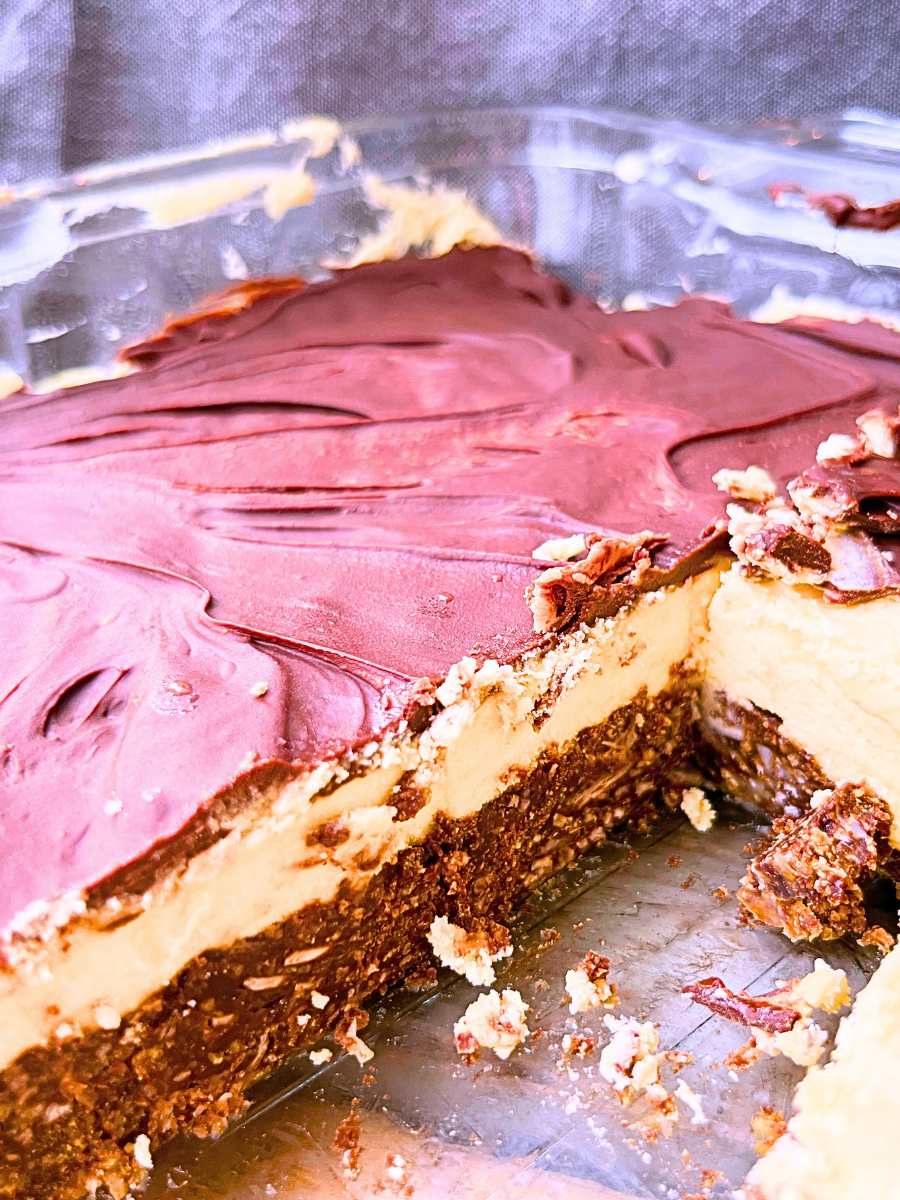
How to Store this Nanaimo Bars recipe
Fridge
The fridge is a great choice for storage for Nanaimo Bars. In fact each layer needs to chill in the fridge as they are being made.
Store Nanaimo Bars in an airtight container in the refrigerator for up to 1 week.
Freezer
The freezer is the perfect choice for longer storage of Nanaimo Bars. All of the layers freeze extremely well and is a great way of storing this make-ahead dessert.
Freeze Nanaimo Bars for up to 3 months. Thaw in the refrigerator overnight before serving.
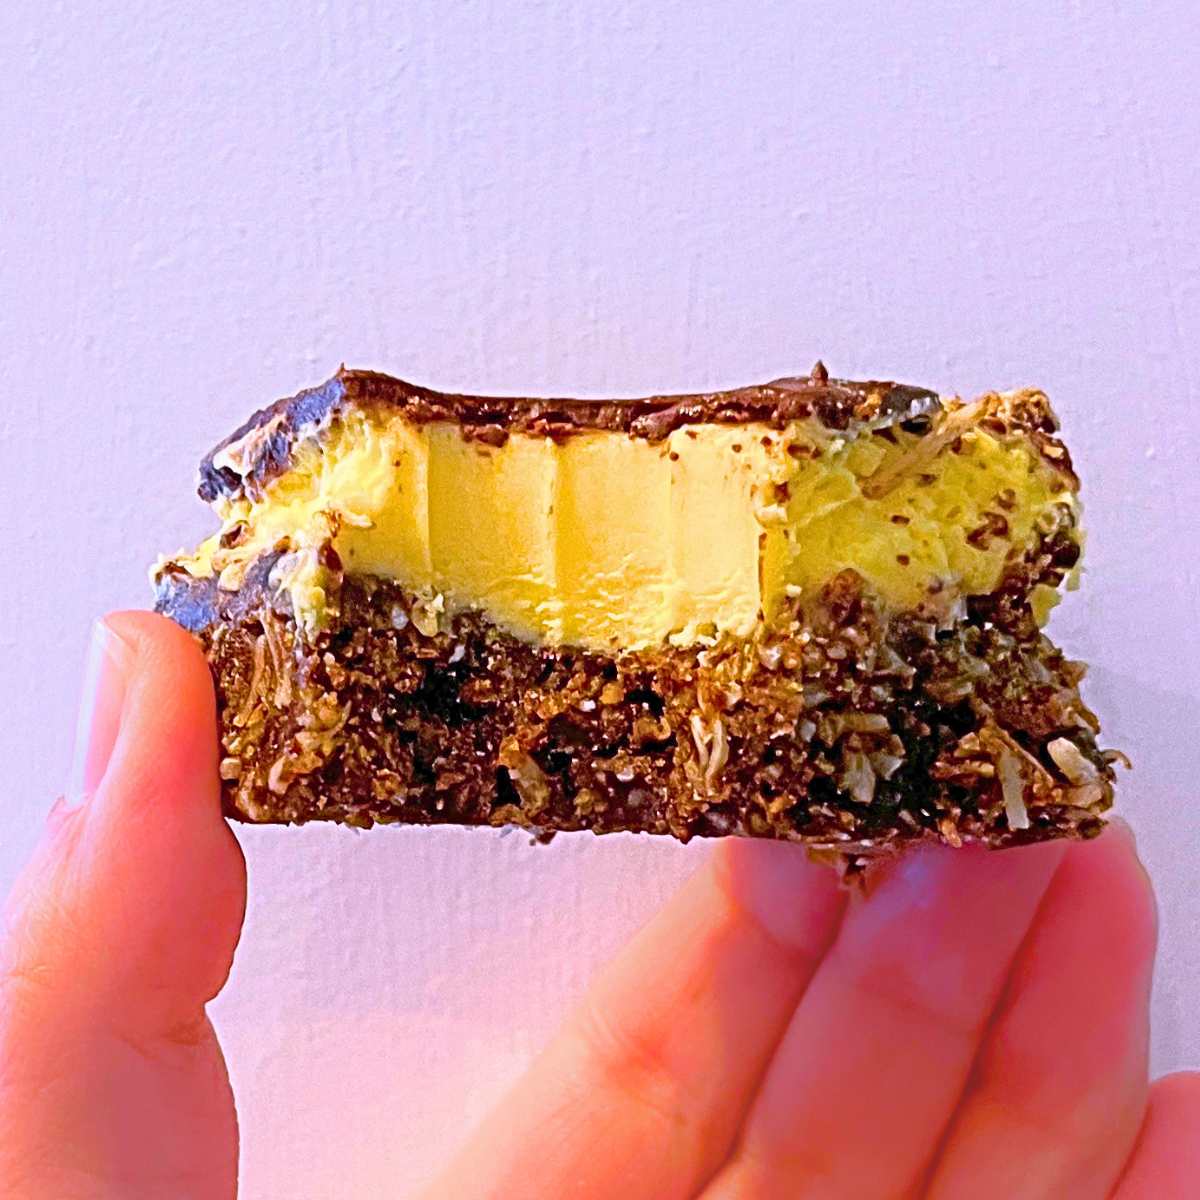
How to cut Nanaimo bars
Nanaimo bars can be a bit of a tricky business to cut cleanly. Once they are fridge cold they are pretty firm and hard to cut through, even if you use a sharp knife and manage to cut through the layers the delicate chocolate top will end up cracking and not looking it’s best.
To get that beautifully smooth chocolate top, make sure to score the chocolate with a knife before you place it in the fridge. Allow the bars to sit out at room temperature 5 minutes to soften. This will be much easier to cut through and the chocolate layer will be slightly pliable and less likely to crack and fracture while you are slicing the bars.
After they are cut and portioned out, you can place them in an airtight container and store them in the refrigerator or freezer for longer storage.
Nanaimo Bars Quick FAQs
Can Nanaimo Bars be frozen?
Yes! Freeze Nanaimo Bars in an airtight container for up to 3 months.
Do Nanaimo Bars need refrigeration?
Yes. The custard layer stays freshest when refrigerated.
Why is my chocolate topping cracking?
The chocolate was likely too cold when sliced. Let bars sit at room temperature for 5–10 minutes before cutting. Pre-scoring the chocolate layer before it goes into the fridge can also help.
Can I make Nanaimo Bars ahead of time?
Absolutely. They’re often even better the next day.
Ingredients
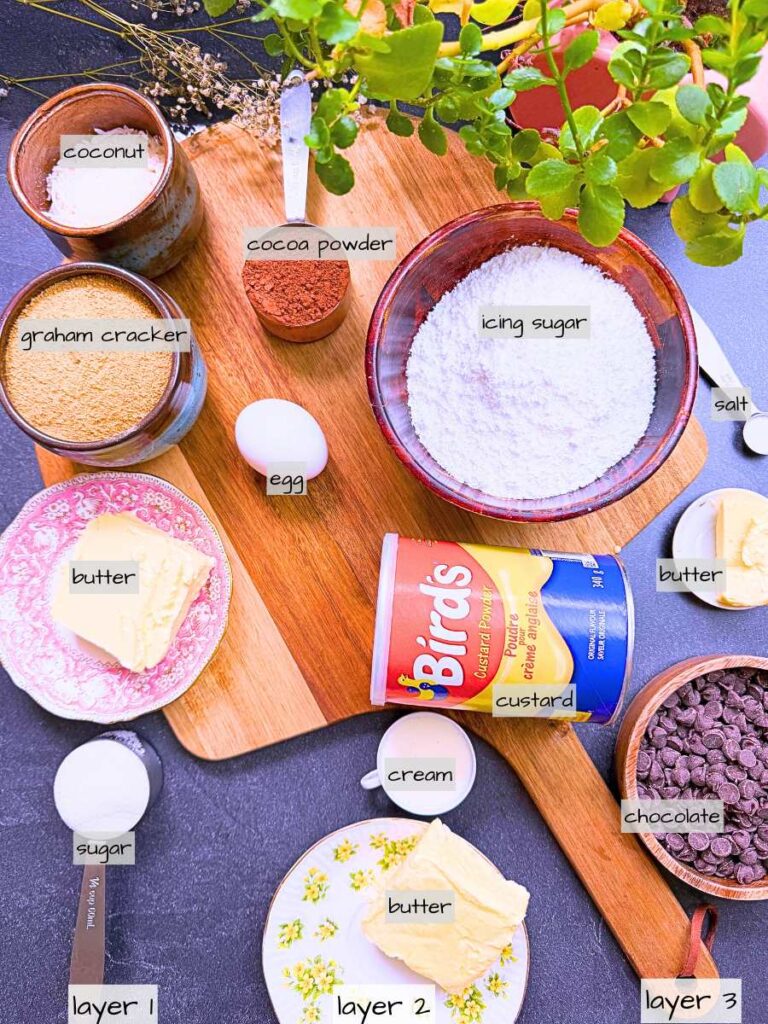
First layer – butter, white sugar, egg, cocoa, graham cracker crumbs, coconut
Second layer – butter, 35% cream, custard powder, icing sugar, salt
Third layer – Semi-sweet chocolate, butter, salt
How to make Nanaimo bars recipe
Method
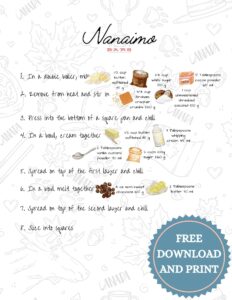
First layer
- In a sauce pot on medium-low heat add the 1/2 cup butter, 1/4 cup white sugar, and 5 Tablespoons cocoa powder.
- Stir to melt and dissolve the sugar.
- Add in the egg and cook while stirring, until the mixture has thickened.
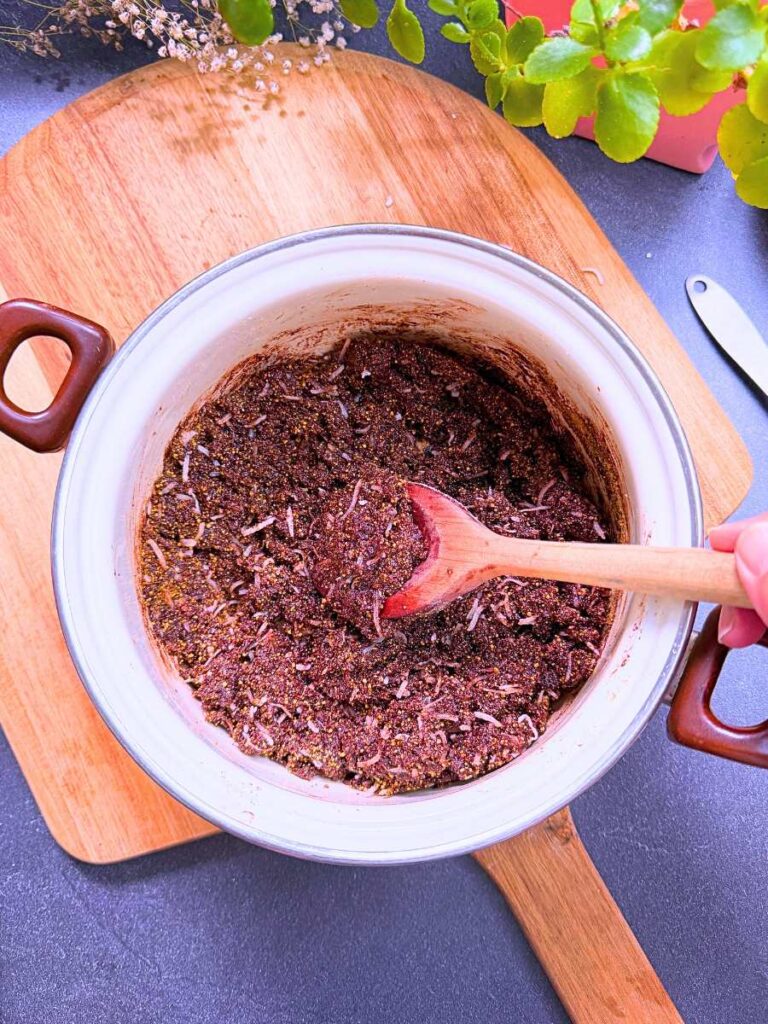
- Remove from heat and stir in the 1 3/4 cups Graham cracker crumbs and 1 cup shredded coconut.
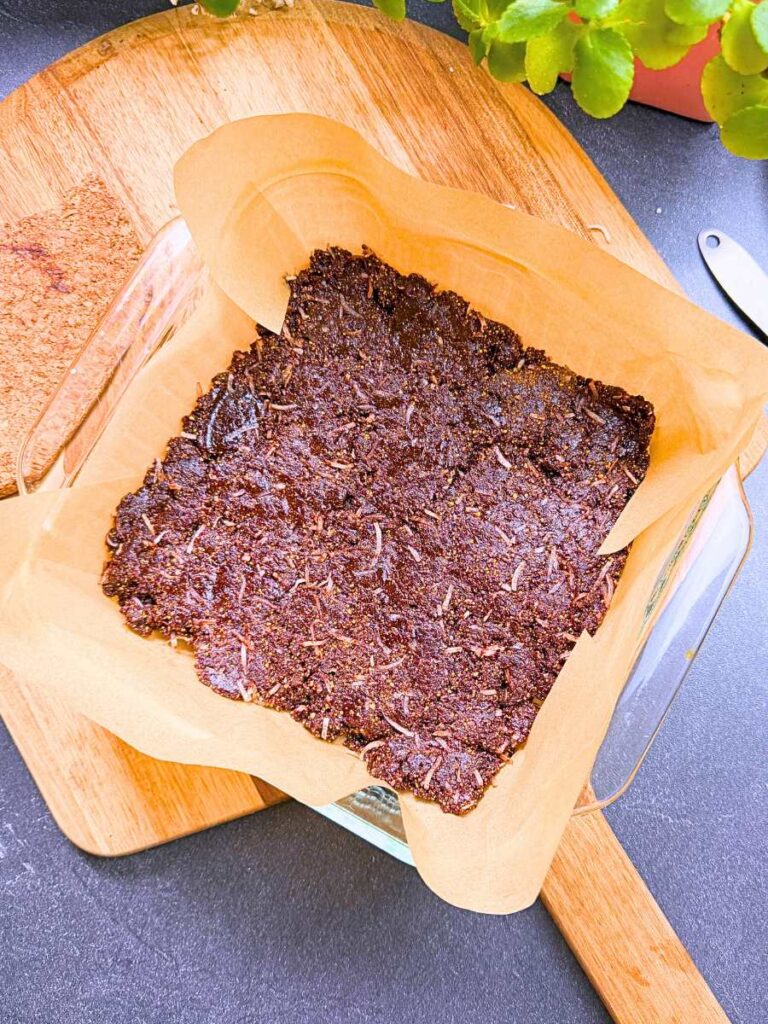
- Press this evenly into the bottom of a lined, 8×8 in. (20 cm x 20 cm) square pan.
- Chill in the refrigerator while you make the next layer.
second layer
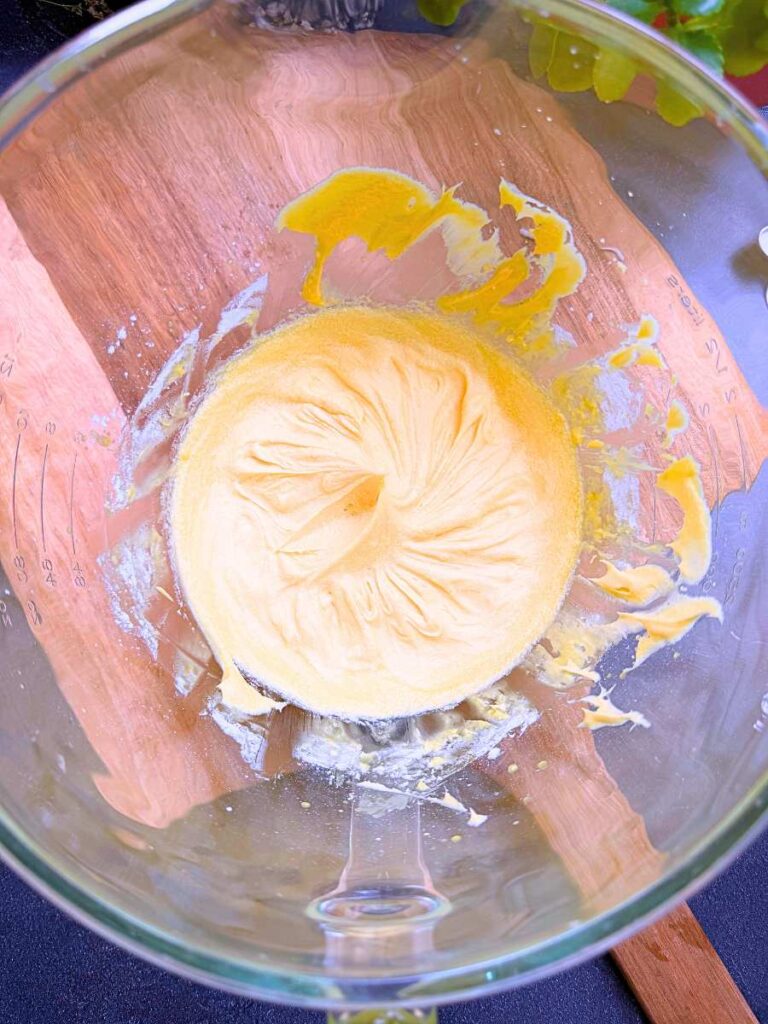
- In a bowl cream together 1/2 cup of butter, 3 Tablespoons 35% cream, 1/8 teaspoon salt, and 2 Tablespoons custard powder.
- Mix on low, 2 cups icing sugar, until incorporated.
- Increase the speed and beat until light and fluffy.
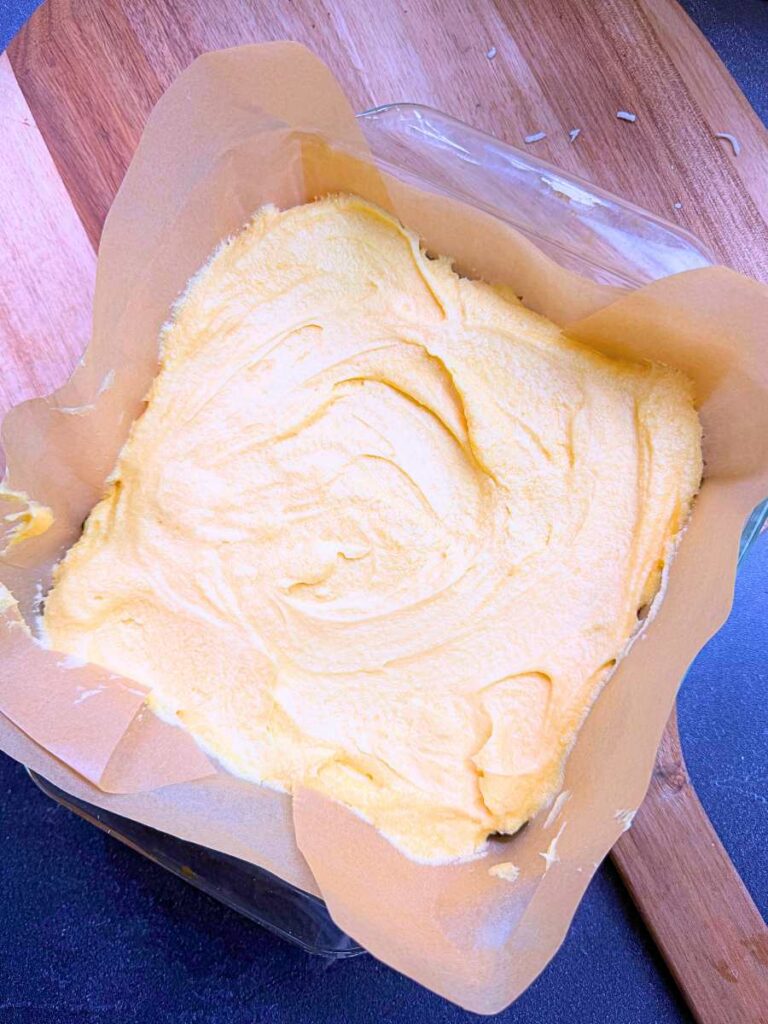
- Spread this mixture evenly overtop of the chilled first layer.
- Return to the fridge to chill.
third layer
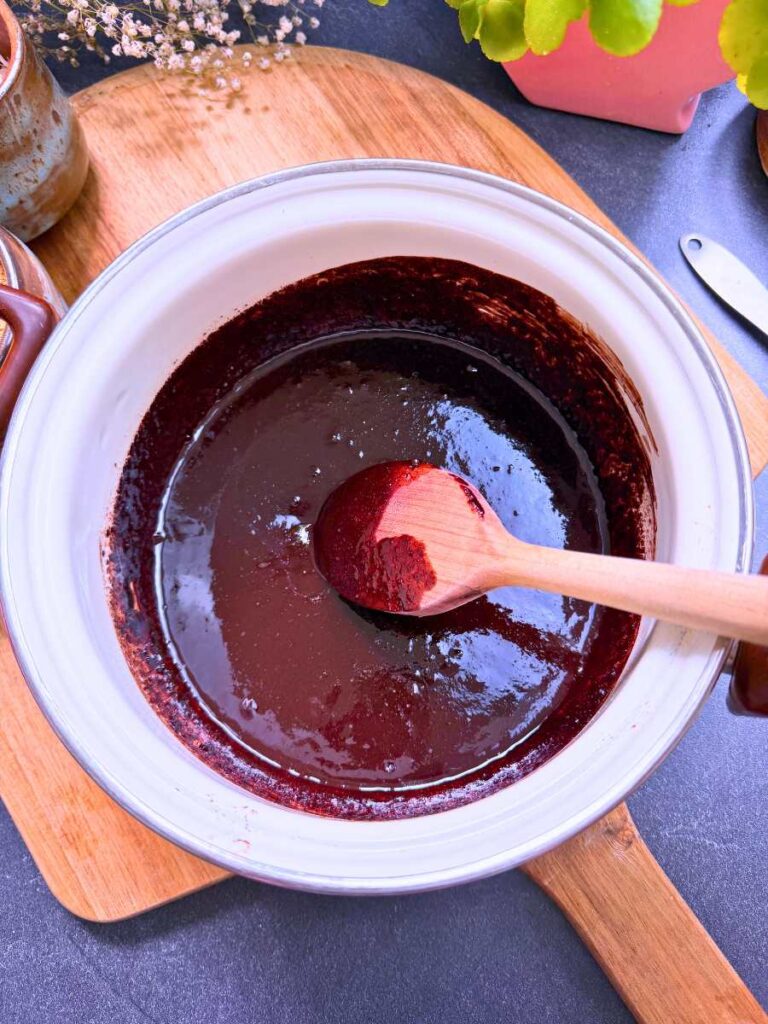
- Melt together over low heat, 4 oz semi-sweet chocolate, 1/8 teaspoon salt, and 2 Tbsp of butter.
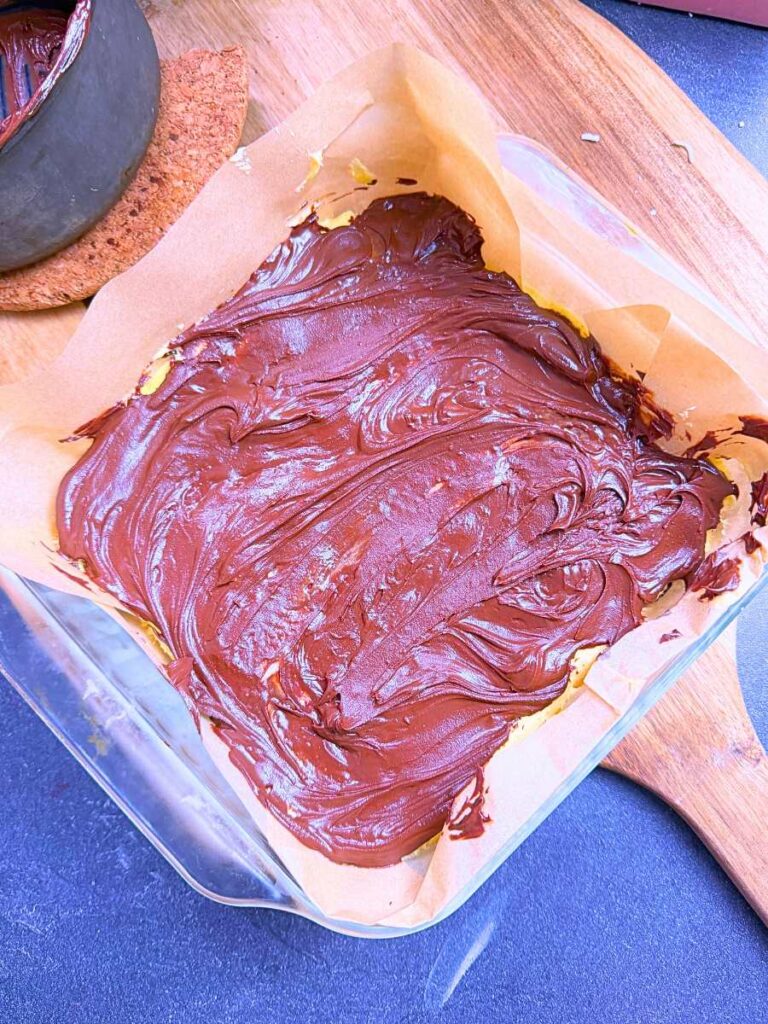
- Spread evenly overtop of the chilled second layer.
- Score the top of the chocolate if desired, for easy cutting later on.
- Chill in the fridge, until ready to serve.
- Allow the bars to soften 5 minutes, at room temperature, before cutting into bars.
Legendary Homemade Nanaimo Bars
Nanaimo Bars are a temptingly sweet no-bake dessert bar with a dense chocolate and graham cracker brownie like base, a soft sugary custard filling, and a silky smooth rich chocolate top.
Ingredients
First layer
- 1/2 cup butter, softened 115 g
- 1/4 cup white sugar 50 g
- 5 Tablespoons cocoa powder 65 ml
- 1 egg
- 1 3/4 cup Graham cracker crumbs 220 g
- 1 cup unsweetened shredded coconut 100 g
Second layer
- 1/2 cup butter, softened 115 g
- 3 Tablespoons whipping cream 45 ml
- 2 Tablespoons vanilla custard powder (I used Birds) 30 ml
- 2 cups icing sugar 260 g
- 1/8 teaspoon salt 0.5 g
Third layer
- 4oz semi-sweet chocolate 125 g
- 2 Tablespoons butter 30 g
- 1/8 teaspoon salt 0.5 g
Instructions
first layer
1. In a sauce pot over medium-low heat, add the ½ cup butter, 1/4 cup white sugar, and 5 Tablespoons cocoa.
2. Stir to melt and dissolve the sugar.
3. Add in the egg and cook while stirring, until the mixture has thickened.
4. Remove from heat and stir in the 1 3/4 cups Graham cracker crumbs and 1 cup shredded coconut.
5. Press this evenly into the bottom of a lined 8x8 inch square pan.
6. Chill in the refrigerator while you make the next layer.
second layer
1. In a bowl, cream together 1/2 cup soft butter, 3 Tablespoons 35% cream, 1/8 teaspoon salt, 2 Tablespoons custard powder.
2. Beat on low until 2 cups icing sugar is incorporated.
3. Increase the speed and beat until light and fluffy.
4. Spread this mixture evenly overtop of the chilled first layer.
5. Return to the fridge and chill.
third layer
1. Melt together over low heat 4 oz semi-sweet chocolate, 1/8 teaspoon salt, and 2 Tbsp of butter.
2. Spread evenly overtop of the chilled second layer.
3. (optional) Score the top of the chocolate for easy cutting layer on.
3. Chill until ready to serve.
4. Allow the bars to soften 5 minutes at room temperature, before cutting into bars.
Notes
Make sure to allow the bars to sit out at room temperature to soften. This will be much easier to cut through. If you score the top of the chocolate layer before chilling, you will have a smooth chocolate layer on top.
Nutrition Information
Yield
24Serving Size
1Amount Per Serving Calories 370Total Fat 20gSaturated Fat 14gUnsaturated Fat 7gCholesterol 36mgSodium 191mgCarbohydrates 45gFiber 3gSugar 31gProtein 3g
Nutrition information isn't always accurate.
If you’re looking for the best Nanaimo bars recipe, this traditional Canadian dessert is always a crowd-pleaser. With its rich chocolate base, creamy custard filling, and smooth chocolate topping, these easy homemade Nanaimo bars are perfect for holidays, potlucks, and special occasions.
If you loved this recipe, you’ve got to check out my favourite Canadian recipes!
You’ll find recipes like,
- Butter Tart Squares
- Canadian Maple Ice Cream
- Blueberry Grunt
- Pouding Chômeur
- Maple taffy in the snow
Sign up for Emails you’ll look forward to! Receive helpful and fun content strait to your inbox! Unsubscribe any time. Gain instant access to the exclusive FREE PRINTABLES library!
Like this! Starting your own family cook book has never been easier!