The Best Vintage Vanilla Cake
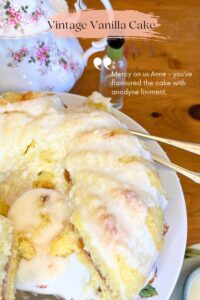
When I think of this Vintage Vanilla Cake recipe I immediately think of Anne of Green Gables and her liniment cake disaster. If you have ever read this series you definitely know this memorable moment!
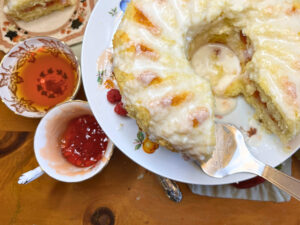
One thing I know from reading old stories and watching vintage movies is that food was a very big part of being a good host. There was always cakes, biscuits, and preserves ready at a moments notice for any visitor stopping by. If the unthinkable did occur, and you found yourself with a bare pantry, a good host could whip something up in not time at all!
This amazing cake is full of flavour because it wasn’t meant to have layers of icing smothered on top of it. The cake is really star of the show! Plus it is quick and easy to make!
The cake is moist, soft, and light on the inside, with the outside having the most delicate sugary crispness.
…there must always be cake in the pantry -fresh flawless cake- lest unexpected company come to tea. No company had ever found Cloud of Spruce cakeless. Grandmother and Mother would have both died of horror on the spot if such a thing had happened.
Marigold- Magic for Marigold
How to make Vanilla Cake
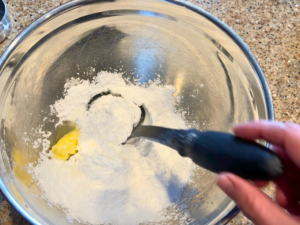
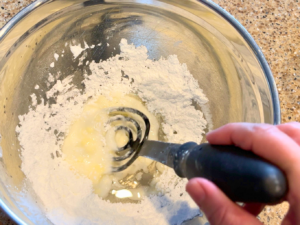
Make this easy vanilla cake recipe at home by first creaming the butter and sugar mixture and then adding in the dry ingredients to make a smooth vanilla cake batter. This is a tried and true way of making a delicious light and airy crumb in your cake.
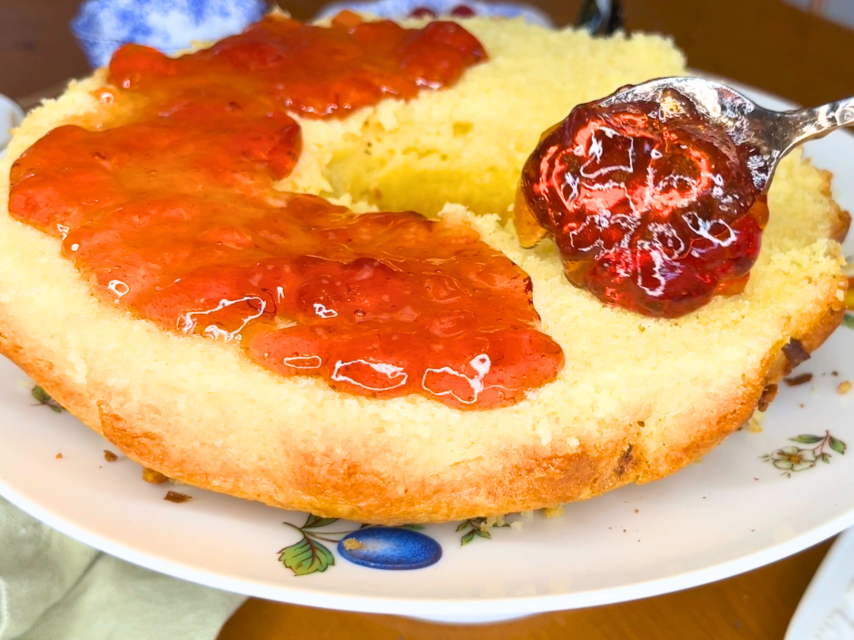
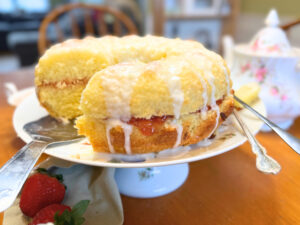
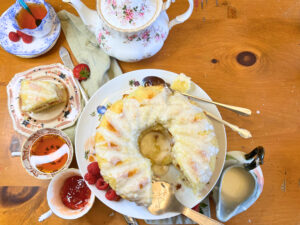
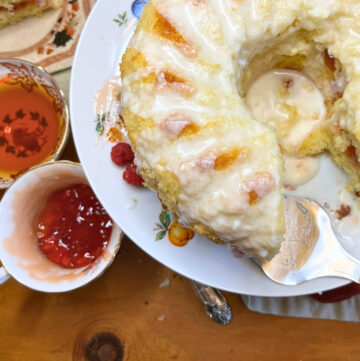
To finish off this cake, I used a simple raspberry jelly and a delicate vanilla glaze. This is such a simple yet delicious way to compliment the flavours in the cake. However, a light dusting of powdered sugar would be just perfect. A gorgeous vanilla cake with a fruit is absolute perfection and fruit preserves really gives this a vintage feel. Blueberry and strawberry filling for a vanilla cake would be a beautiful substitution!
If you want to turn this into a special occasion cake, feel free to slice it in layers and spread on a simple buttercream! This vanilla cake holds it’s shape, making it a perfect cake for stacking!
Vanilla Cake for Beginners
Since this Vanilla cake is quick and easy, it is the perfect cake for beginners to try. Baking a vanilla cake from scratch is something anyone can do and, in my opinion, should try at least once! It only requires a handful of ingredients, cooks in one pan, and is so versatile! Make your vanilla cake with icing or without. Make a one layer vanilla cake especially beautiful in a fluted cake pan and a dusting of sugar on top or a simple glaze.
The cake did rise, however, and came out of the oven as light and feathery as golden foam. Anne flushed with delight, clapped it together with layers of ruby jelly and, in imagination, saw Mrs. Allen eating it and possibly asking for another piece!
Anne Shirley – Anne of Green Gables
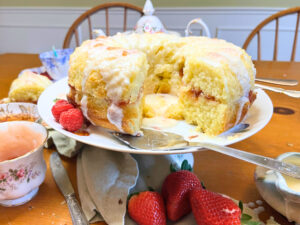
Storing Vanilla Cake
On the counter
If you have made this vanilla cake plain, or perhaps with a dusting of sugar on top, you can keep the cake on the counter top for 4 days. Make sure to cover with cling-film or store in a airtight container to ensure the cake doesn’t dry out.
In the refrigerator
A vanilla cake that has been made with perishable fillings and icings, like fresh fruit and cream, must be stored in the refrigerator. Since a refrigerator will quickly dry out your cake, make sure to store it covered or in an airtight container.
In the Freezer
The freezer is an especially good option if you are making your vanilla cake in advance without any icings or fillings added to it yet.
To store the vanilla cake in the freezer:
- Let the cake come to room temperature.
- Slice the cake in layers, if desired.
- Wrap each layer in cling-film.
- Store the entire cake in an airtight container, or freezer bag.
- The cake can be stored in the freezer for up to 3 months.
- When ready to use the cake, unwrap and let the cake come back to room temperature.
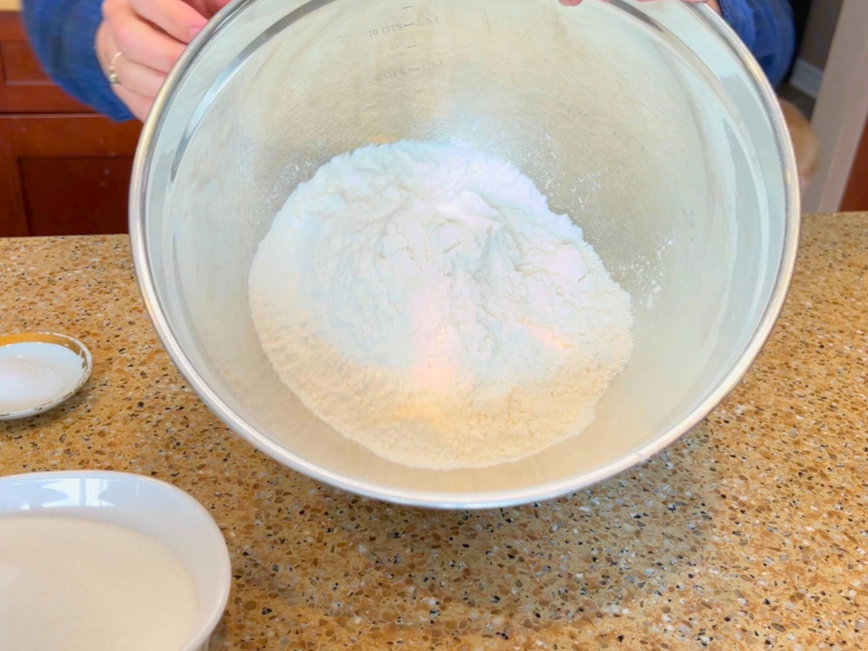
Ingredients for the Best Vintage Vanilla Cake
2 cups all-purpose flour 240 g
½ teaspoon salt 2.5 ml
2½ teaspoons baking powder 12.5 ml
¾ cup butter 170 g
1½ cups sugar 300 g
3 eggs
2 teaspoons vanilla 10 ml
½ cup milk 118 ml
½ cup raspberry jelly, or preserves of choice (optional) 118 ml
For the Vanilla Glaze (optional)
This is the amount for a half recipe. (Which is how much you need for the cake) The recipe card at the bottom will be enough for a full recipe of glaze.
1 cup icing sugar 130 g
1 Tablespoon unsalted butter, softened 15 ml
Seeds scraped from half a vanilla bean pod or 1 teaspoon real vanilla extract 5 ml
1 Tablespoons hot water 15 ml
pinch of salt
Method
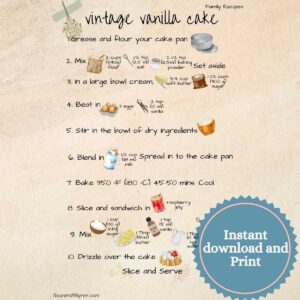
- Grease and flour a ring mold or your cake pans of choice.
- Preheat the oven to 350 ºF (180 ºC).
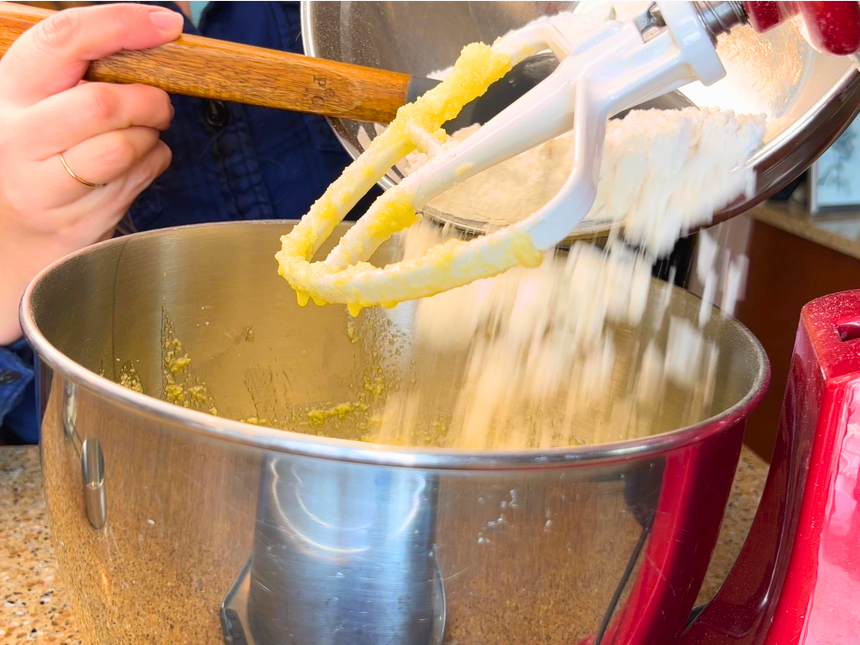
- In a medium bowl, mix the flour, salt, and baking powder.
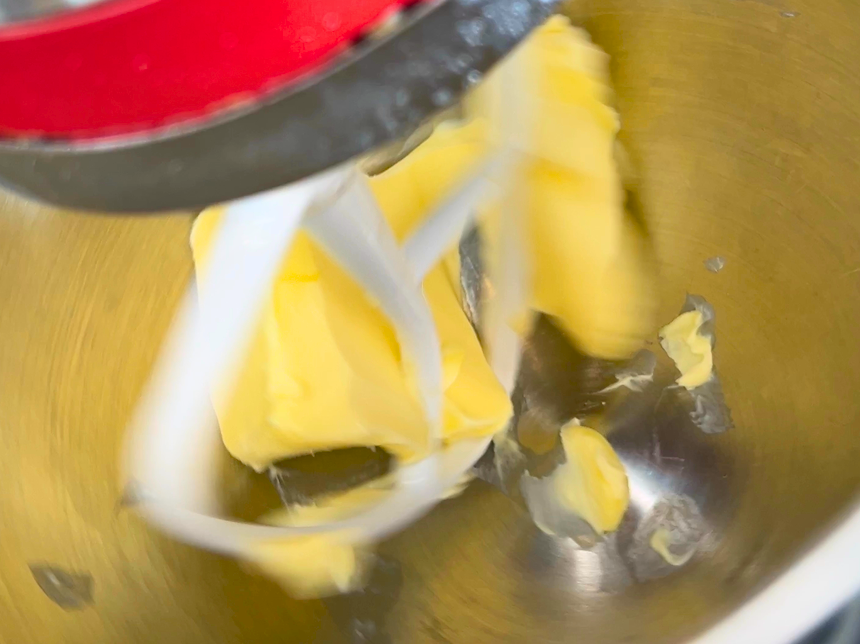
- In the bowl of a stand mixer, or in a large bowl with beaters, cream the butter.
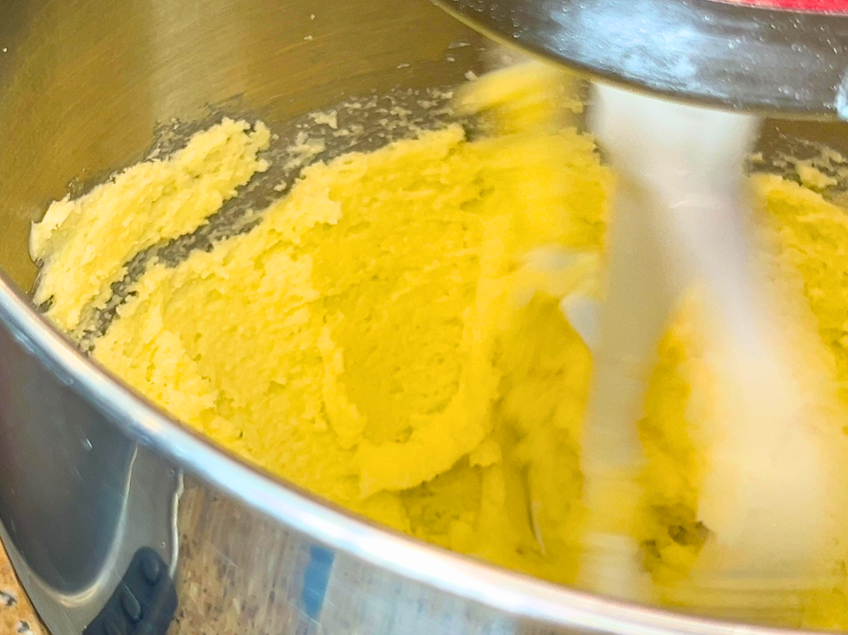
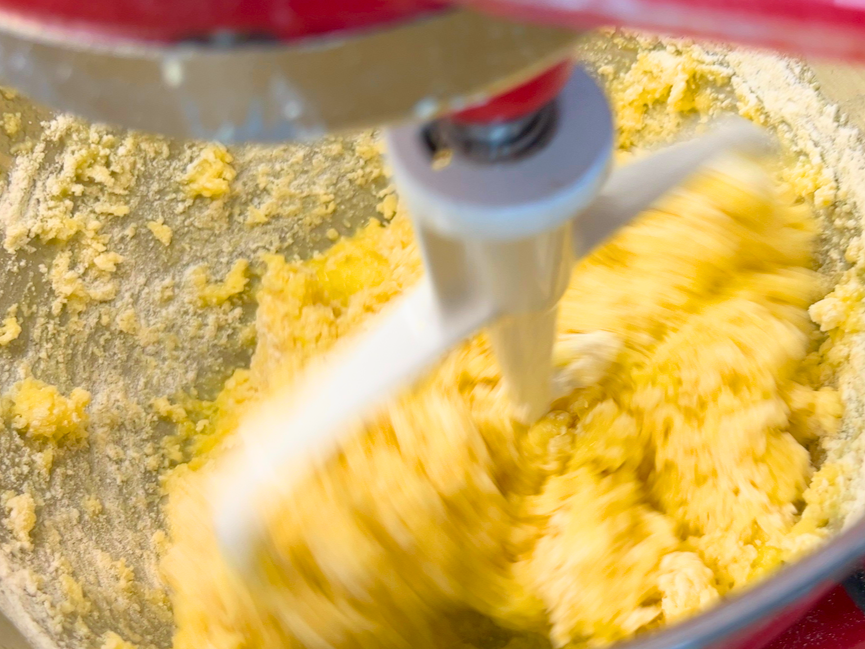
- Add the sugar to the butter mixture and cream along with the butter until light and fluffy.
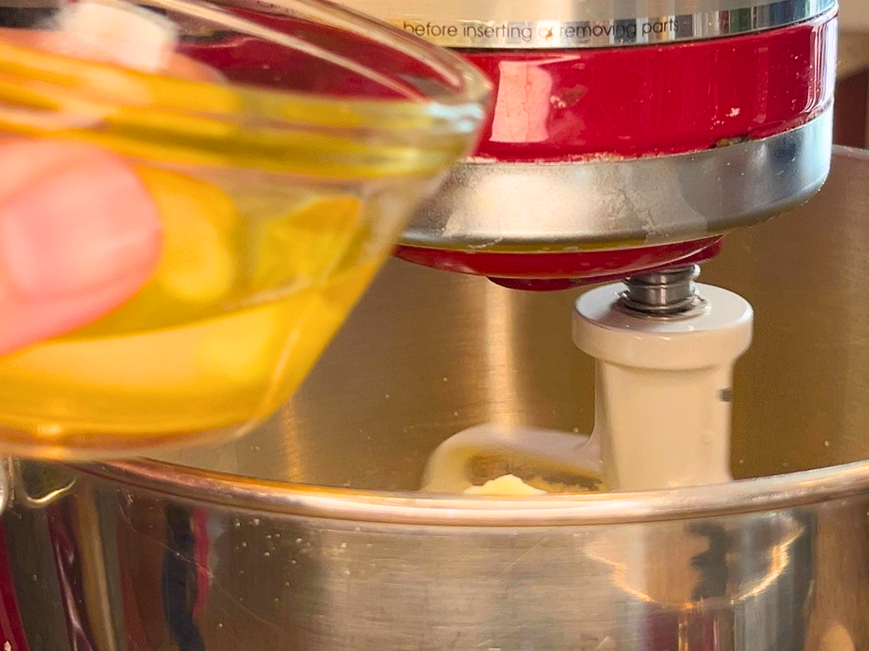
- Add the eggs, one at a time, and beat after each addition.
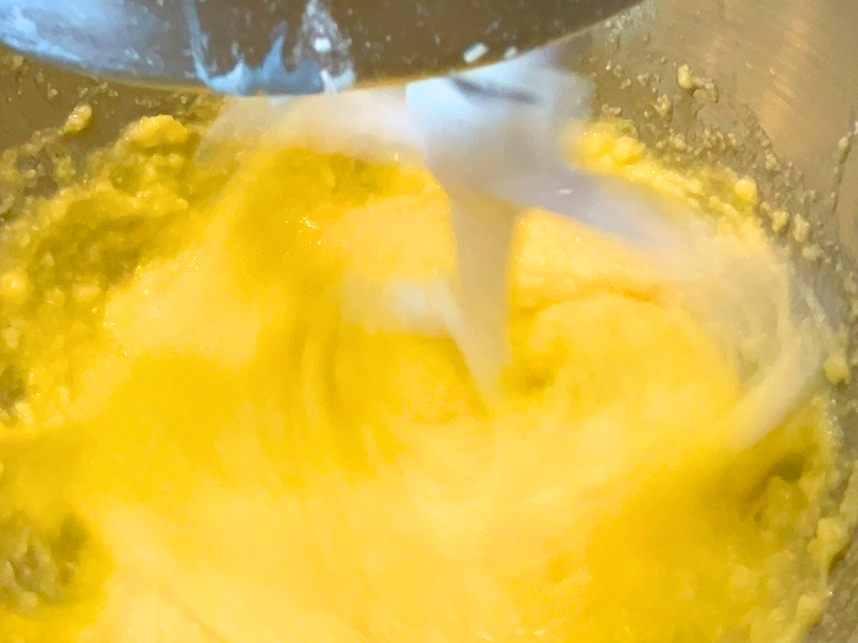
- Scrape down the sides of the bowl, and mix in the vanilla until you have a smooth mixture.
- Mix in the dry ingredients until just incorporated.
- Mix in the milk and stir until you have a thick smooth mixture.
- Spread the batter into the cake pan.
- Bake in the preheated oven for 45-50 minutes or until a toothpick inserted in the centre comes out clean.
- Allow the cake to cool then remove from the pan.
Assembly
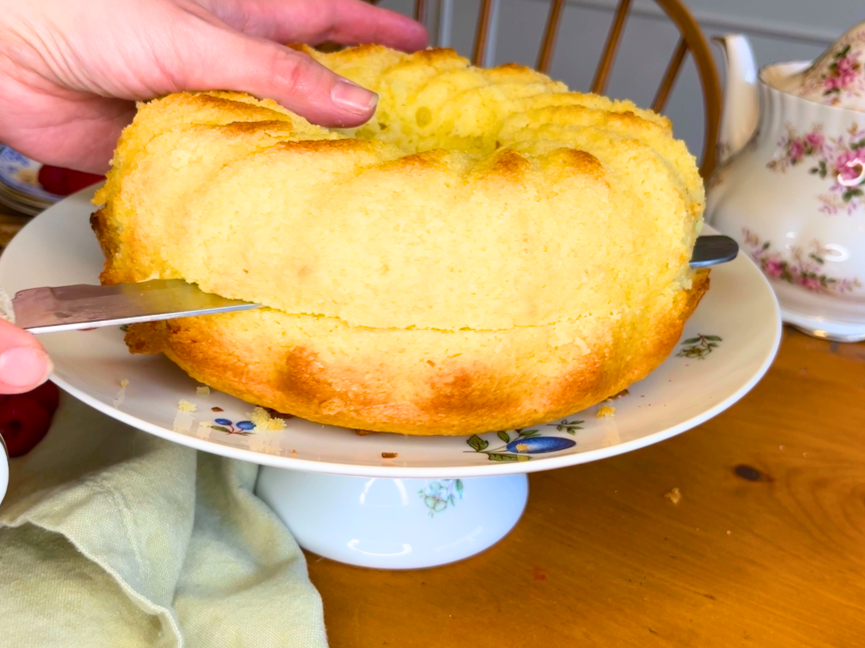
- Slice the cake in 2 or 3 layers and spread on a generous helping of raspberry jelly (I used about ½ cup in between each layer.)
- Stack the cake back together.
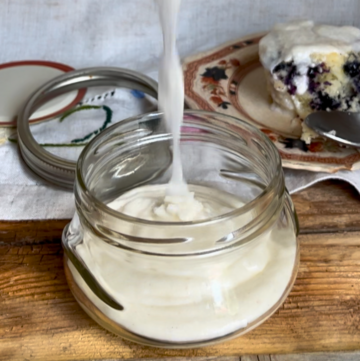
- For the glaze, mix all the ingredients together with a whisk until you have a smooth, thick but pourable icing. Add water until you have the consistency you want.
- Drizzle this icing on top of the cake. It should coat the top and drip down the sides.
- Slice and serve!
The Best Vintage Vanilla Cake
Equipment
- 1 cake pan
Ingredients
- 2 cups all-purpose flour 240 g
- ½ teaspoon salt 2.5 ml
- 2½ teaspoons baking powder 12.5 ml
- ¾ cup butter 170 g
- 1½ cups sugar 300 g
- 3 eggs
- 2 teaspoons vanilla 10 ml
- ½ cup milk 118 ml
- ½ cup raspberry jelly or preserves of choice (optional) 118 ml
Vanilla Glaze
- 1 cup icing sugar 130 g
- 1 Tablespoon unsalted butter softened 15 ml
- 1 teaspoon real vanilla 5 ml
- 1 Tablespoons hot water 15 ml
- pinch of salt
Instructions
- Grease and flour a ring mold or your cake pans of choice.
- Preheat the oven to 350 ºF (180 ºC).
- In a medium bowl, mix the flour, salt, and baking powder.
- In the bowl of a stand mixer with the paddle attachment, or in a large bowl with beaters, cream the butter.
- Add the sugar to the butter mixture and cream along with the butter until light and fluffy.
- Add the eggs, one at a time, and beat after each addition.
- Scrape down the sides of the bowl and mix in the vanilla until you have a smooth mixture.
- Mix in the dry ingredients until just incorporated.
- Mix in the milk and stir until you have a thick smooth mixture.
- Spread the batter into the cake pan.
- Bake in the preheated oven for 45-50 minutes or until a toothpick inserted in the centre comes out clean.
- Allow the cake to cool then remove from the pan.
Assembly
- Slice the cake in 2 or 3 layers and spread on a generous helping of raspberry jelly (I used about ½ cup in between each layer.)
- Stack the cake back together.
- For the glaze, mix all the ingredients together with a whisk until you have a smooth thick but pourable icing.
- Drizzle this icing on top of the cake. It should coat the top and drip down the sides.
- Slice and serve!
Vanilla Bean Glaze
Ingredients
- 2 cups icing sugar
- 1 Tablespoon unsalted butter softened
- 1 vanilla bean pod
- 2 Tablespoons warm water
- pinch of salt
Instructions
- In a medium bowl add the icing sugar, butter, salt, and warm water.
- Cut the vanilla bean lengthwise down the centre. Open it up a little and use the end of a knife to scrape out the seeds.
- Add the seeds to the bowl and mix everything together. If you want it runnier just a water, a tiny bit at a time, until you reach your desired consistency.
Need some more tea time inspiration? Try some of these to serve for a special guest! Old-Fashioned Sour Cream Biscuits, Homemade Classic Canadian Butter Tarts, From Scratch Honey Apple Pie, Flaky French Bakery Butter Croissants
Join up to gain access to the exclusive printables library! You can find fun recipe cards to start building your own recipe journal! Plus, much more!


3 Comments